BitFenix Prodigy Mini ITX Case Review
BitFenix Prodigy mITX Build
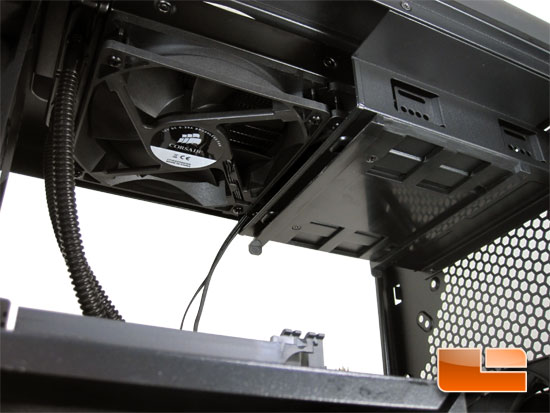
The BitFenix Prodigy will support a 240mm radiator on the top of the chassis. I was a little bit disappointed that we would have to sacrifice our only 5.25″ drive bay to do this. The 5.25″ drive bay is removable and we did have to remove it to install the Corsair H100, but wanted to replace it to display the sacrifice that needs to be made to run a dual radiator up top.
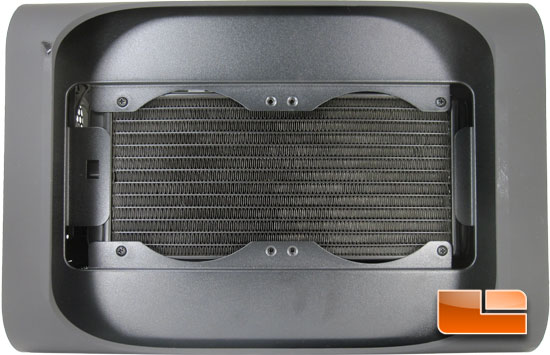
BitFenix has the cutout on the top of the Prodigy well done for the Corsair H100 or any dual 120mm radiator.
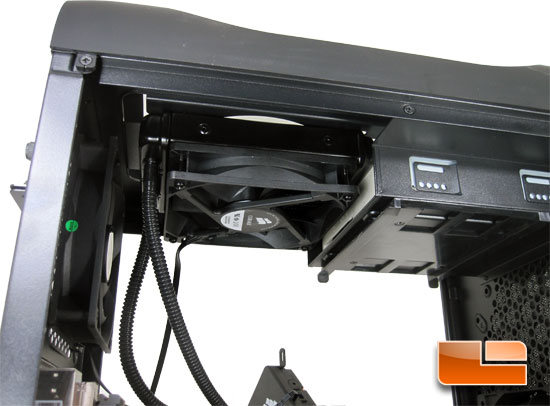
Since we weren’t able to run an optical drive with the Corsair H100, we switched it out for the Corsair H60. This wasn’t without issues either. Looking at the above photo, you may notice that the ASUS optical drive is right up against the H60. We are using a standard 170mm deep optical drive, so it is 6.7″ long.
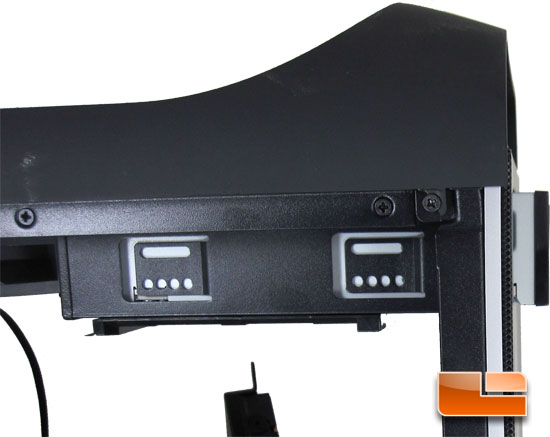
Unfortunately the optical drive isn’t fully installed and was sticking out of the front of the case by nearly half an inch. The shallowest optical drive we could find was 165mm or 6.5-inches, so the only solution to this would be to use a notebook drive and an adapter like we did here. Notebook optical drives are just 140mm (5.5″) deep, so that would work.
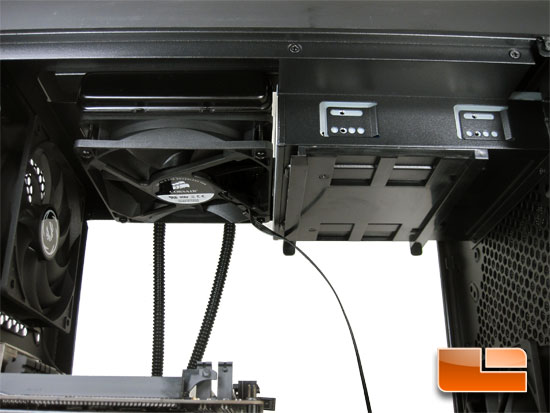
We tried rotating the Corsair H60, and we were able to get the optical drive fully installed but we weren’t able to plug it in. The SATA and power plugs were completely covered by the fan on the H60.
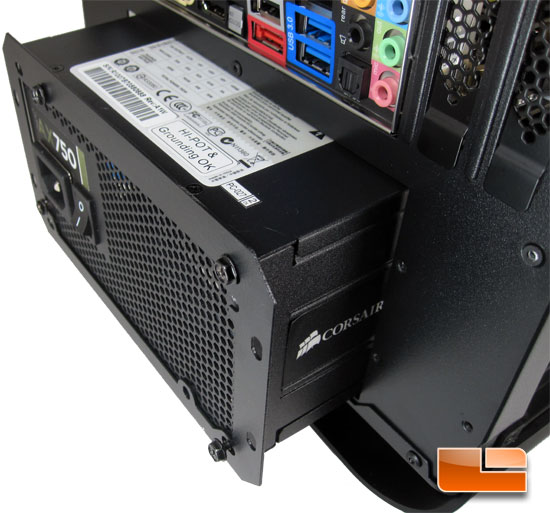
We mentioned earlier about how to install the power supply, here we can see how that’s done. First remove the plate on the back and screw it to the power supply, slide the power supply in and replace the thumb screws. You can see that I opted not to fully tighten the plate to the power supply which gave me a little wiggle room when running the thumb screws in.
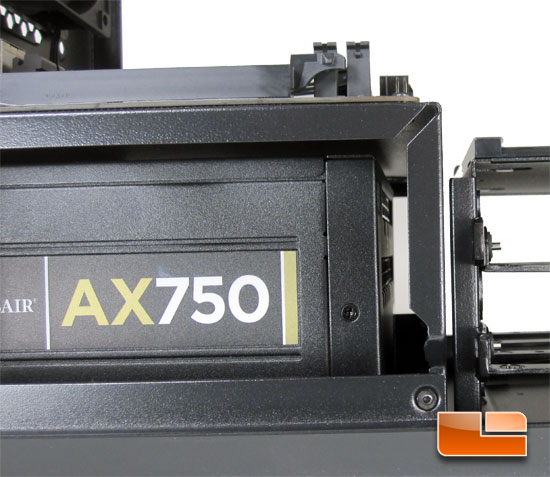
We had the Corsair AX750 installed to see how much clearance we would have for our cabling. Unfortunately, there is only 11/16″ (.6875″) between the front of the power supply and the front wall of the housing. Once we tried to install the power supply with the cables we realized that there wasn’t enough room for the cables to fold over. and run out the sides of the housing. We ended up using our Corsair TX750 for the build, without the plugs for the modular aspect of the AX750 we were able to fold the cables over enough to fully install the power supply.

Since we weren’t able to run an optical drive with the Corsair H100, we switch it out for the Corsair H60. This wasn’t without issues either. Looking at the above photo, you may notice that the optical drive is right up against the H60.

Unfortunately the optical drive isn’t fully installed and was sticking out of the front of the case by nearly half an inch.

We tried rotating the Corsair H60, and we were able to get the optical drive fully installed but we weren’t able to plug it in. The SATA and power plugs were completely covered by the fan on the H60.
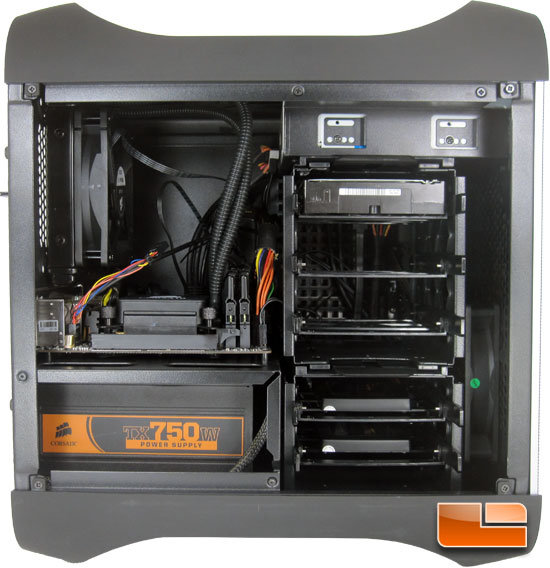
After determining that we weren’t able to mount either of our Corsair water coolers on the top of the BitFenix Prodigy, we opted to mount it as the exhaust fan. Despite being a small form factor case we were able to pack a ton of hardware in here. If you have used a Corsair TX750 in the past, you know it’s more like an octopus than a power supply, there are cables every where. We were able to successfully hide all of those cables without an issue and have a pretty clean looking build.
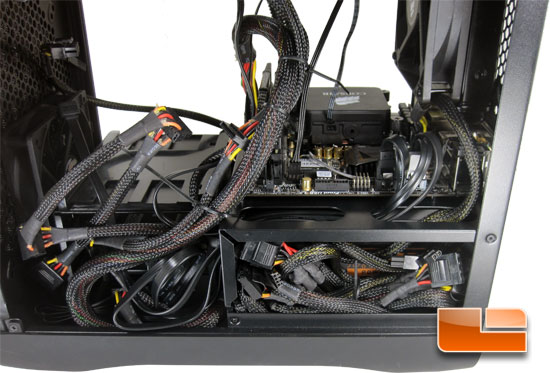
Swinging the BitFenix Prodigy it’s plain to see that we had a few cables left over from the Corsair TX750 power supply. Much more and we may not have been able to tuck them away so neatly. As it is though, they don’t block the airflow and they are all hidden away from view. You can hardly see the ASRock Z77E-ITX Mini ITX Intel motherboard, but trust us it is there.
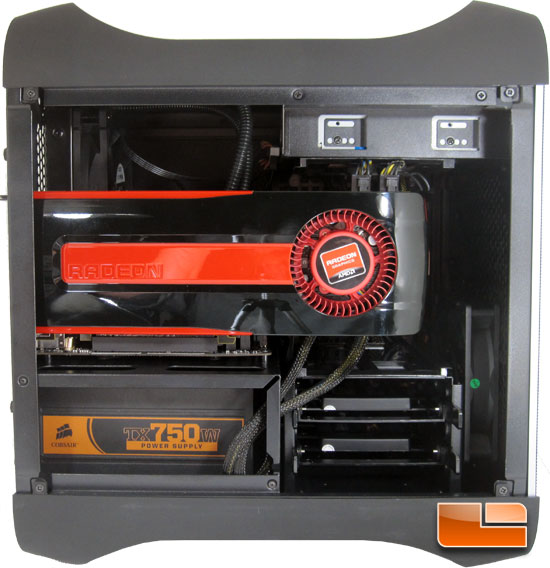
In order to install the AMD Radeon HD7950 we were forced to remove the upper drive cage. We would be able to install the 3.5″ hard drive below and relocate the SSD’s elsewhere in the case if we still wanted to run the storage drive.
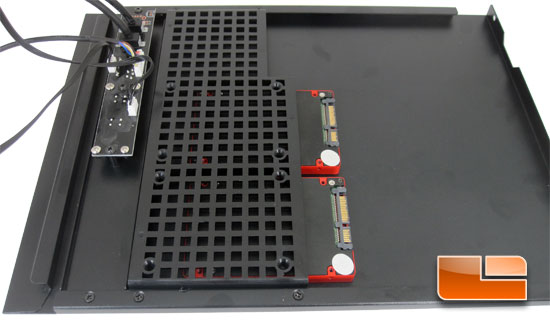
I have seen several builds out on the interweb that have taken out both of the flex cages, I was curious as to how they were mounting their drives. Well, now we (I) know! The solid side panel features two spots for 2.5″ drives! They will slide in further that what I have shown, but then our Corsair Force GT SSD’s wouldn’t be very visible. We can also mount a pair of 2.5″ drives on the front of the power supply housing. Without the flex cages we would be able to mount up to four drives, or nine with the cages!

Comments are closed.