BitFenix Pandora Core Window mATX Case Review
Pandora Internal Impressions
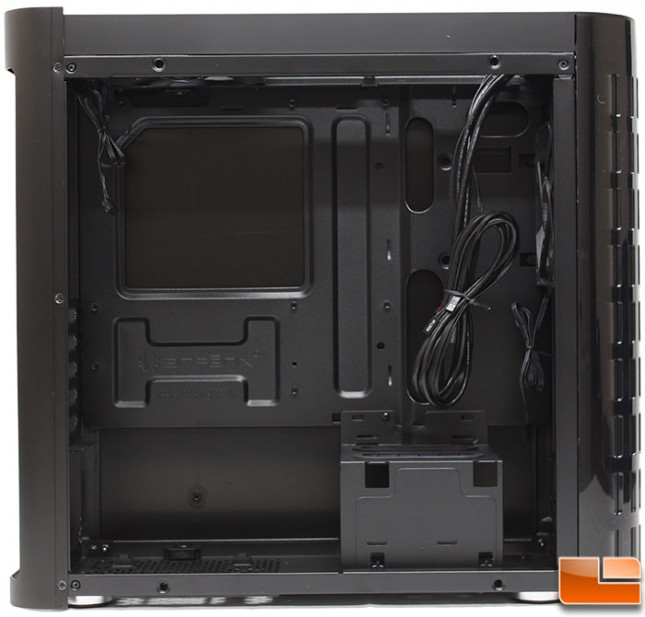
On unusual feature on the Pandora is that the side panels are not secured to the case with screws or thumbscrews, instead it uses push pins to secure it to the case in four locations (two at the top and two at the bottom). This isn’t unheard of, other cases have done it before. Pulling the side panel off, we can take a look at the interior which has been painted black. On the motherboard tray we find exactly what we would expect, a large hole to install CPU coolers after the motherboard has been installed, pre-installed standoffs and several holes in the tray for cable management, which there are four of on the tray, none of them have rubber cable guides, instead the edges are just rolled.
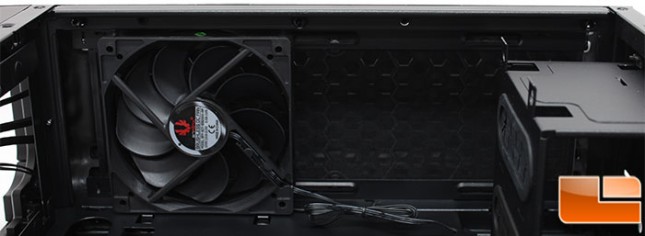
We saw the front panel from the exterior, here we take a look at the interior. BitFenix has pre-installed another BFF-SCF-12025KK-RP, exactly like the one on the top panel. There is room here for another 120mm fan if desired. Otherwise, it could be removed an a liquid cooling radiator placed here.
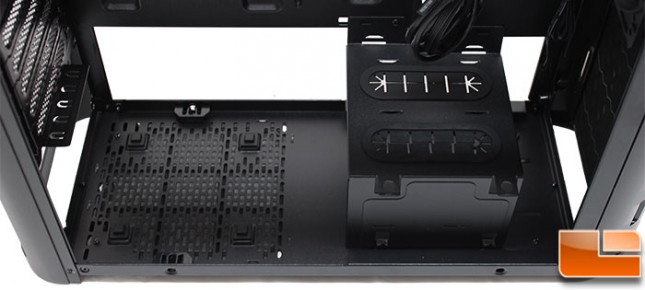
The bottom of the case we have several features to discuss. For the power supply, there are four rubber feet to reduce noise from the fan. In front of the power supply is a cage to hide the majority of the cables. This also plays double duty as a 2.5″ drive mount which will be visible once the side panel is in place. On top of the cage are two additional cable management holes, this time, BitFenix has installed rubber cable guides, which will make things look a little nicer. The cage could be removed if desired to make it easier to secure the cables beneath it. Below the cage is room to install a 2.5″ or 3.5″ drive on the bottom of the case.
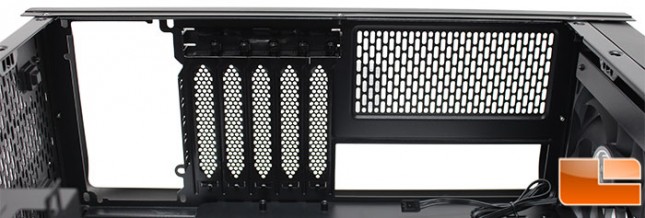
Nothing too unusual about the back panel. The five expansion slot covers are held in place with thumbscrews, which use a hex pattern, thus the reason BitFenix includes the hex key. As the case is only 160mm wide, it does make for some tight quarters, I have heard of some issues installing some of the newer video cards in different cases due to GPU height limitations.
Taking a look at the back side of the case we can see a few different features that should be pointed out. First in the top left area, is a place for another 2.5″ drive, once again using two rubber coated pins for one side of the drive and screws for the other (along with the anti-vibration rubber guards). Next we can see that the motherboard tray is actually at two different levels. This should help with cable management, however there isn’t a lot of space for cables.
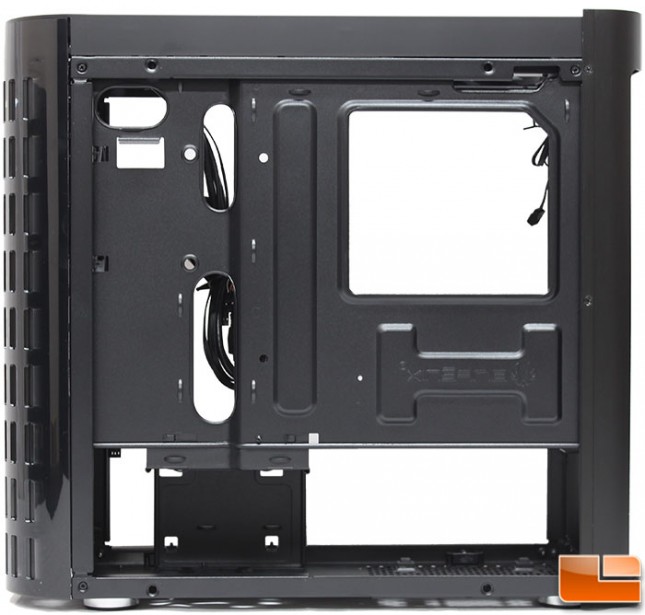
BitFenix recommends installing the power supply from this side so it doesn’t interfere with the cage on the front side of the case.
