BIOSTAR TPower X79 Motherboard Review
BIOSTAR TPower X79 BIOS
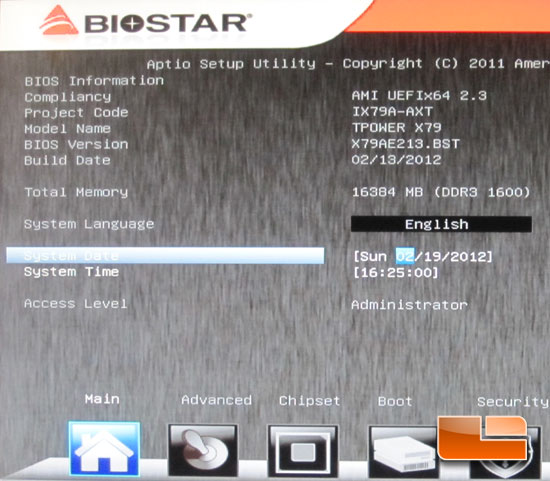
Firing up the BIOSTAR TPower X79 for the first time it’s a good idea to familiarize yourself with the BIOS. The first page of the BIOS is shows us the basic information about the system. We can see the model name, BIOS version, total memory, date and time. We can also configure the system language on the first page.
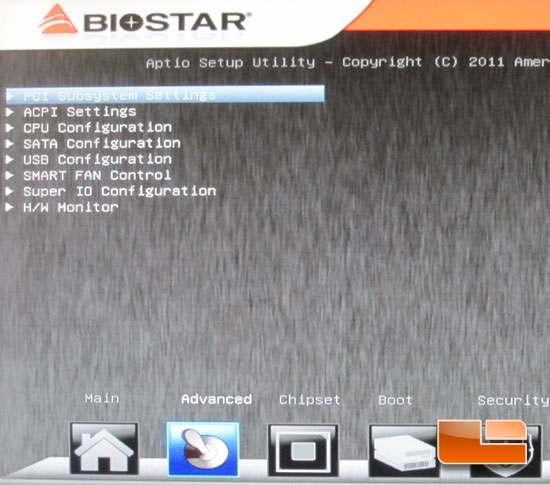
The second page of the BIOSTAR TPower X79 BIOS is the advanced settings. Here we can gain acces to the PCI Subsystem Settings, ACPI Settings, CPU Configuration, SATA Configuration, USB Configuration, SMART Fan Control, Super IO Configuration, and the Hardware Monitor.
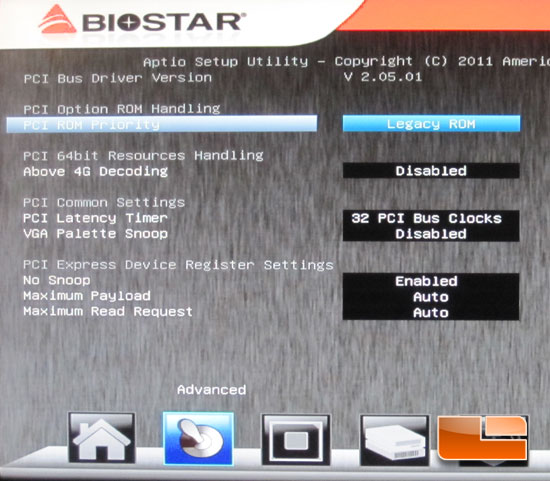
Above we can setup the PCI and some of the PCI Express settings for the BIOSTAR TPower X79.
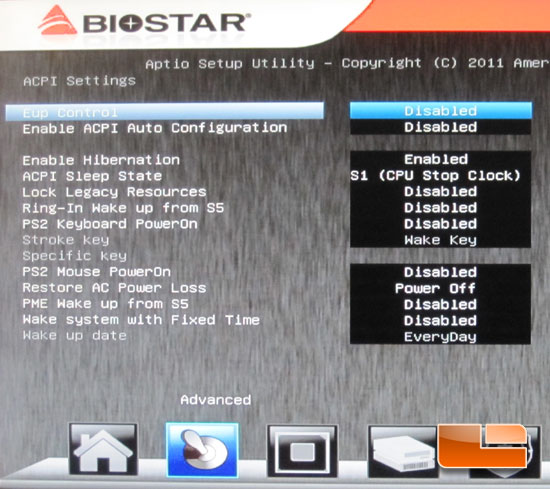
The BIOSTAR TPower X79 has a pretty extensive page for the ACPI Settings.
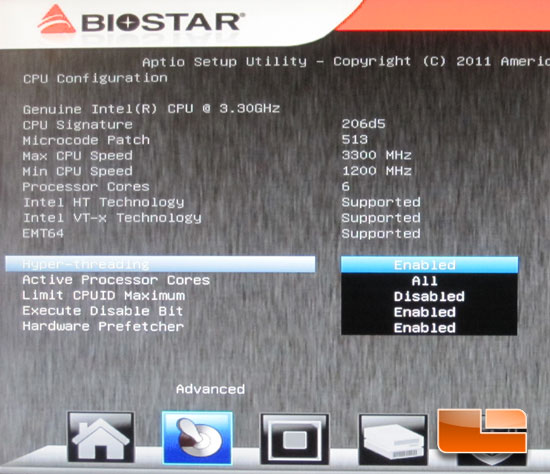
The CPU Configuration page has all the settings and information for the Intel Core i7 3960X CPU.
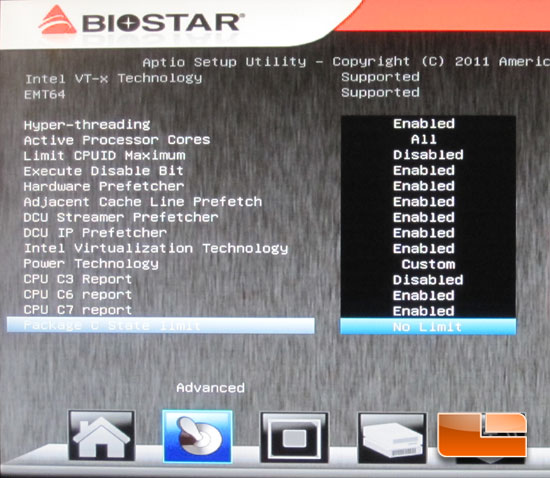
There is just a few more options for the CPU settings.
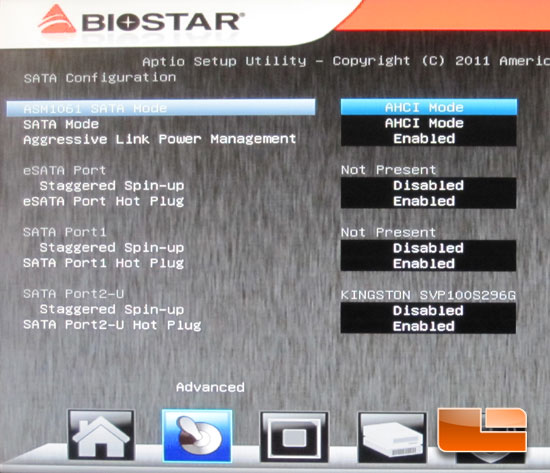
The SATA configuration page lets us change the SATA mode between IDE, RAID and AHCI modes as well as having the ability to disable it altogether.
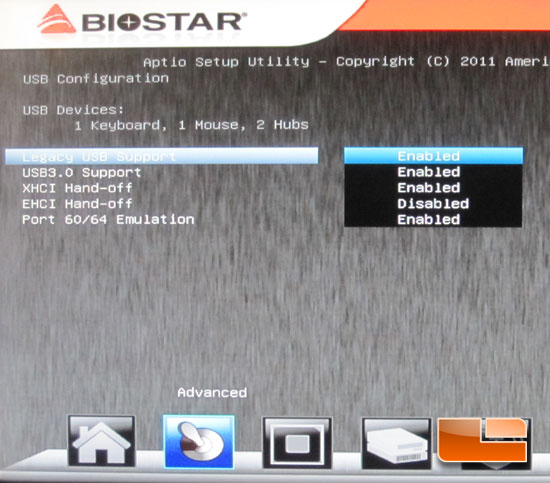
Above we can enable or disable the USB support for both the SuperSpeed USB 3.0 and the USB 2.0.
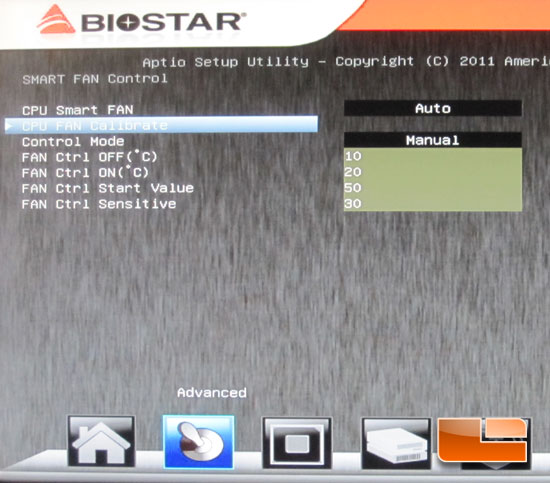
The BIOSTAR TPower X79 SMART Fan control only has the option to monitor and control the CPU fan.
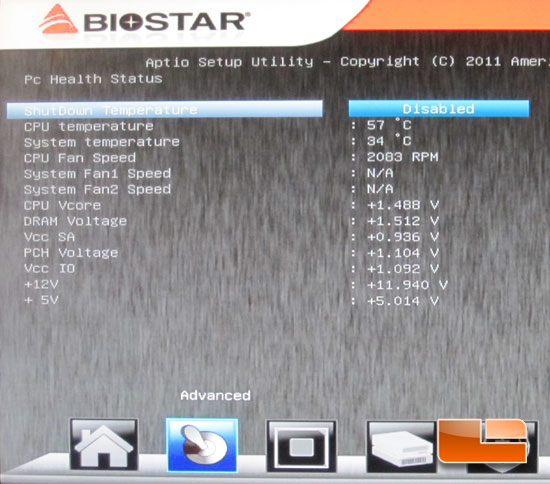
The Hardware Monitor within the BIOSTAR TPower X79 displays the various voltages and temperatures being reported throughout the system.
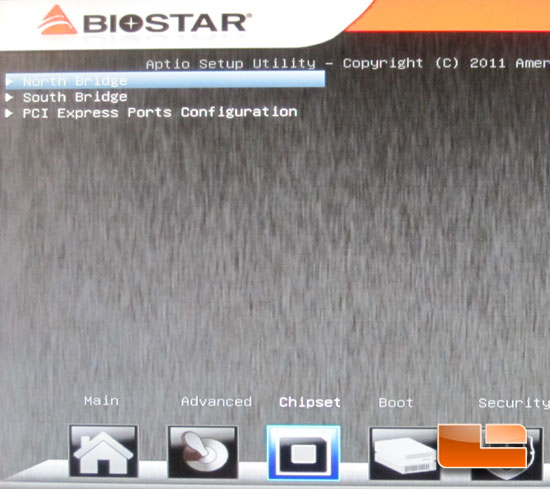
The Chipset page will grant us access to the North Bridge options, South Bridge option, and the PCI Express Ports Configuration.
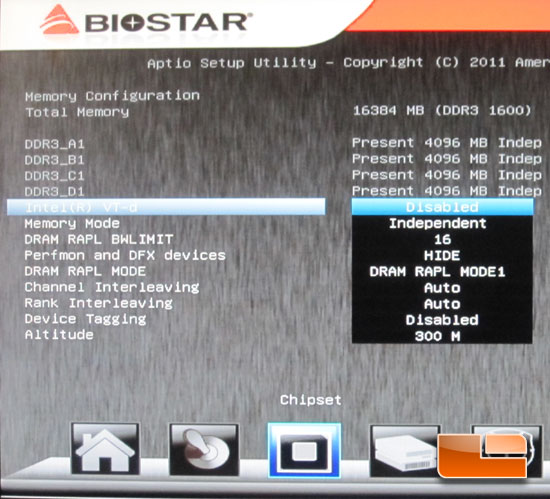
The North Bridge configuration actually has some options and information for the memory.
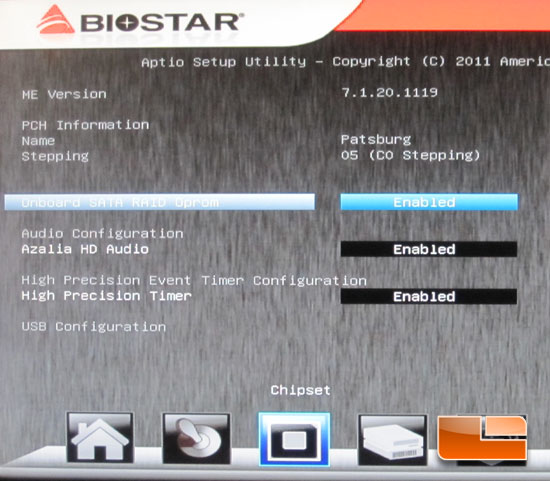
The South Bridge configuration page has the options for the Onboard SATA RAID Oprom, audio configuration, High Precision Event Timer, and a few more options for the USB configuration.
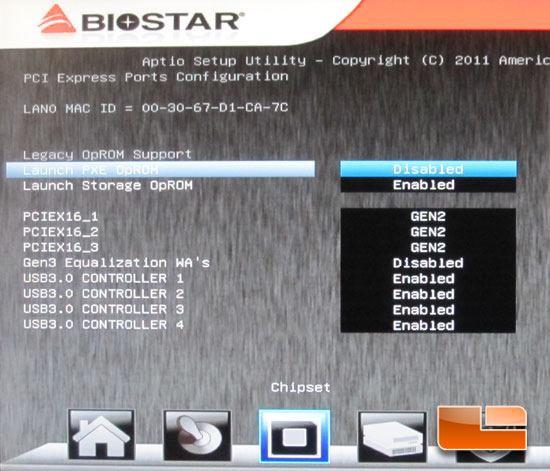
The BIOSTAR TPower X79 is PCIE Gen 3 ready, though it comes defaulted to Gen 2. We also have the ability to enable/disable the four different SuperSpeed USB 3.0 controllers.
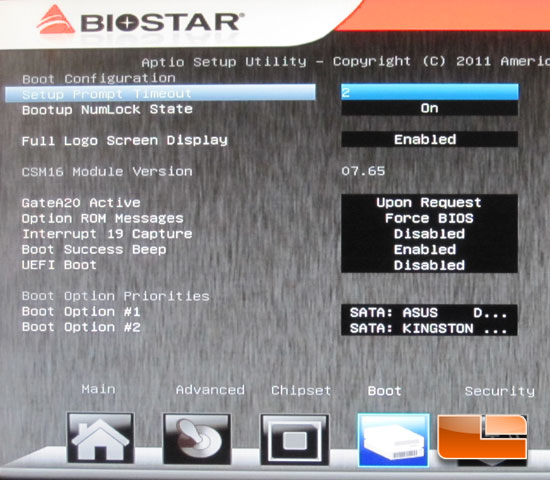
The Boot Configuration page has the options for everything related to booting the TPower X79 up.
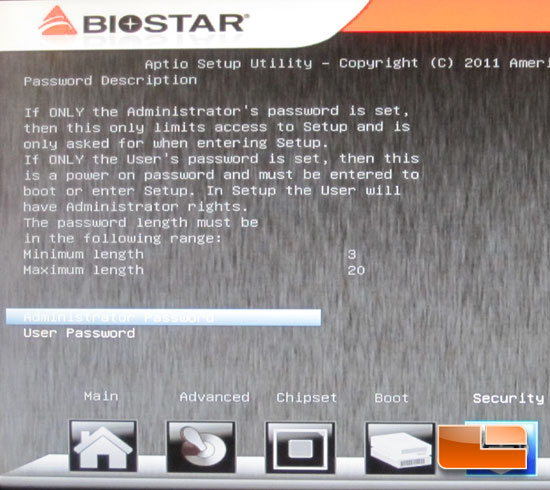
You can set the Administrator password and User passwords up through the Security page of the BIOSTAR TPower X79 BIOS.
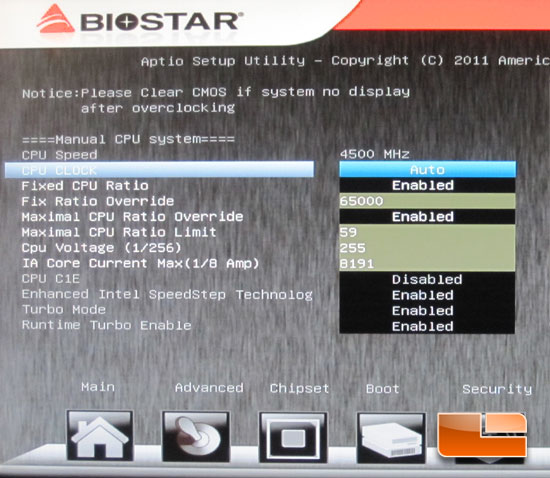
The BIOSTAR TPower X79 BIOS page named O.N.E., this is where you will find all of the options to overclock your system. Above we have the system set to a fixed CPU Ratio, so it eliminated the option to do a per core overclock. If you wanted to do a per core OC, all you need to do is disable the Fixed CPU Ratio and the Maximal CPU ratio and the individual cores would show back up.
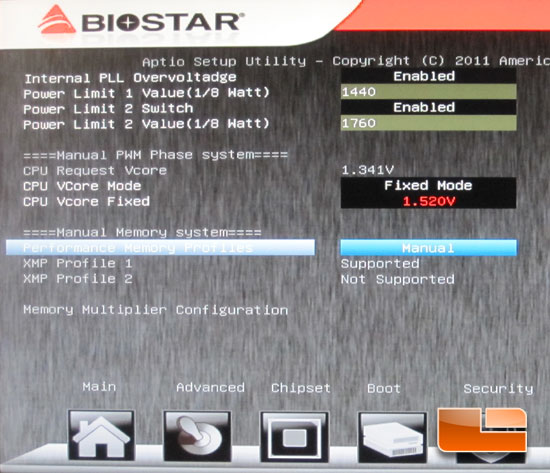
Scrolling down on the O.N.E. page brings us to the options for the Manual PWM Phase system voltages and the manual memory system settings. We can set the memory to either auto, manual, or XMP profiles.
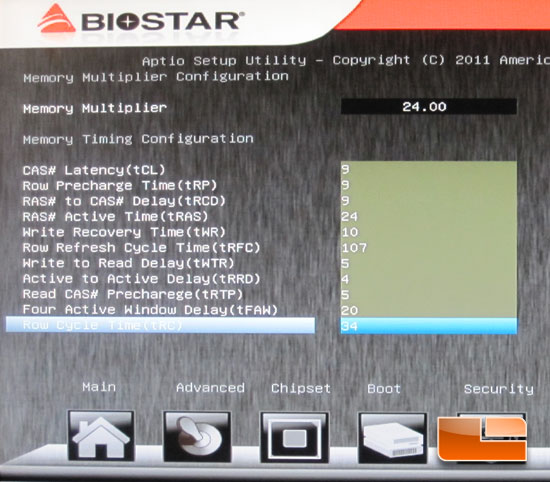
When the memory is set to manual we have access to set the memory multiplier and the memory timings.
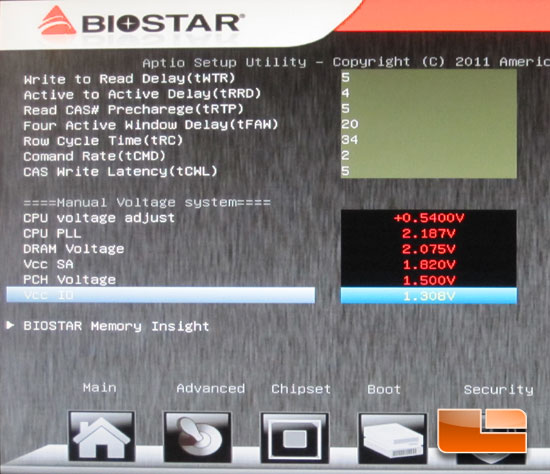
The BIOSTAR TPower X79 VCore can only be set to offset mode, not my personal favorite. I prefer setting the voltage that I want rather than offsetting it.
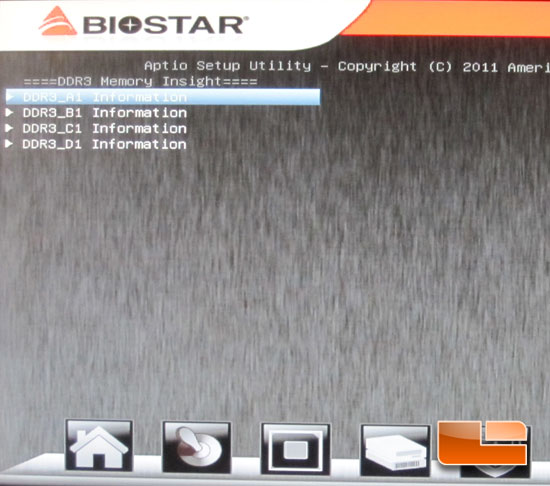
The Memory insight page will give us access to the four different DIMM slots of the BIOSTAR TPower X79.
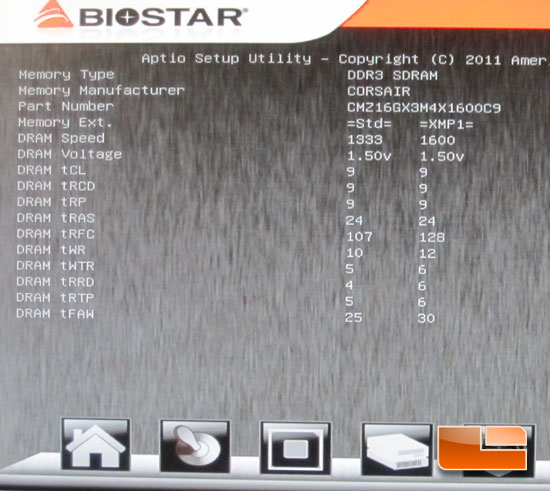
When you open up one of the DIMM slot pages from above, you will be greeted with a page resembling this one. Here we can see the standard JEDEC memory settings as well as the X.M.P. profile settings.
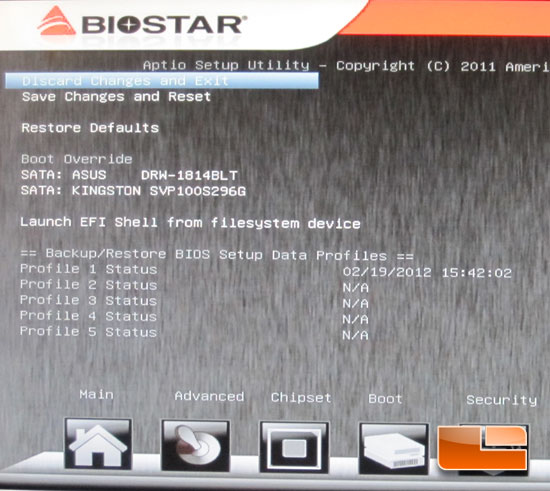
The final page of the BIOSTAR TPower X79 BIOS is the exit page. Aside from the options to exit and save or discard changes, we also have the boot override options and the option to save our BIOS profiles.

Comments are closed.