Azza Inferno 310 Mid Tower Case Review
Azza Inferno 310 Internal
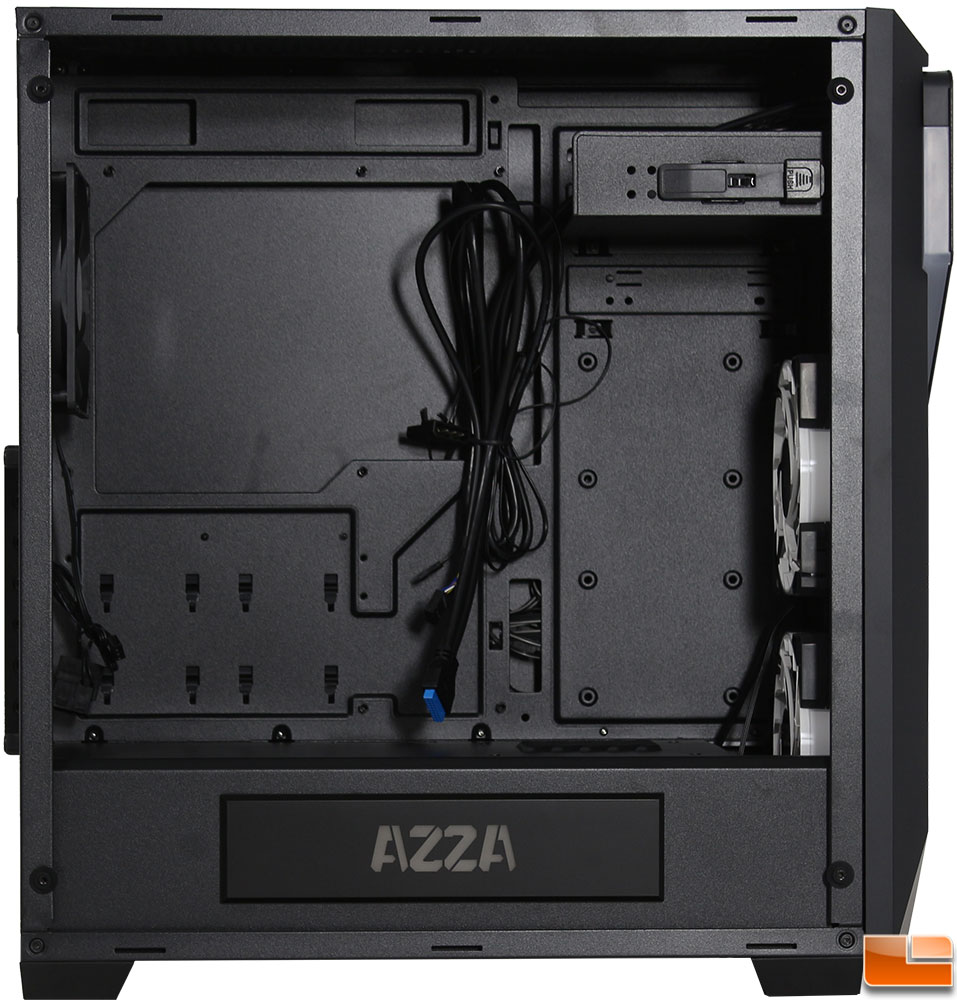
Removing the tempered glass side panel is quick and easy, four thumbscrews and you can pull it off; it will sit on the rubber posts, just be aware it could come off by itself. Taking a quick look, we can see the interior is a uniform color that matches the exterior. On the motherboard tray, we can immediately notice an oversize hole for installing CPU coolers after installing the motherboard. To make installing the motherboard easier, Azza has pre-installed a few of the standoffs, be prepared to install one or two others. There are a total of six additional holes in the tray, three going vertical along the edge of the motherboard, and three at the top horizontal to the motherboard. Each of these have rolled edges, but no rubber grommets. Another thing to be aware is that they are fairly narrow, about 3/4 inch wide which should be sufficient to route cables through. Between the front intake fans and the motherboard area there are two additional places you could install 2.5″ drives; however again space will be tight.
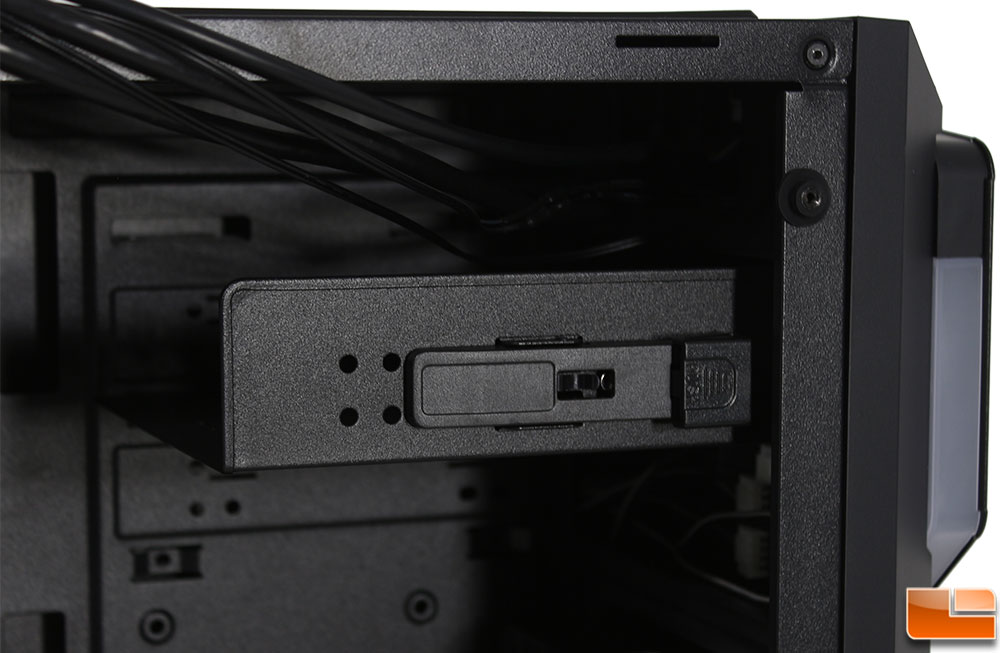
The 5.25″ device bay has a tool-less clip on one side of the tray, making installation very easy. The front of the clip has pins that snap into the screw holes on optical drives, if you really want to use screws, there are a couple sets of holes so you can use screws.
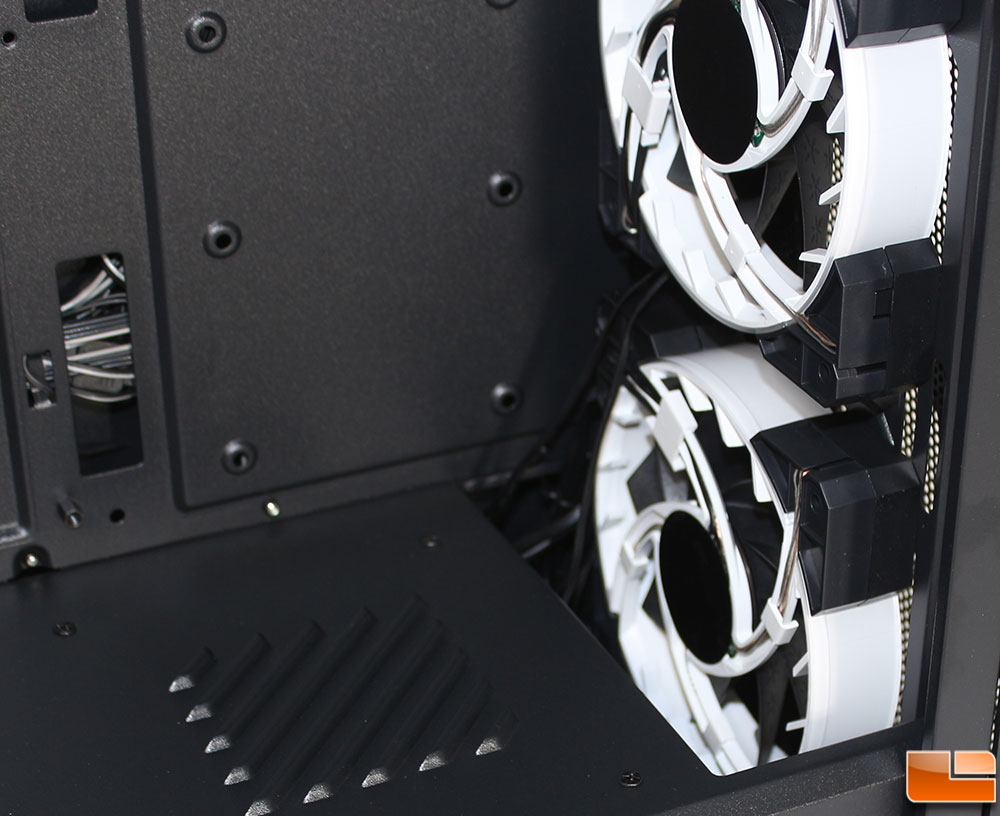
Taking a quick look at the front intake fans, Azza has installed two RGB Hurricane fans, part number FNAZ-12RGB-B; the Hurricane fan is also offered in an all white model (sold separately). The frame is made up of a translucent acrylic material, allowing the frame to light up from the RGB LEDs. These RGB LEDs can be controlled either with the included RGB controller, or connected to RGB headers on motherboards. These are rated for up to 1,800RPM with a maximum air flow of 56.12CFM. Noise isn’t a problem as their maximum noise level is 29.8dB(A). Both utilize the standard 4-pin PWM connection, in addition to a 4-pin RGB header cable. Between the fan and the power supply cover there is approximately 1 1/3 inches, which many radiators are pretty close to that exact size; so while you could put a radiator here, it might not be the best location for airflow.

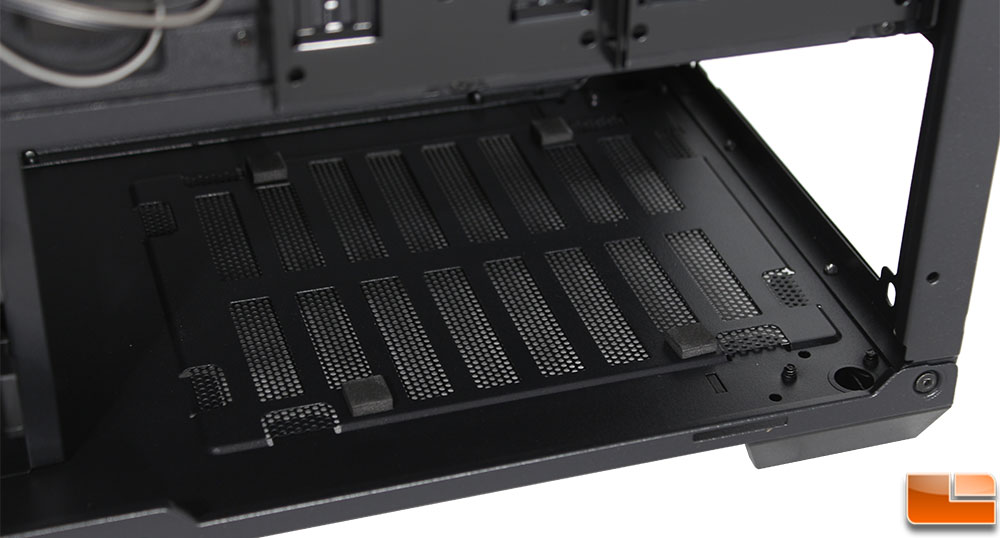
The power supply, and 3.5″ drives are separated from the rest of the case by a cover. This cover goes from the front to the back of the case, with only two cutouts, the previously mentioned liquid cooler radiator cutout, and a cutout on the top for cable management. In addition, to help some airflow, there are some vents in the top of the cover. On the side of the panel, Azza has placed their name, which will light up with RGB LEDs.

Flipping the case around to take a look at the back side, there are a total of three cable tie locations going right up the middle. Measuring the space we find there is just under 1/2 inch of space for cables.
We have already seen the front, so we know that that power supply is installed on the back side, under the cover. Taking a quick look, there are four rubber feet which will elevate the power supply for airflow, and they will reduce any potential vibration noise.
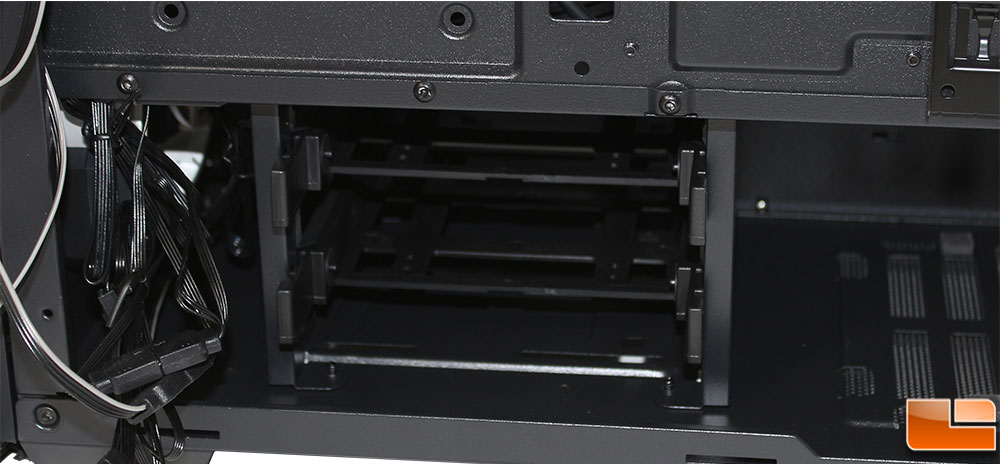
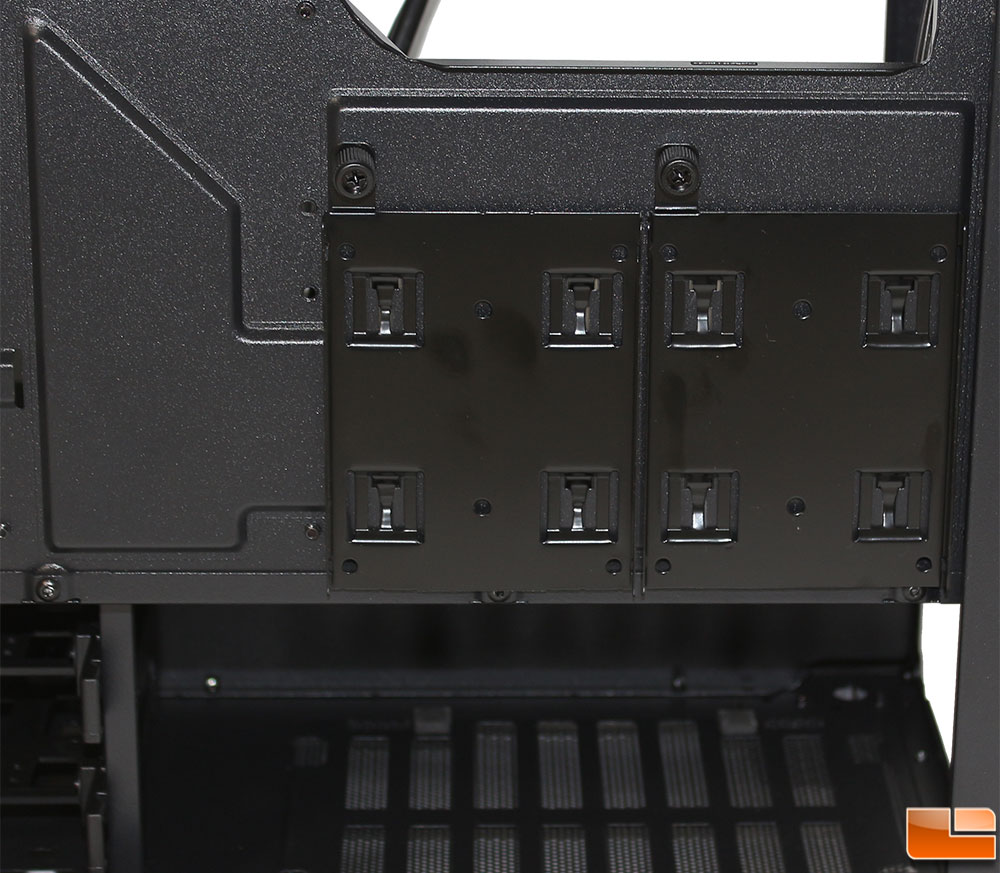
On the back side, you have the option of installing drives on two plastic 3.5″ drive trays (which will also accept 2.5″ drives), located between the power supply and the front intake fans. The other option is to install 2.5″ drives on the metal trays, which are located between the power supply and the large hole in the motherboard tray.

Both the 3.5″ plastic tray and the 2.5″ metal tray are familiar designs. The 3.5″ plastic trays are of a toolless design, while the 2.5″ metal trays will require screws to secure the drives to them. Likewise, if you want to install 2.5″ drives on the 3.5″ trays, you can do that, however you will need to use screws to secure the drives.