AT&T Unite Pro 4G LTE Mobile Hotspot Review
AT&T Unite Pro Web Interface and Smartphone App
We just took a look at the Unite Pros onboard interface, but Netgear was gracious enough to create a web interface and even an app for your Android phone or iPhone to make configurations easy. Having these extra interfaces means you dont have to dig in your backpack for the device and I like that! For your reference, I utilized both the web GUI and Android app on my ASUS Transformer Prime tablet, so the screenshots come from it. To hook up to the web GUI, all that you will need to do is navigate your devices browser to http://attunitepro and youre set.
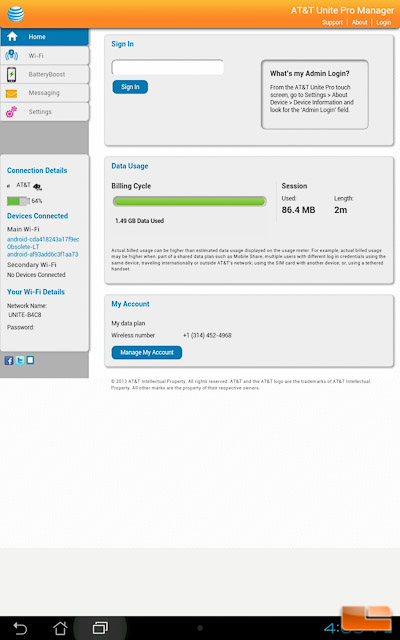
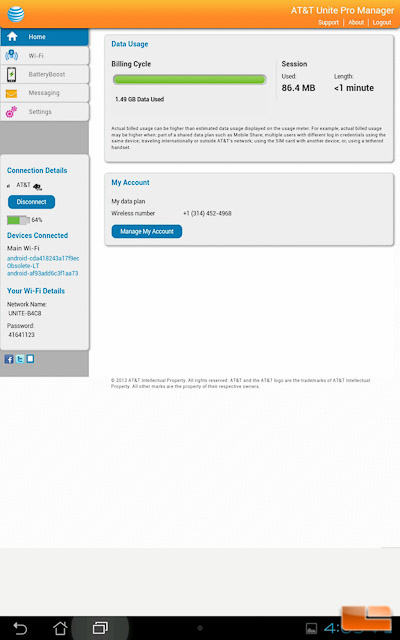
Starting with a quick look at the web GUI, you will notice off the bat, on the left, that you have all of the same options that you do with the onboard interface. You are asked to sign into admin before you can look at anything, in which the default password is attadmin.
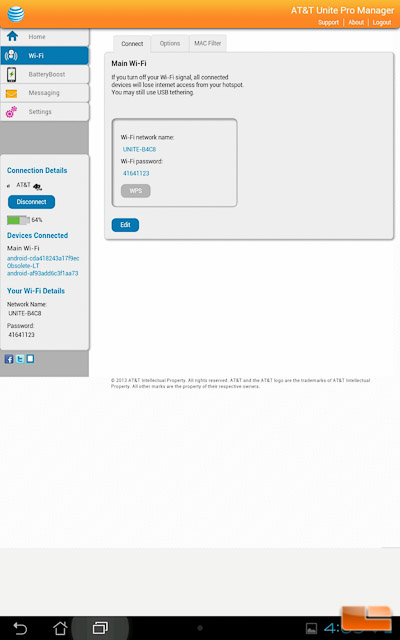
The WiFi tab will let you see the current main WiFi network information, plus give you the ability to turn on WPS pairing.
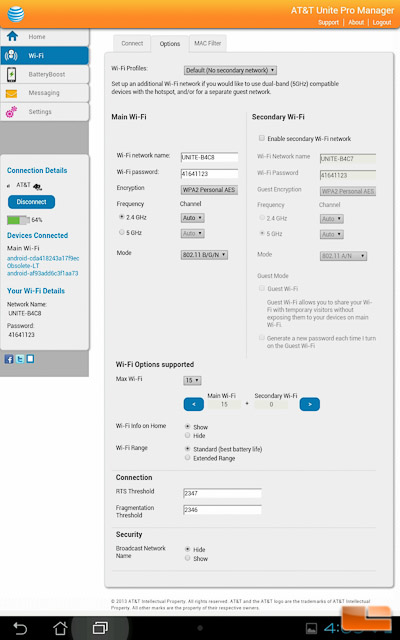
If you were to click on the Options tab, this is where you find all of your main and secondary WiFi network information. There are a ton of options listed here and the layout and categorization is quite easy to work with. Oddly enough, this is the only place that I noticed the ability to hide the SSID from broadcasting.
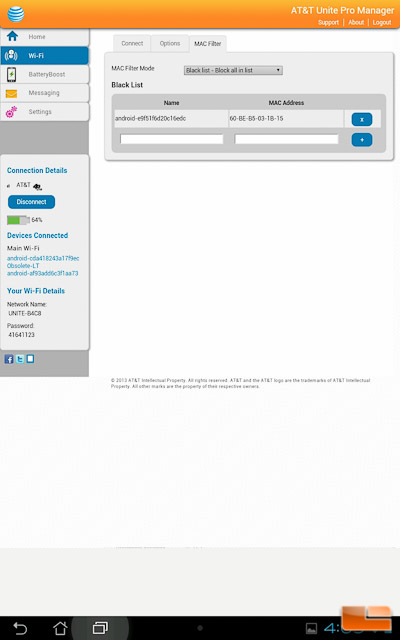
MAC filtering is the obvious approve or deny device tab. There is nothing to see there.
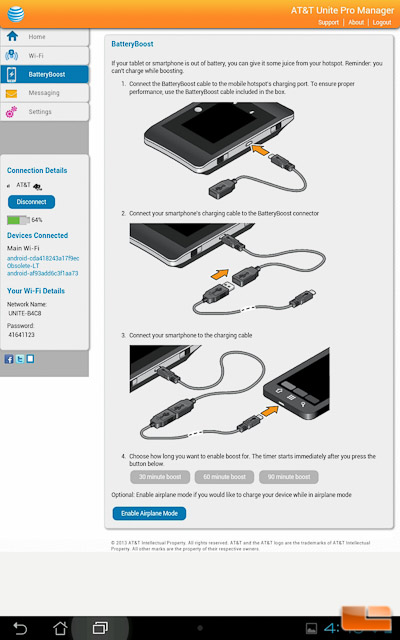
On the left hand side you have an option to enable BatteryBoost and after clicking you will notice a nice graphical representation, should you second guess how to charge your phone from this device.
Messaging is the obvious SMS messages tab, just like you will find on the Unite Pro itself.
Finally the settings section starts off with showing you display options. You can change anything from brightness, WiFi info on the home screen display, display timeout, and WiFi standby. You can also modify the default username and password for administrating the Unite Pro.
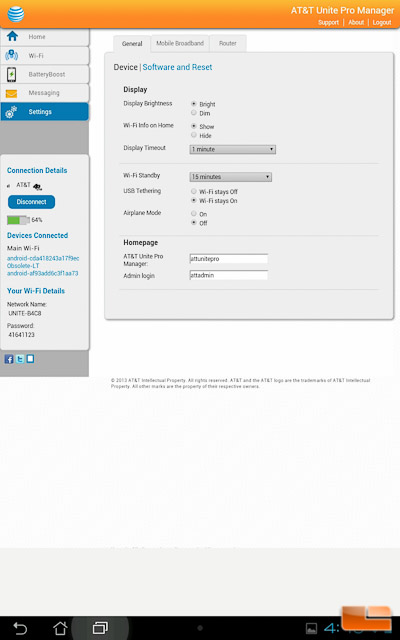
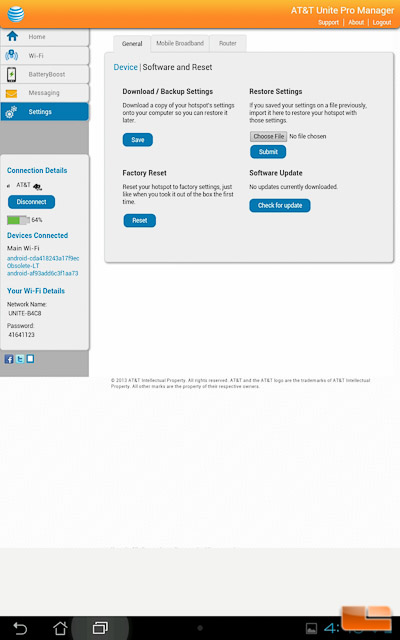
I almost overlooked the secondary options under the tab, in which there is also a Software and Resets sub option. You can save and import your devices settings, should you ever need to reset it to defaults.
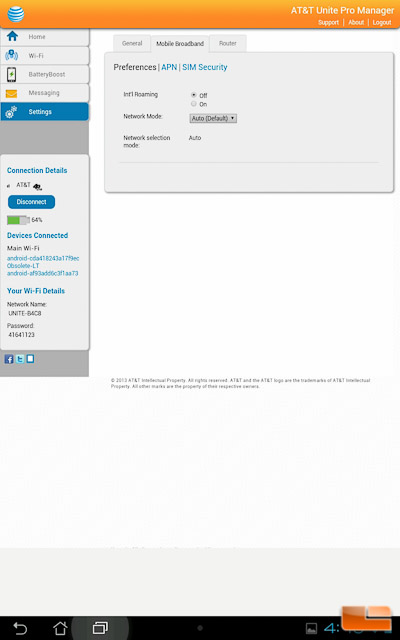
The mobile broadband tab has a lot of stuff that you will probably never need to touch.
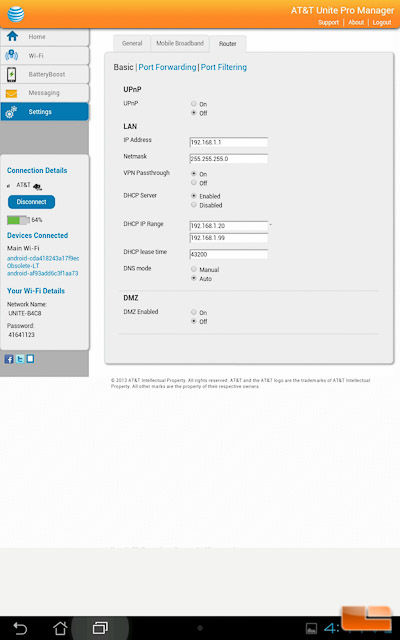
Finally, the router tab is pretty cool, but some of the options arent totally necessary for a device like this. This tab lets you modify the IP scheme, enable port forwarding, and port filtering.
I really thought the web interface was very powerful, laid out nice, and graphically pleasing; It felt very modern and I appreciated that.
Moving over to the mobile app, Netgear Aircard, youre forced to sign in before you can see anything. Youll simply pop in the default admin password of attadmin and youre good to go!
On the home screen we can configure the device to use 4G, LTE, or both. I wouldnt even bother modifying this setting and just leave it on Auto. Along with this option is the ability to turn the device off, enable BatteryBoost, and a couple other miscellaneous options.
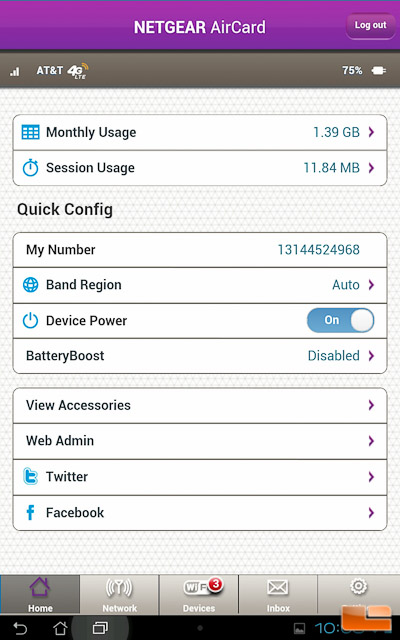
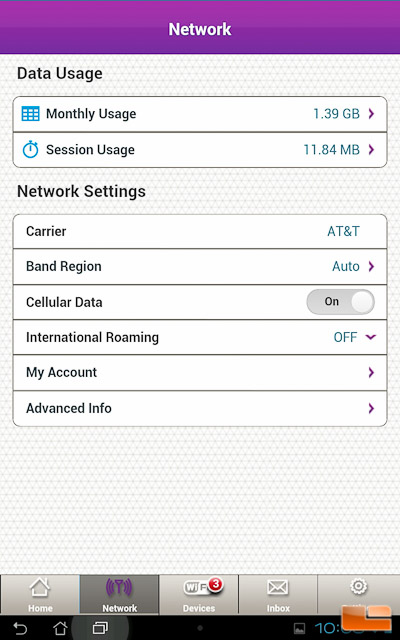
On the network tab you will find your cellular data usage and a couple options for how you want to utilize your hotspot on the AT&T network.
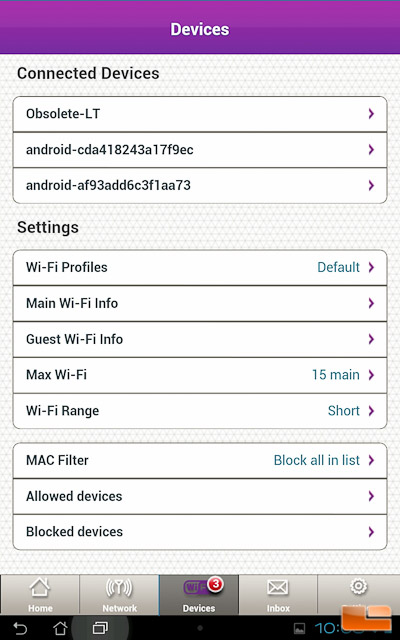
The devices tab is where all of the wireless hotspot configuration options will be. In here you can see the connected devices and choose to add it to the allow list, should you want to enable MAC filtering. The options to modify the main and guest network also exist here.
The messages tab is for any SMS messages that come in.
Finally on the settings tab, you have a couple redundant options from other tabs, as well as the ability to modify the display backlight and sleep timer.
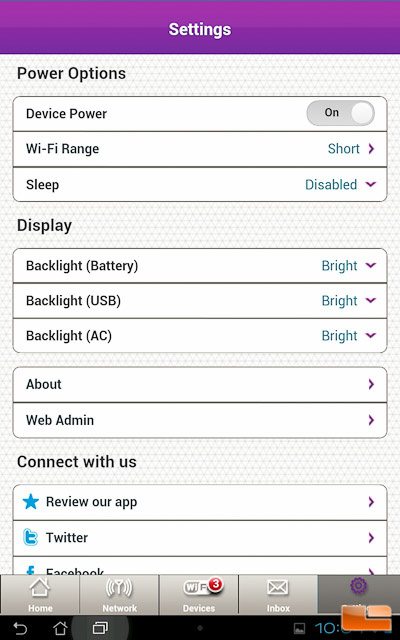
Overall the mobile app functions well, but it isnt nearly as nice looking as the web GUI. It feels very outdated in terms of visuals and isn’t nearly as powerful as the web GUI.
Let’s move on and check out and how well this LTE hotspot performed for us.
