ASUS RT-N66U Dual-Band Wireless-N900 Gigabit Router Review
ASUS RT-N66U Setup
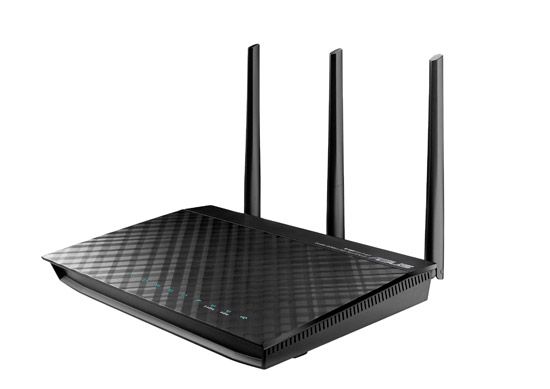
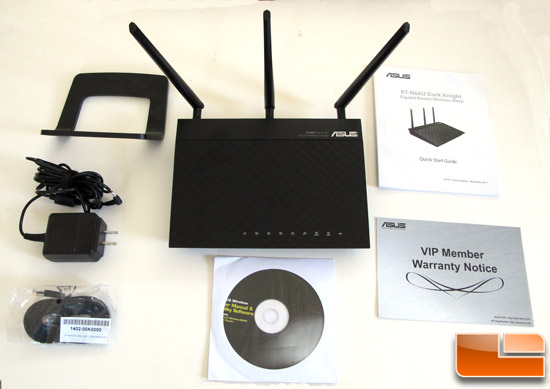
The “Black Diamond” design of the ASUS RT-N66U router doesn’t have that many buttons on its body but does give you a ton of information via the LED indicator lights on the front. From left to right, you have indicators that show you: Power, LAN, WAN, 2.4GHz, 5.0GHz, USB.
Along the back, you will find the Power (DC-In) port, Power switch, 2 USB ports, Reset Button, Internet & LAN ports and WPS Security button.
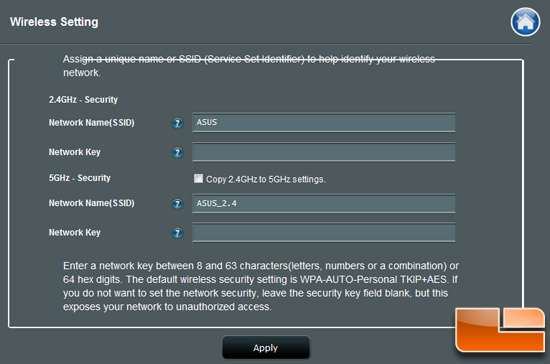
To set the N66U up, all you really need to do is plug a computer or laptop directly into a powered RT-N66U and open up a browser. Once you open up a browser, you will be prompted to log in. As you can see in the picture below, the configuration of the ASUS router is guided by text and visual aides.
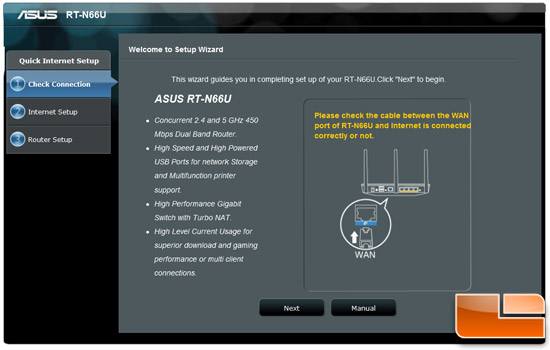
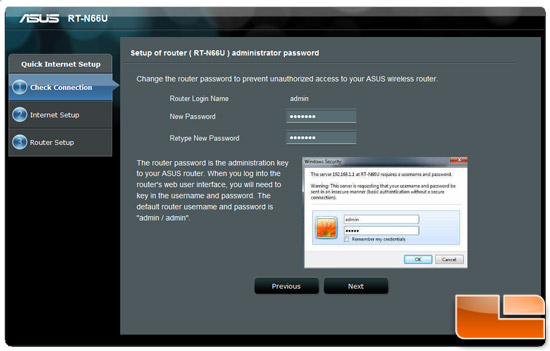
After the RT-N66U checks for an internet connection, it prompts you to change your password from the default settings.
A very nice feature that ASUS has built in is the ability to set up your router as either an Access Point or a Router. AP Mode is for when you want to extend your network and connect devices to the RT-66U directly.

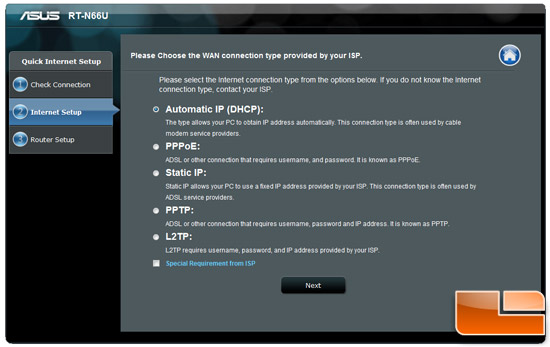
After choosing the type of networking we wanted (Router), we then choose the WAN connection type:
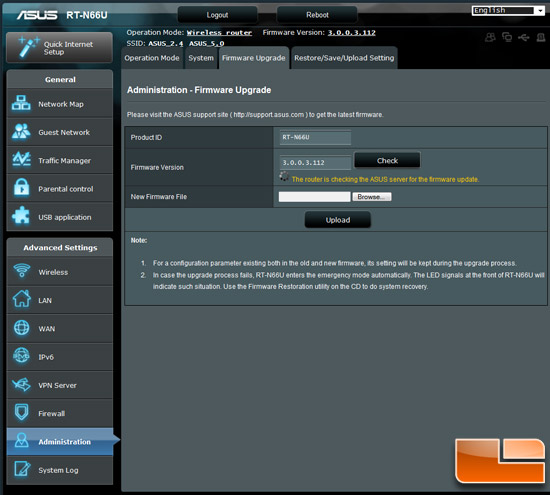
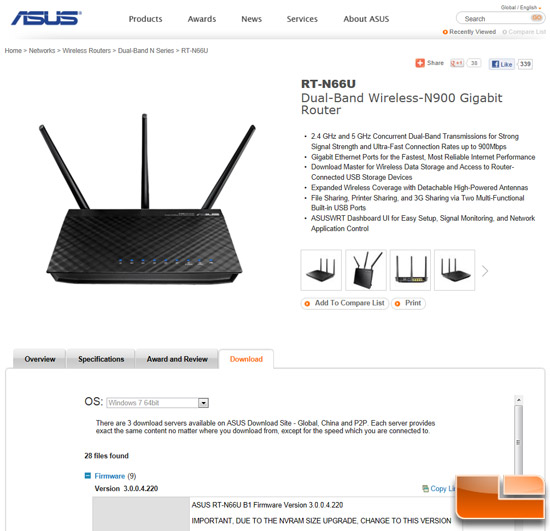
Before we get too far, we wanted to check and see if we were running the latest firmware from ASUS. The RT-N66U has a tab where you can check for the latest firwmware and automatically upgrade. The tab also shows the current version if you wanted to upgrade manually.
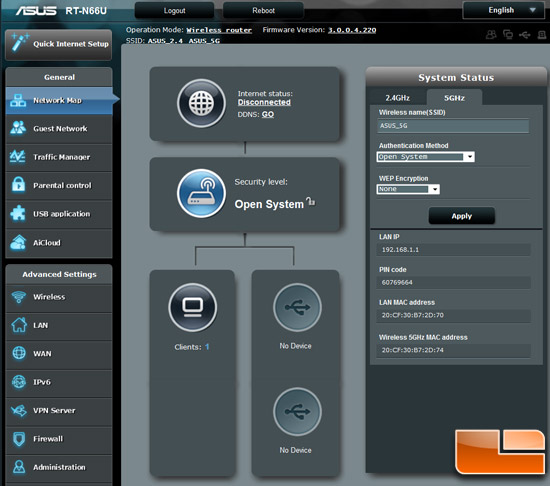
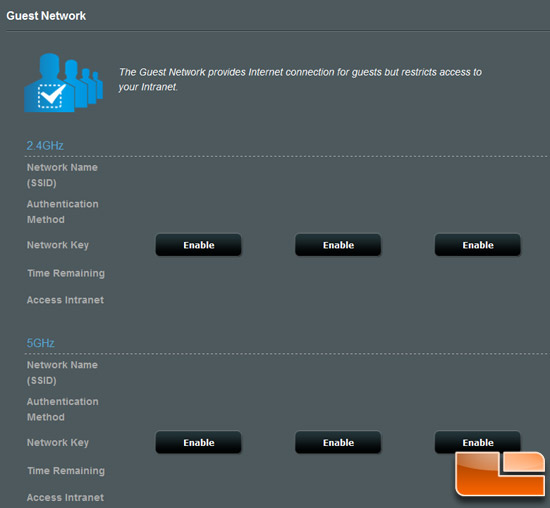
One more feature that we found on the ASUS router is the ability to create and configure Guest Networks. This feature is found in other routers so it’s not exclusive, but the fact that this feature is there tells us that the ASUS engineers really want this router to be as versatile as possible.
some speed tests to see if we can judge just how well it does in the
real world.

Comments are closed.