ASUS P7P55D Premium Motherboard Review
TurboV Remote & TurboV EVO
It can sometimes be a pain trying to get every last MHz out of your
system. You are constantly rebooting, stress testing each setting until
you find the crashing point. With the TurboV EVO software, coupled with
their TurboV Remote, you can quickly change settings without having to
restart your computer! Installing the Remote is as simple as plugging it into the
motherboard, though since it passes through the I/O shield, you will
have to install it after you get the motherboard
installed in the case. Personally, I would rather see the header for this with the
rest of the I/O, perhaps above the reset CMOS button since that is
where it passes through the I/O shield. Once you have your operating system installed, simply run the ASUS
DVD and install the TurboV EVO, Remote, and EPU software. Youll want
to make sure and put a shortcut to the Remote software in your startup
menu, or you will need to open it manually every time your PC restarts.

Taking a glance at the included remote, we have the Power button
which functions exactly like the one on your case (and the one on the
motherboard itself). Below that, you see the Turbo Key buttons. This
allows you to use the 3 different Auto Overclocking profiles we saw in
the BIOS, so that way you can change the system speed on the fly!
Pressing + adds 1 to the BCLK of the system, -subtracts 1 from the
BCLK. This is quite handy for fine-tuning your system. At the bottom,
we have the EPU Manual and Auto Mode. This allows you to set your
system to run at very low levels (even below default clock speeds) to
keep heat and noise down, and with the push of button, crank it up for
playing games.
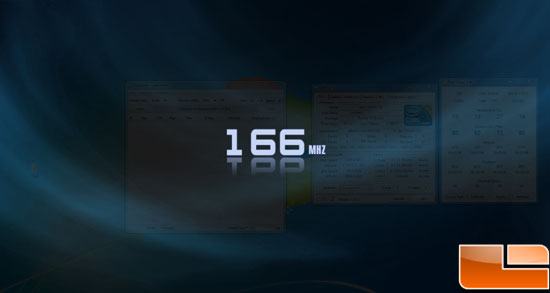
Once youve got it all set up, it works great! As you can see above,
changing the BCLK brings up a screen clearly showing what youve done.
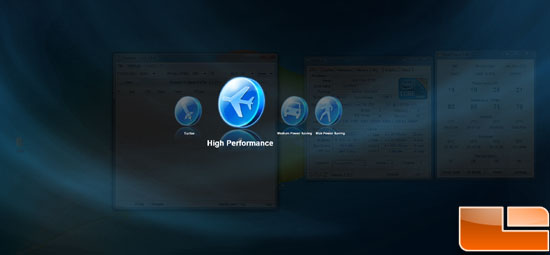
Additionally, when you press one of the EPU buttons, it gives you
the choice of performance levels. Overall, I was happy with the way the
software worked. The graphical layover is a very nice touch, but would
like to find a way to adjust the amount of time it is displayed after a
button press (Im impatient, what can I say).

As a final stroke of genius, ASUS has added a reset CMOS button directly on to the remote. Nice thinking gang!
Memory OK
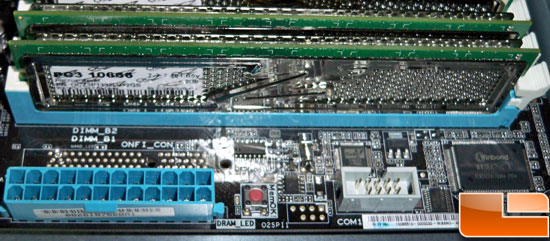
See the little red button there? A press of the this handy little tool called “MEM OK” will run a brief test on your memory to ensure that it is capable of booting your system. This is good for overclocking and general compatibility.
TurboV EVO
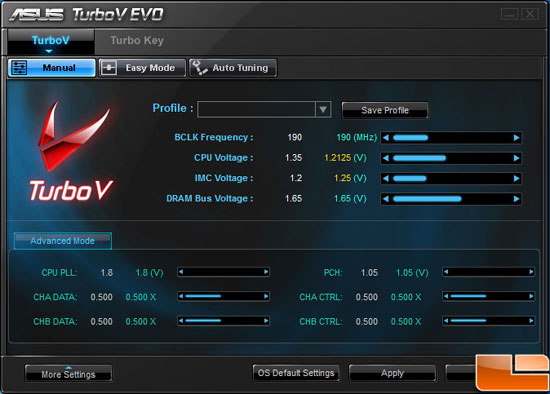
After spending some time messing about in the BIOS trying to get an overclock, we decided to try out the ASUS TurboV EVO software.
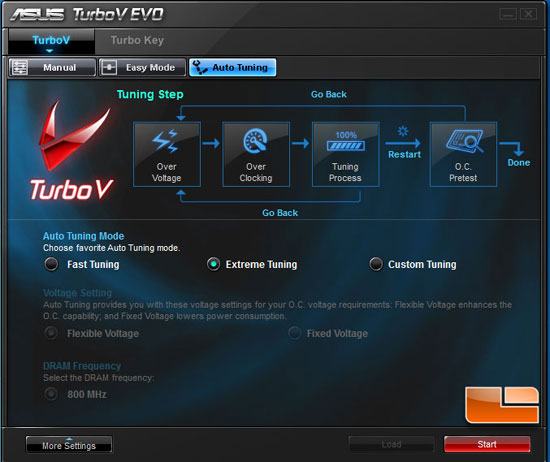
After a quick install and a reboot, we were ready to “auto tune” the system with the “Extreme” setting. After starting the EVO software the system rebooted, came back into Widows,and ran through some tests to check for stability.
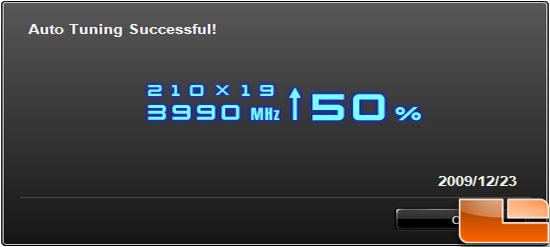
After a couple of blue screens the software was done and popped up with this result. Pretty impressive I must say!! While manually tuning is the optimal way to overclock, the TurboV EVO software is definitely worth a go if you are unfamiliar with tweaking your system.

Comments are closed.