ASRock Z170 OC Formula Motherboard Review
Z170 OC Formula BIOS
ASRock makes updating the BIOS easy by providing three different methods of updating. The Instant Flash method is used within the UEFI environment, DOS is the oldest method, and Windows updates the BIOS within the Windows environment. It is always a good idea to get the latest BIOS revision, which ASRock provides here. Since the release of the Z170 OC Formula, ASRock has updated the BIOS to 1.40, which is what we are running after a quick update.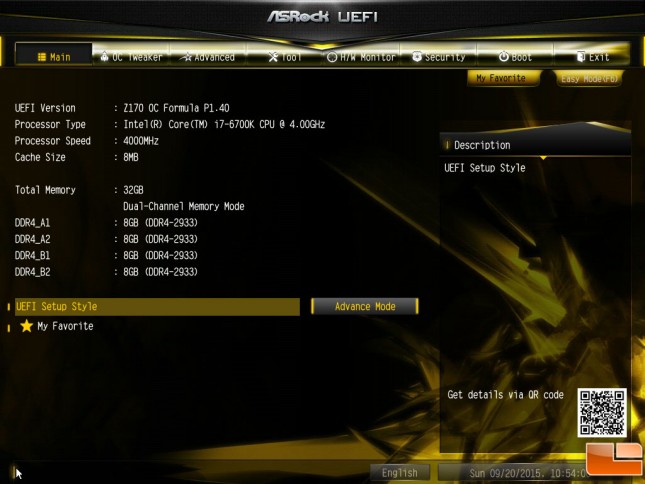
The UEFI environment that ASRock provides is a pretty basic version. It looks more like the classic BIOS screen, with a graphic front-end. Nothing fancy, but it feels like a known environment and is easy to get around. The first screen doesn’t provide many options to be changed, however it does tell you the UEFI BIOS version, processor, current speed, and some quick information on the memory. The UEFI Setup Style defaulted to “Advanced”, I switched it to “Easy” but was unable to quickly tell any difference.
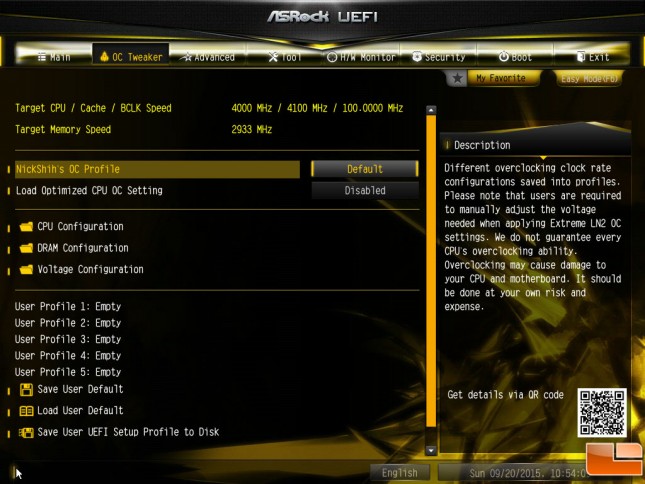
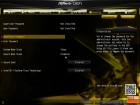
As we begin to move through the menu options, the OC Tweaker menu is where most people will most likely spend their time if you’re into overclocking. Here you can use some pre-configured overclock profiles, or make your own profile using one of five user configurable profiles.
Two different sets of pre-configured profiles are provided. The first option are profiles configured by Nick Shih, these are the extreme profiles which I would recommend being very careful messing with; most of them are listed as being configured for LN2. The first three options, I checked out and didn’t see a boost in the CPU speed, so they must configure other options for speciality tests. The LN2 5.8GHz to 6.5GHz did adjust the CPU Frequency to boost the CPU speed. The ASRock CPU OC profiles provides a quick way to overclock to 4.4GHz to 4.8GHz.
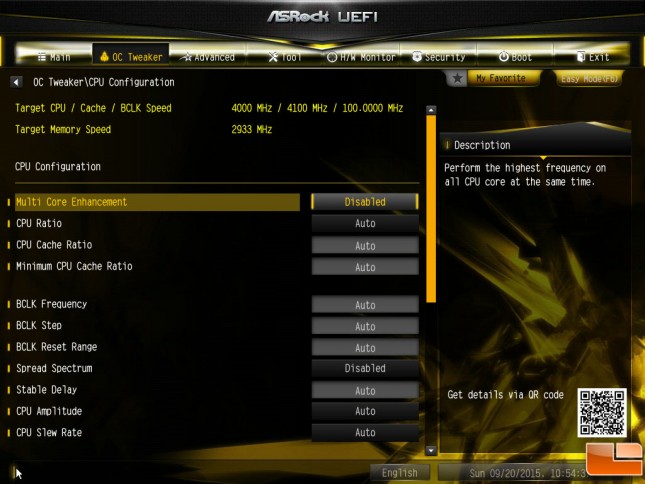
For many overclockers, their main attention will be within three submenu’s. The first is the CPU Configuration, here you can adjust the CPU Ratio from “Auto” to keying in a specific Ratio. One of the advanced overclocking features is the BCLK Frequency, here you can adjust the overall clock speed from 75MHz to 600MHz, with the default being 100MHz.
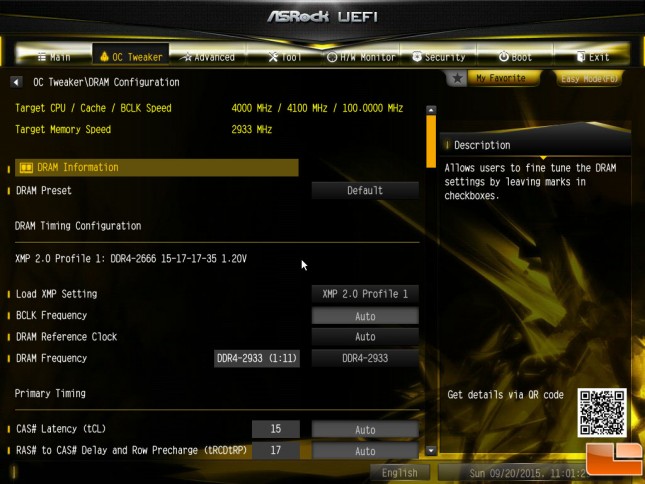
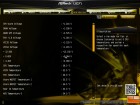
The next submenu of interest is the DRAM Configuration, here adjusting the speed of the DDR4 memory is done very easily. The DRAM Frequency opens a drop down menu with all the available frequencies that are built into the Z170 OC Formula, all the way up to 4133MHz. Setting the XMP Profile opens a window that shows the available XMP 2.0 profiles. If you want to set the specific timings for the memory, this is broken down into four levels of timings, along with an Advanced section. After the Primary Timing section, it gets pretty in depth and only the experts should adjust these others.
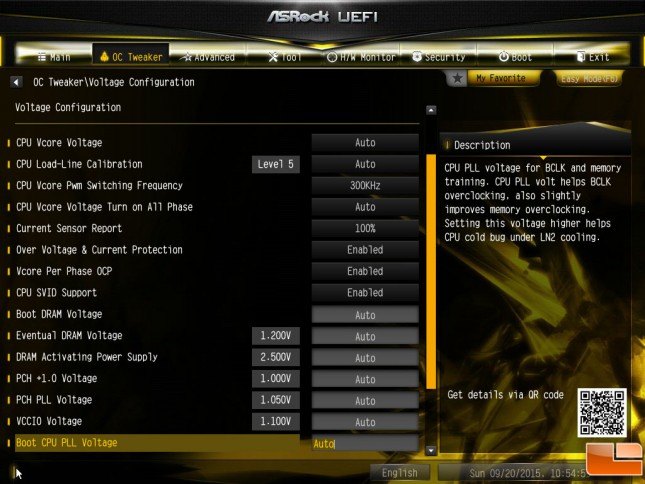
The last of the major overclocking submenu’s is the Voltage. Once again, ASRock provides a large number of options to tweak the system to get the best overclock possible. Changing the CPU Vcore Voltage from Auto to Fixed Mode will allow you to input the desired voltage for the CPU. Using the pre-configured 4.7GHz overclock profile, this gets changed and the voltage increased to 1.360V.
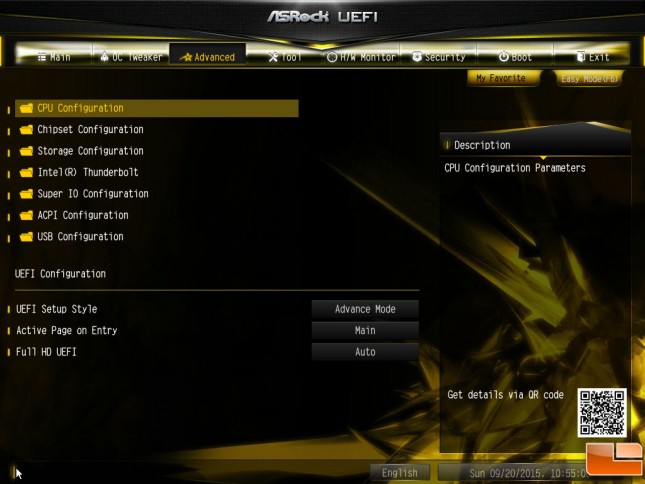
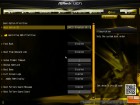
The Advanced menu provides various configuration options for the CPU, Chipset, Storage, I/O, ACPI and USB. Most are pretty self-explanatory if you are familiar with how BIOS screens are laid out. Within the Storage Configuration menu, you can adjust how the motherboard reacts to your SATA and M.2 drives, AHCI or RAID, SMART, etc.
Out of the last group of menu’s the last one that might be the most useful is the Tools menu. Here you can install drivers from the ASRock website, set up a time restriction on the internet access, email ASRock UEFI Tech Service, update the UEFI BIOS, check out the various hardware components in the system and a few other options. H/W Monitor provides a good view of the various voltage and temperature sensors. While the Security menu sets BIOS level passwords, configures Secure Boot and Intel PTT.
On each of the various menu options within the ASRock UEFI BIOS, they provide a simple description of what the option is for, along with any Min/Max values. This comes in handy for those that are unfamiliar with a specific function, of which there are many functions for overclocking. It is obvious why Nick Shih put his name on this board.
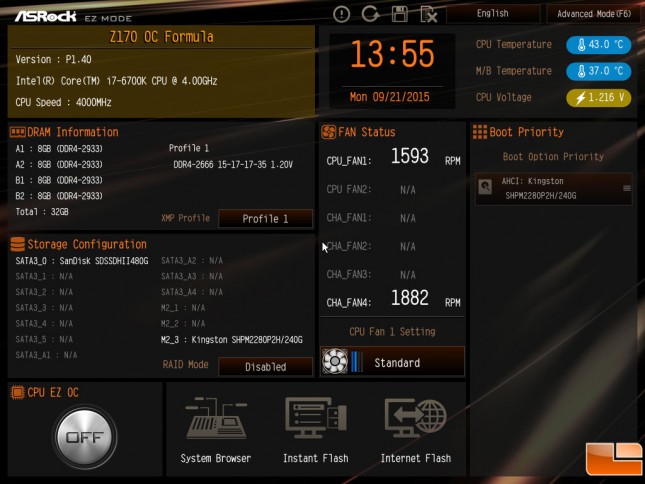
One additional UEFI Mode for the BIOS is the EZ Mode, here you can see a high level overview of your entire system. The basic CPU, memory, storage, Fan settings, temperature and boot priority. There is also a large EZ OC button in the lower corner which seems to increase the fan speeds and CPU Clock speed to 4.4GHz.

