ASRock X79 Extreme9 Motherboard Review
ASRock X79 Extreme9 UEFI BIOS
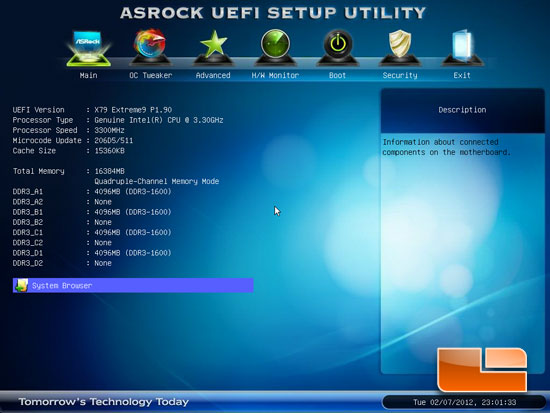
Once we install all of our hardware and apply some power to the ASRock X79 Extreme9, the first place we want to head to is the UEFI BIOS. Upon booting into the BIOS we are presented with the page you can see above. The Main page of the ASRock X79 Extreme9 UEFI BIOS displays the basic information about our system and how it is configured. We can see the BIOS version is 1.9, our Intel Core i7 3960X is running at 3.3GHz and our RAM is installed into the DIMM slots A1, B1, C1, and D1.
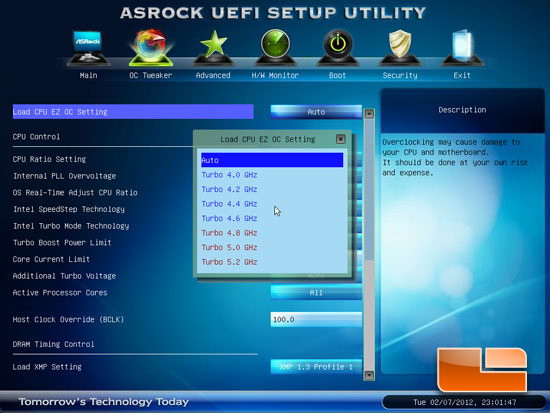
The first option in the OC Tweaker section of the ASRock X79 Extreme9 BIOS is the ability to load CPU EZ OC Setting. We can set our processor anywhere from a mild overclock of 4.0GHz all the way up to 5.2GHz in 200MHz increments.
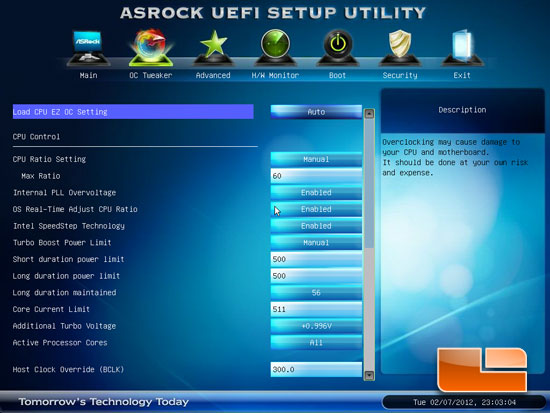
Once we get into the meat and potatoes of the OC Tweaker we can start manually setting all of the options. The maximum CPU multiplier of the ASRock X79 Extreme9 is 60, and the Host Clock Override (Bclk) is 300MHz.
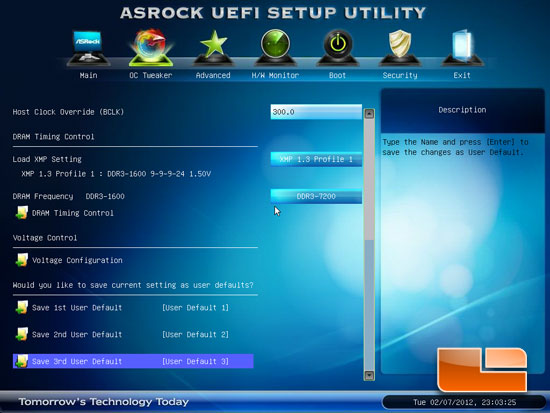
Scrolling down on the OC Tweaker page of the ASRock X79 Extreme9 UEFI BIOS we can see that the DRAM Timing Control and the Voltage Configuration pages can be accessed through the main OC Tweaker page. ASRock has supplied the X79 Extreme9 with three slots to store your BIOS profile.
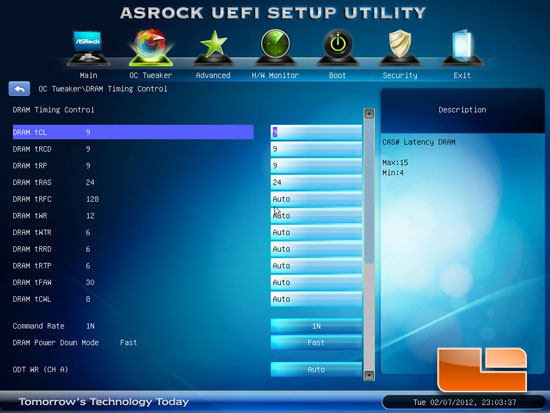
The DRAM Timing Control page will allow us to change the various timings of your chosen memory. Above you can see that we manually set the our RAM timings to 9, 9, 9, 24, 1T for our testing.
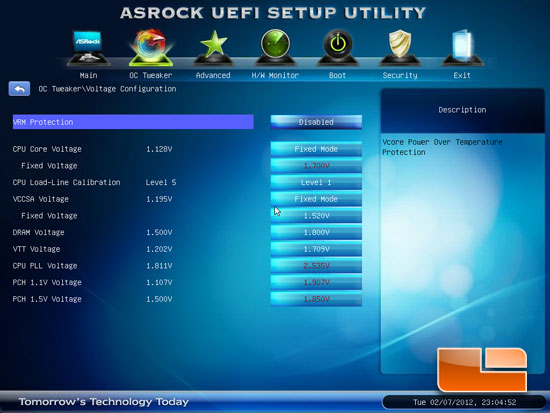
The ASRock X79 Extreme9 Voltage Configuration page should have more than enough voltages for most of us to get in trouble with if we aren’t careful!
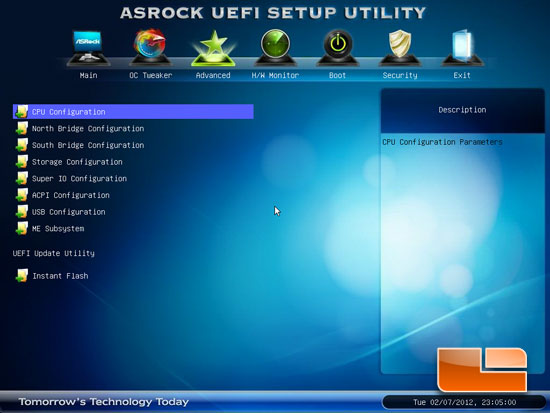
Moving over to the Advanced tab of the ASRock X79 Extreme BIOS we can gain access to additional sub-pages including CPU Configuration, North Bridge Configuration, South Bridge Configuration, Storage configuration, Super I/O Configuration, ACPI Configuration, USB Configuration, ME Subsystem, and the ASRock Instant Flash.
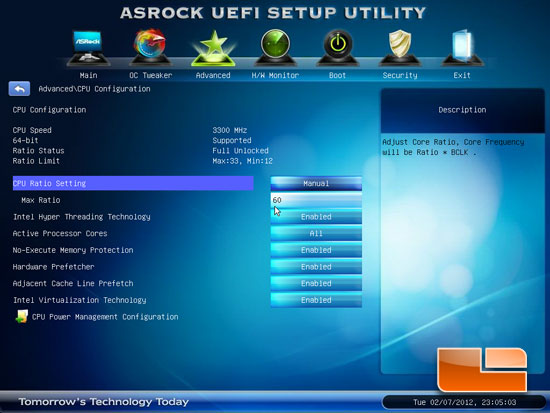
The CPU Configuration allows us to change some of the various technologies associated with our Intel Core i7 3960X.
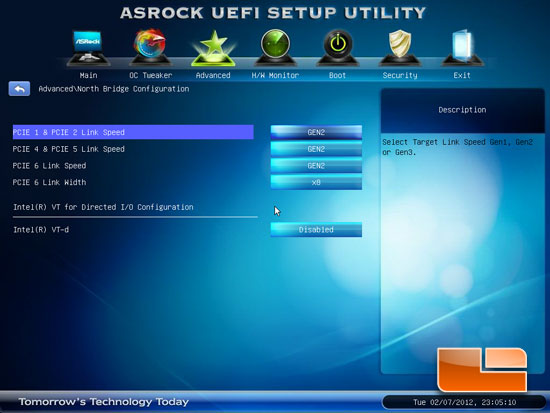
The North Bridge Configuration page gives us access to the PCIe x16 slots link speed. It can be adjusted between Gen1, Gen2, and Gen3. PCIe 6 link width can be toggled between x4 and x8.
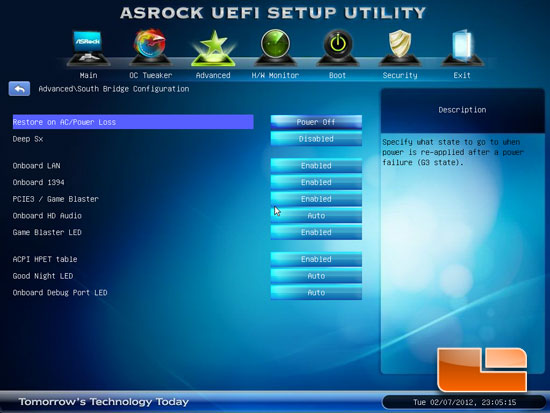
The South Bridge Configuration page has several of the onboard features that can be enabled or disabled.
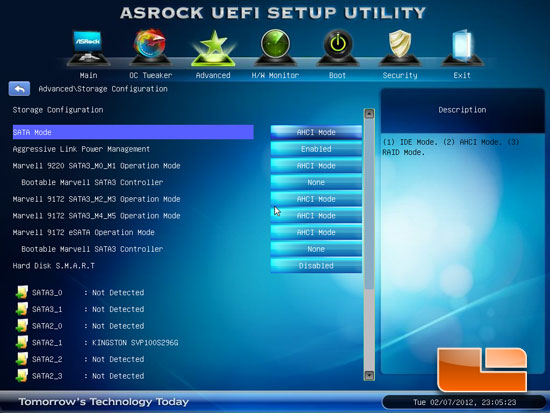
The Storage Configuration page has the various settings for the multiple SATA controllers. Here we can switch between IDE, RAID, and AHCI for all of the SATA ports.
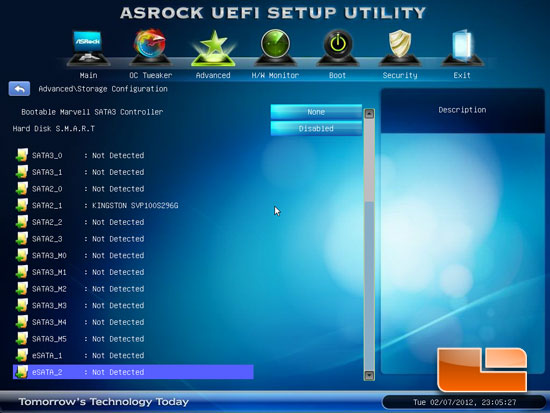
We can also see what drives we have plugged into which ports. We can see that our Kingston SSD is plugged into the SATA II port 1.
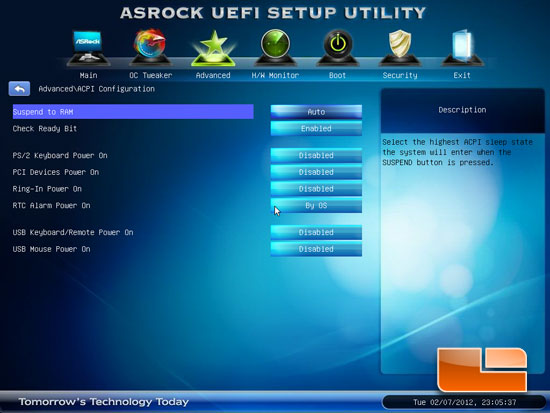
Above we can see the ACPI features of the ASRock X79 Extreme9.
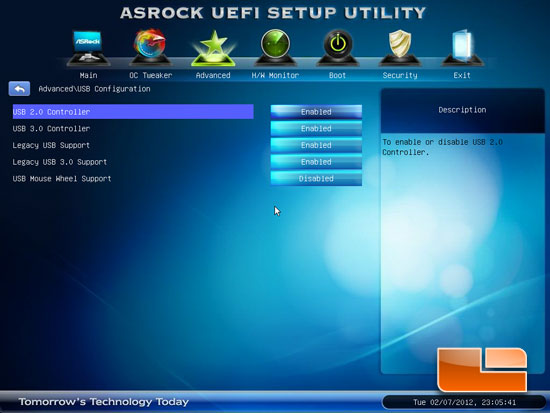
No surprise here, the USB Configuration grants us access to the various USB options.
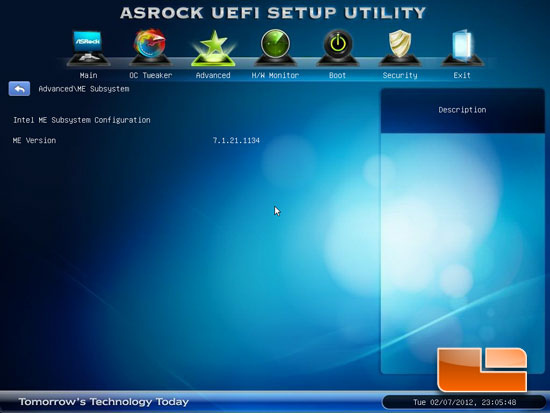
The ME Subsystem shows that we are running ME Version 7.1.21.1134.
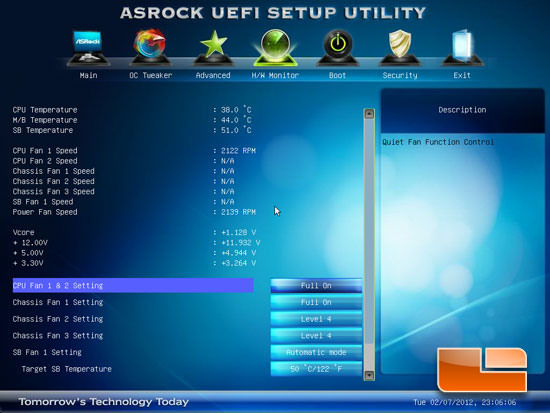
The hardware monitor shows us the various temperatures, voltages, and fan speeds. We can also set the fan speed settings here.
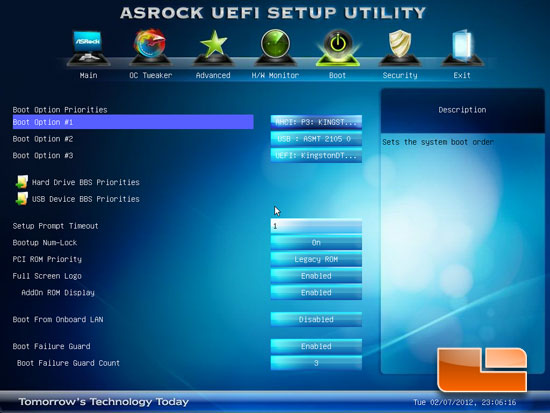
The Boot page of the ASRock X79 Extreme9 has all of the BOOT options.
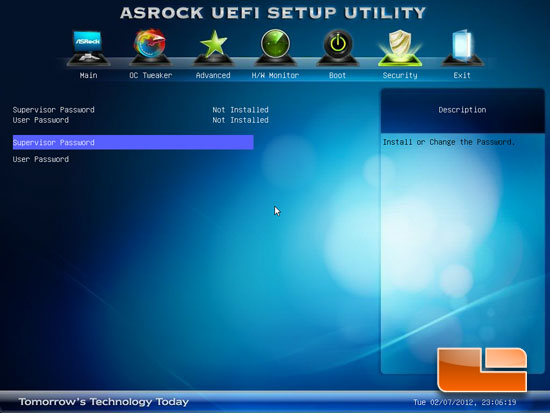
Here we have the ability to set the Supervisor and User Passwords of the ASRock X79 Extreme9.
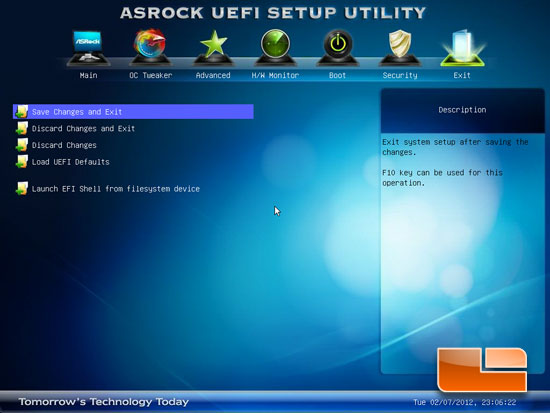
The Exit page allows us to Save and Exit, Discard and Exit, Simply Discard the Changes, and load the defaults for the system. We also have the option to launch EFI shell from a filesystem device.

Comments are closed.