ADATA DashDrive Air AE400 Review
Looking Closer At The DashDrive Air AE400
Looking at the AE400 unit itself, the face and rear feature a hexagonal lattice design, with the front being quite flashy. All four sides are a glossy black plastic, which unfortunately means it will scratch up easily. Our unit did come protected from the factory, on the sides and bottom, and it looked pristine! If you are one to keep your gadgets looking tip top perfect, this finish may be a disappointment, because if you put this in your pocket it will get scuffed very easily. Throw some coins or keys into your pocket and you can definitely kiss the glossy finish goodbye! Mine got scratched up pretty quick.
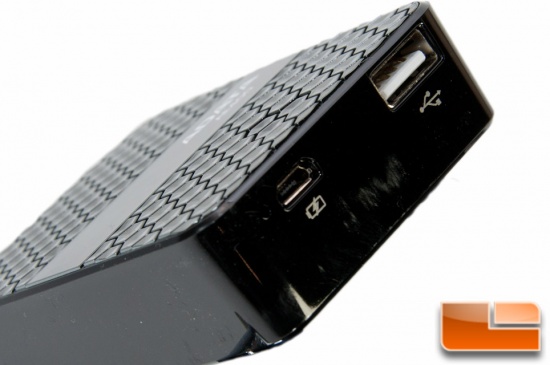
At 128 grams, and 3.1 x 2.3 x 0.8 inches, the AE400 is not at all heavy to carry around in your pocket, but it is rather bulky on the thickness side. This would be best kept in a backpack, purse, a cup holder in your car, or just somewhere with a lot of room. For me, putting this in my front pocket was nothing short of uncomfortable.
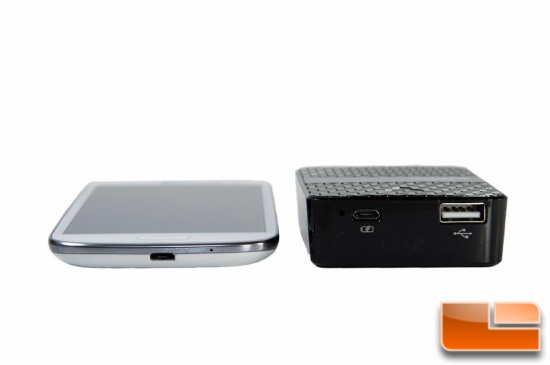
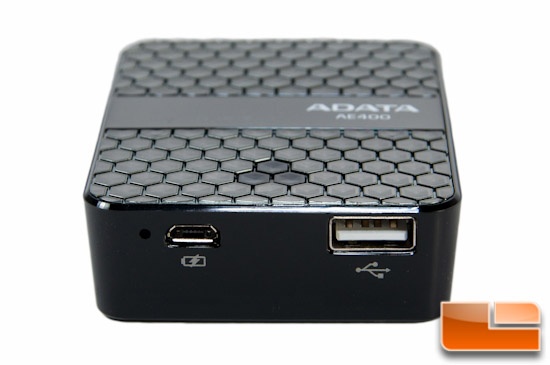
Starting at the bottom, looking left to right, you’ll see a reset button hole, a Micro USB port, and finally a standard USB 2.0 port. The Micro USB port will be utilized for either charging the AE400 or if you want to use the unit as a wired SD card reader. The standard USB port will be used to charge your mobile gadget, to insert a flash drive, or to hook up a 2.5” HDD.
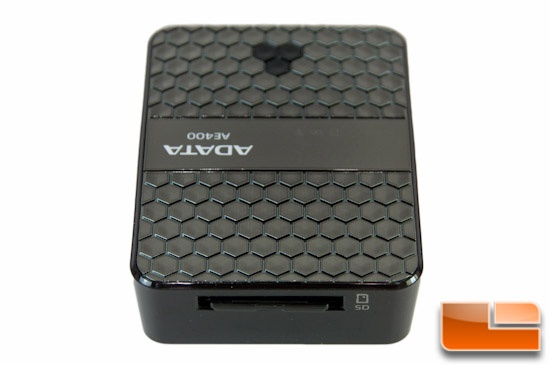
Moving up to the top, we’re presented with the SD card reader. This card reader supports SD, SDHC, and SDXC cards, so you’ll be able to have plenty of storage hooked up to this wonderful gadget!
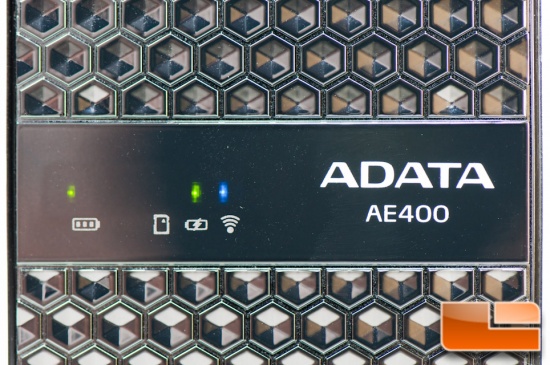
Finally the face is where all the “bling” is. Here, you’ll see the AE400’s eye-catching hexagonal lattice design. Light will really reflect off of this baby! You’ll also see a series of LED’s, which indicate battery charge level or what mode you’re in. Just below that, you’ll have the main power button, which also serves as your means of changing the modes.
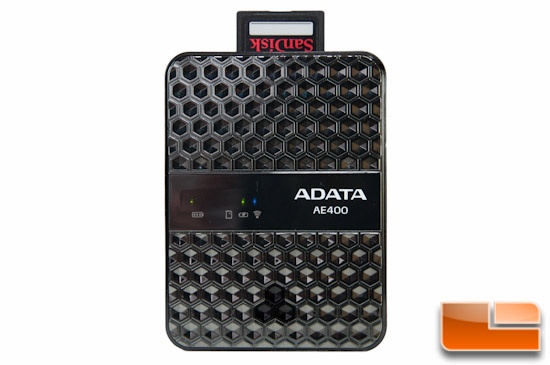
Looking at the LED’s, the power section on the far left has three different LED’s, which indicate the charge level. You’ll see a green LED when the power level is above 50%, an orange LED when it’s between 25-50%, and finally you will see red when you’re below 25%. I kind of wish the increments were different, because 25% for the red is a rather large percentage and tough to guess with. Moving to the right, the other LED’s indicate which mode you’re in. There is the USB / card reader indicator, power bank indicator, and finally the wireless indicator. The wireless light will turn blue when you have the internet pass thru mode enabled and a device is connected.
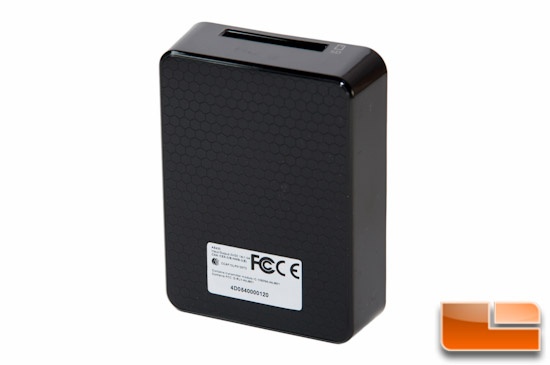
And a really quick look at the back side of the AE400, you’ll see the FCC sticker with the product’s serial number. That’s it!
Next up, we’ll take a look at what these features are, how to use them, and how the system performs.

Comments are closed.