Acer Predator XB1 (XB271HU) WQHD (2560×1440) 144 Hz G-Sync Monitor Review
Predator XB271HU: On-Screen Display
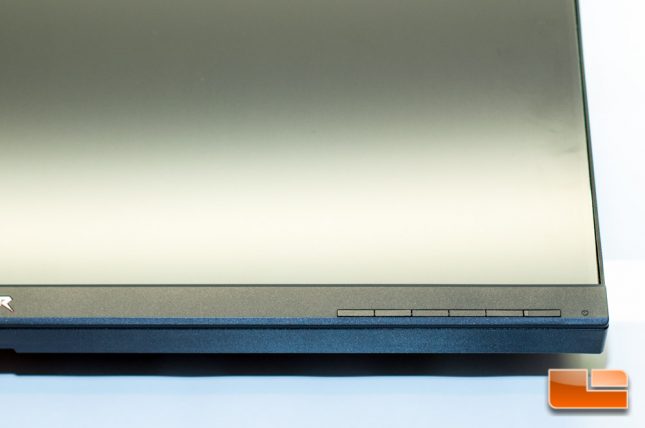
The Acer Predator XB271HU has a total of five navigation buttons on the bottom right edge to access on-screen menus and the sixth button (farthest right) is your power button. Like the Predator X34, the XB1s OSD menus were not very easy to use, partially because there is no definition to the buttons saying your finger is on X or Y button, plus there are times where button presses don’t happen and you need to hit it 2 or 3 times before it registers. Navigating in a dimly lit room is also beyond annoying.
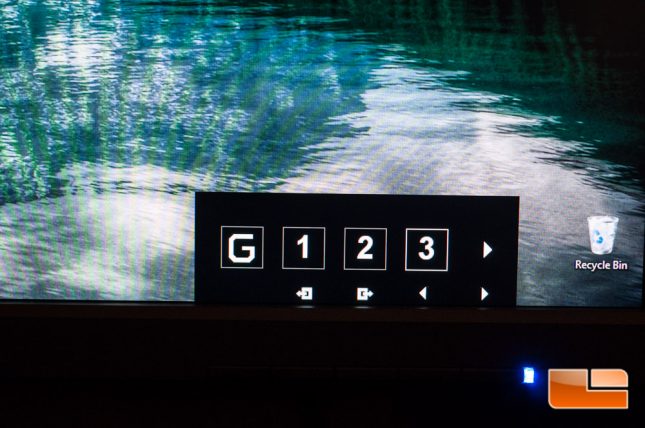
When you press any of the buttons, youll see a menu come up with options of other menus to go into.
The first option is to turn Gaming Mode on or off, while the 1, 2, and 3 are quick profiles when Gaming Mode is turned on.
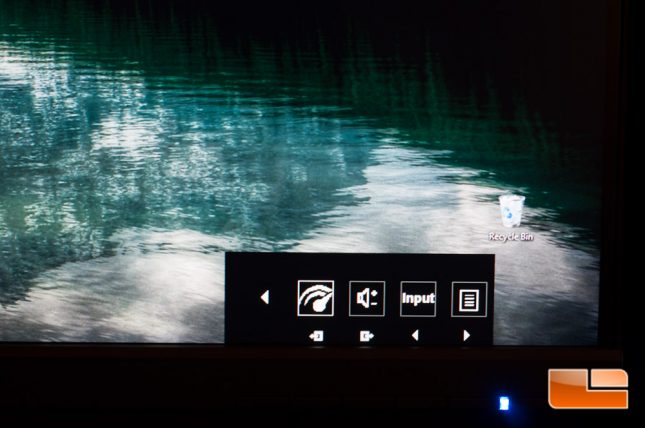
Hitting the arrow brings us to OverDrive, Volume, Input, and Settings menu. Whatever you have selected has a slightly brighter white square around it, so you may not notice which one youre on until you press the left or right arrows.
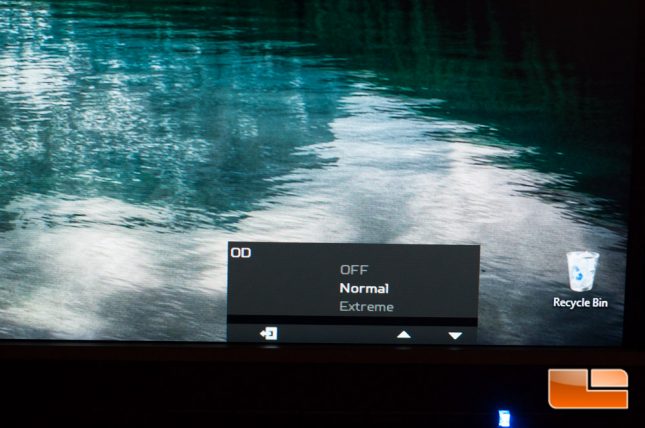
Pressing the correct button (square with the arrow pointing right), will bring you into the OverDrive menu with Off, Normal, and Extreme options. OverDrive will basically tell your pixels to refresh faster, but I have noted that some folks complain about a type of ghosting if you turn it onto Extreme, so I will leave it at Normal. I did have it set to Extreme for a little bit, and in day-to-day usage I didnt notice anything negative. Youll use the up and down arrows to select, and hit the square with left arrow to go back.
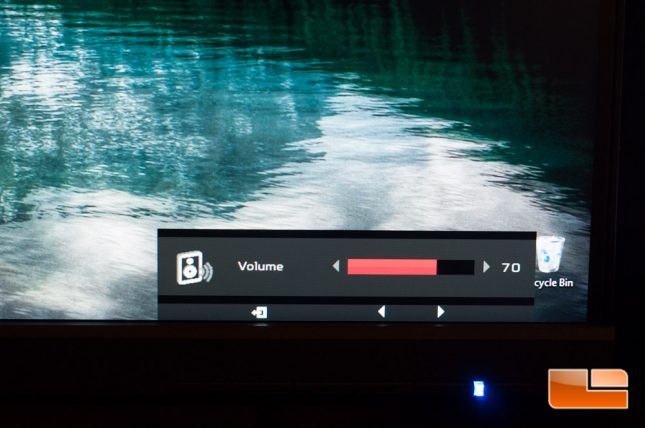
Next if you want to adjust the volume, you have to hit a button, navigate to the speaker icon with the buttons, select the speaker icon, and adjust the volume with the left or right arrows. Are you seeing how cumbersome and annoying it is to navigate this OSD?
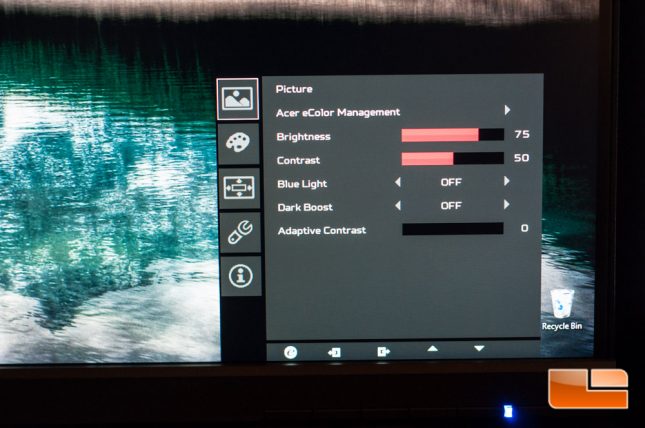
The far right button for the other settings will give you a lot more to do. The first area is where youll find picture settings, where you can change the brightness, contrast, as well as blue light, dark boost, and adaptive contrast control. Ive chosen to adjust the brightness to 75 and leave everything else here default.
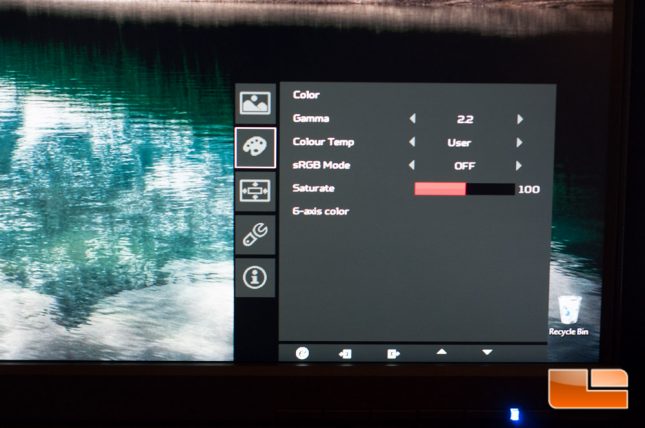
Going down one tab and youll find the color adjustment options to change the gamma, color temp, sRGB mode, saturation, and 6-axis color adjustment.
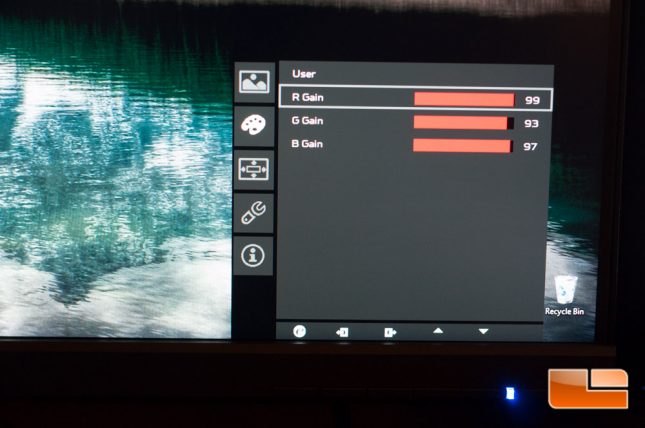
I have chosen to only modify the color temp gains as follows: R: 99, G: 93, B: 97.
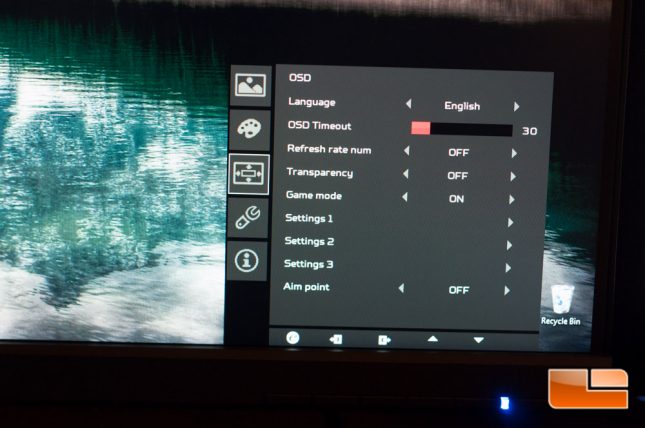
The next tab allows us to change various OSD options, such as language, timeout, on-screen refresh rate display, transparency of the menu, enable/disable game mode, enter the various profiles that youve saved, or turn on various aim point icons. The aim point is there for games that dont have a [good] crosshair, or so you always know where the center of the screen is for a first person shooter.
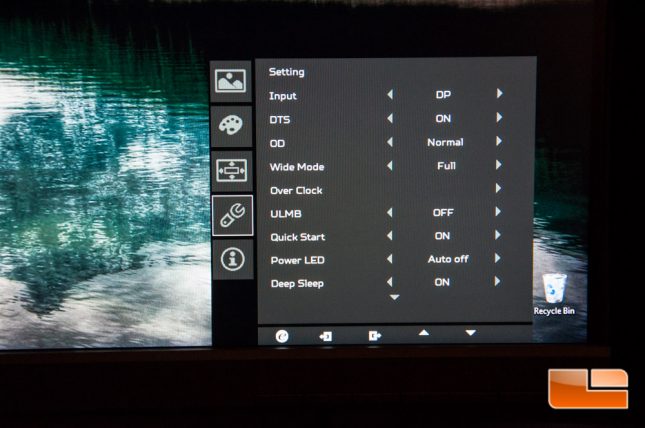
The settings tab will allow you to change your input, enable/disable the DTS (speaker), adjust OD (OverDrive), Wide Mode (Full, 1:1, Aspect), OverClock, ULMB (Ultra Low Motion Blur), Quick Start, enable/disable the Power LED, Deep Sleep, reset the monitor, and turn on/off the USB Charge.
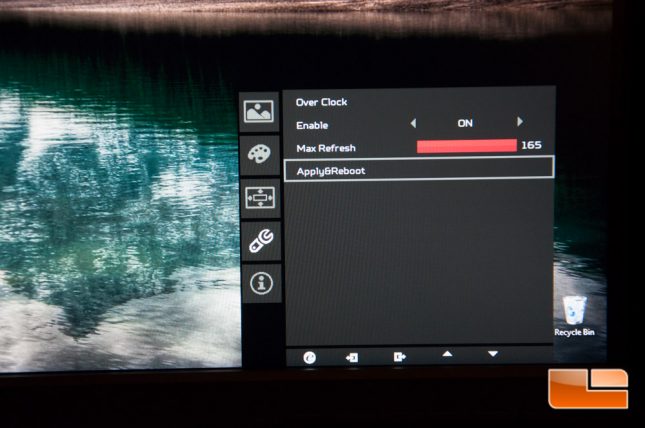
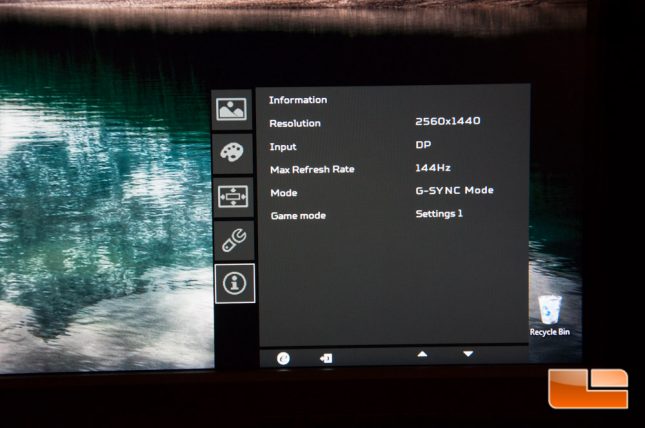
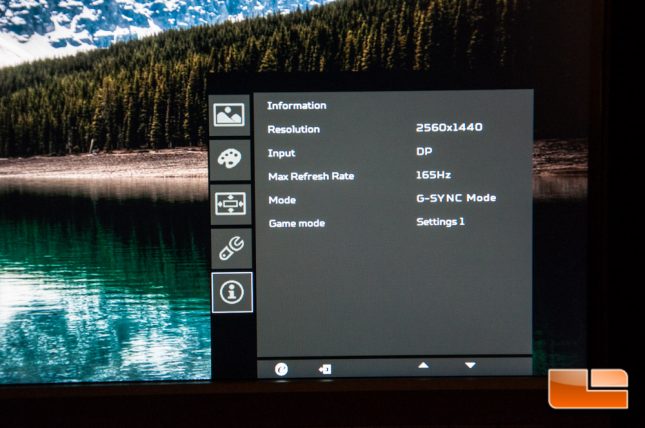
Once you enable Overclocking, you can adjust the max refresh rate from 144Hz to 165Hz. Note that Overclocking is only available on DisplayPort and not HDMI. Acer previously told us with the Predator X34 that this is due to video cards with HDMI 1.4 and HDMI 2.0 video outputs do not support refresh rates over 60Hz. Choosing any of the overclocking options will not void your 3-year warranty.
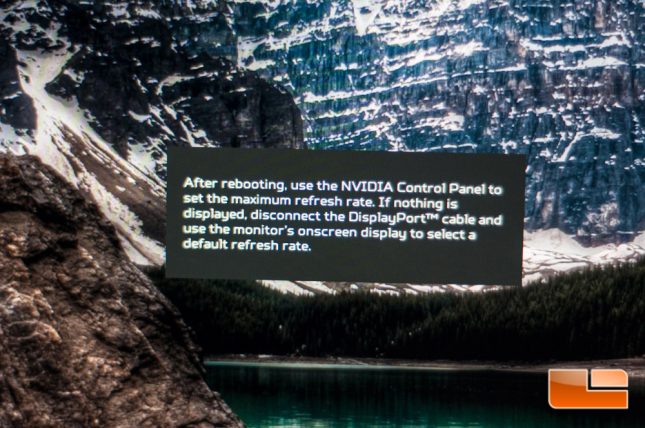
When you apply the refresh rate of choice, you will have to wait for the panel to reboot.
The final tab gives you highlight information, inclusive of resolution, the input youre using, max refresh rate, what mode youre in, and the game mode settings profile that youre using.
We tried out overclocking the Predator XB1 to 165Hz and it liked it. I honestly couldnt tell the difference, but there may be some that can. 144Hz is already dream land in the gaming world, but when you can increase that to 165Hz, thats just going to put the icing on the cake for many.

