2012 Budget Mini-ITX Desktop PC System Build Guide
Corsair CX 430 PSU Installation
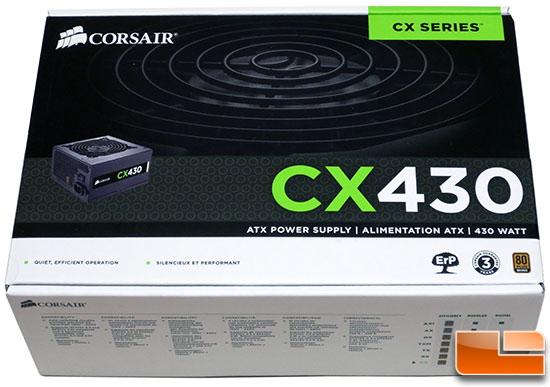
Did you know that Newegg currently sells over 450 different power supply models? No wonder figuring out what power supply is right for your system can be so tough. I knew I wanted to be in the 400-500W range, but which one to get? When it comes to power supplies Corsair has a really good reputation and has always backed up their products with at least a 3-year warranty. The Corsair CX430 is part of the ‘Builder Series’ and is a 430 Watt power supply that costs just $35.99 after rebate. Hard to beat the price for a name brand power supply that is 80 PLUS Bronze rate, has Active PFC and backed by a 3-year warranty.
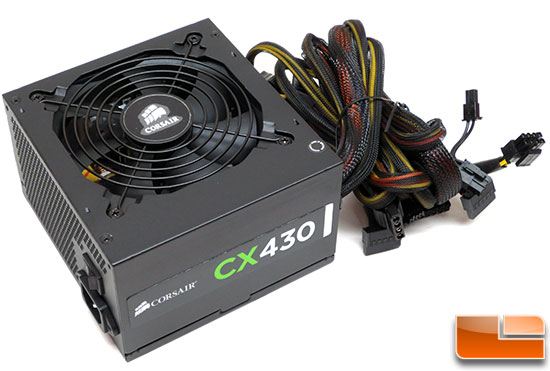
The Corsair CX430 has a dedicated single +12V rail rated at 32 Amps, a quiet 120mm cooling fan and plenty of fully sleeved wired connectors for all your devices.
Corsair CX430 PSU Connectors:
1 x Main connector (20+4Pin)
1 x 8 Pin EPS 12V
1 x PCI-E
4 x SATA
3 x Peripheral
1 x Floppy
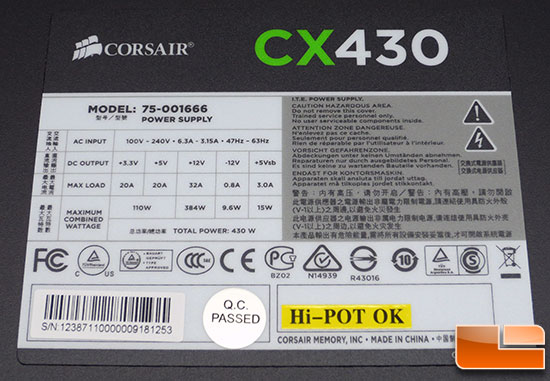
The Corsair CX430 has 430 Watts of continuous power output at 30°C. Most high-end power supplies are rated at higher temperatures, but it this is a budget power supply for entry level computer systems. Even at these low temperatures the output ratings are rather nice: +3.3V@20A, +5V@20A, +12V@32A, [email protected], [email protected]. For this build we will be installing an NVIDIA GeForce GTX 650 video card by ASUS and the recommended power supply for that card is 400 Watts with at least 20 Amps on the +12V rail. The Corsair CX430 easily meets these requirements and should be able to provide plenty of juice for this Mini-ITX system.
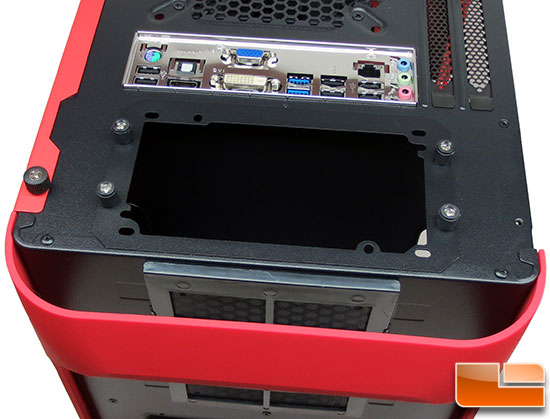
On the BitFenix Prodigy the power supply mounts on the bottom of the Mini-ITX chassis and there is a fan filter on the bottom of the case to filter the cold air intake of the PSU. In order to install the power supply you must first remove the four thumb screws and attach the PSU mounting plate to the power supply with the supplied thumb screws. Once the plate is installed onto the power supply you can then slide the whole assembly into the case and put the thumb screws back on.
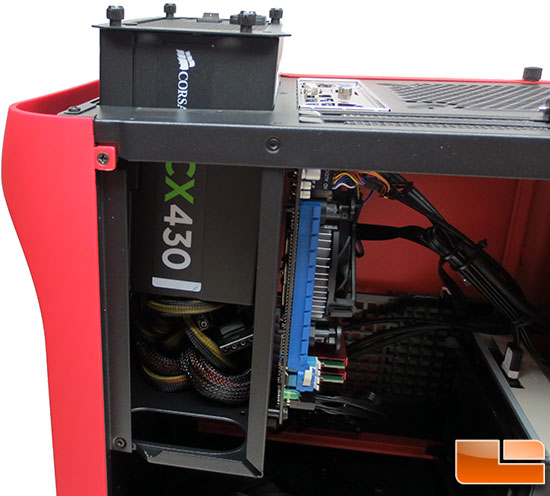
When I did that we noticed that all the wired connectors need to be wired fed through the six cutouts available on the Prodigy for the power supply. For such a small Mini-ITX case the folks over at BitFenix did a pretty good job of wire management. I sat the PSU on top of the case and ran each wire individually and they connected them to where they were supposed to go. I was then able to tuck the extra cables and the excess from the ones used behind the power supply to keep them hidden.
It should be noted that one of the four mounting screws on the Corsair CX430 wasn’t machined properly and the screw wasn’t able to be tightened up. No big deal, but once again you can tell that you are dealing with low cost entry-level components here and not high-end parts.
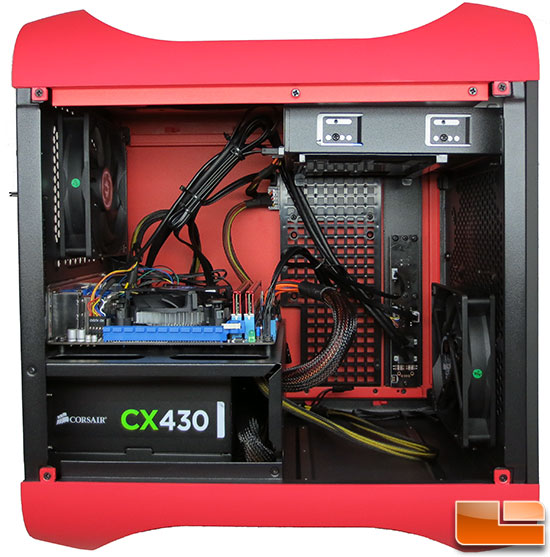
The end result wasn’t too shabby as it looks pretty clean. I needed to use a 4-pin molex to 3-pin fan header adapter for the front case fan, but other than that everything was straight forward and easy to do. The wire just laying out in front of the front fan is the 8-pin PCIe power connector for the video card that will be installed next!

Comments are closed.