2012 Budget Mini-ITX Desktop PC System Build Guide
Kingston V300 120GB SSD & Wiring The Prodigy Case
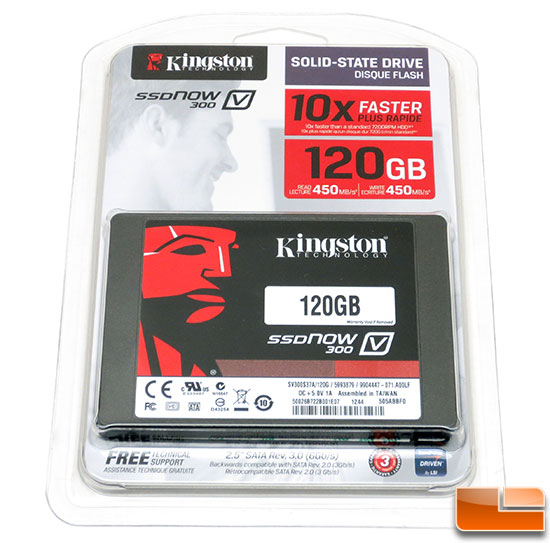
When it comes to storage there is absolutely no reason not to use a solid-state drive for your primary system drive for the operating system and most used applications. If you need a large drive to store movies and music you can always use a secondary hard drive. For this build I went with the Kingston SSDnow V300 120GB SSD.
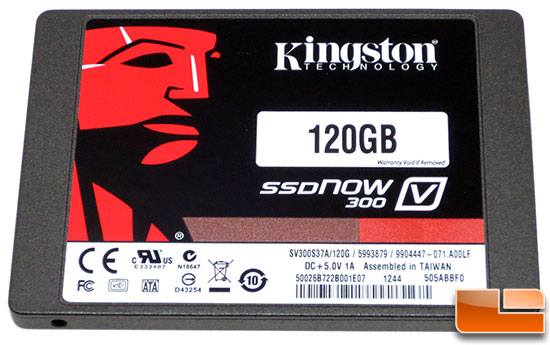
This drive uses the LSI SandForce SF-2281 controller and is rated at up to 450MB/s when it comes to sequential read and write speeds. The maximum random 4k Read and Write performance is up to 85,000 IOPS Read and 55,000 Write. Not bad for an SSD that costs just $104.99 for the bare drive kit and is backed by a 3-year warranty.
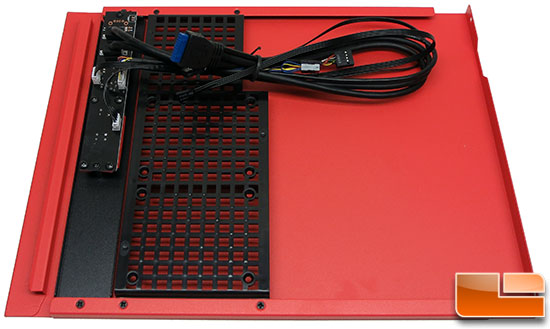
One of the unique features of the BitFenix Prodigy Mini-ITX case is that you can mount a pair of 2.5″ SSD’s or HDD’s on the right side panel!
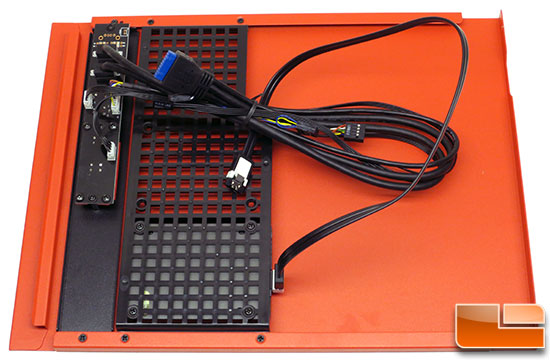
Here is a shot with the Kingston SSDNow V300 120GB SSD mounted up on the side panel. I used the mounting screws that came with the BitFenix Prodigy Case and the SATA data cable that comes with the ASUS P8H77-I motherboard.
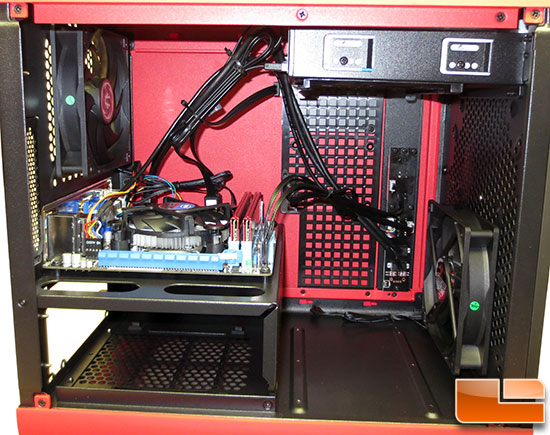
With the SSD mounted in the side panel, it was time to put the right side panel back on the case. After putting the side panel on it was apparent that the drive cages were not needed, so I removed all of them from the BitFenix Prodigy. That opens up a ton of space and should help airflow a good bit. Since all the front I/O panel wires are on the side panel, I wired everything up and zip tied the cables together to again improve airflow and to make things look nice.

Comments are closed.