2012 Budget Mini-ITX Desktop PC System Build Guide
ASUS P8H77-I Motherboard & Intel Core i3-3220T CPU
I wanted to run an Intel LGA1155 platform for this build and I also wanted to run one of the latest and greatest chipsets. The Intel Z77 Express chipset is the best that money can buy, but is a bit overkill for a Mini-ITX system. The Intel H77 Express is a scaled-back version of the Z77 Express chipset and should have all the features that most people need. Sure it has scaled back overclocking options and doesn’t support multiple video cards, but a mini-ITX board only has one PCI-Express 3.0 x16 slot anyway! Compared to the Z77 chipset, the H77 chipset supports the same number of USB and SATA ports as well as SSD caching (Intel SRT) and Intel HD graphics.
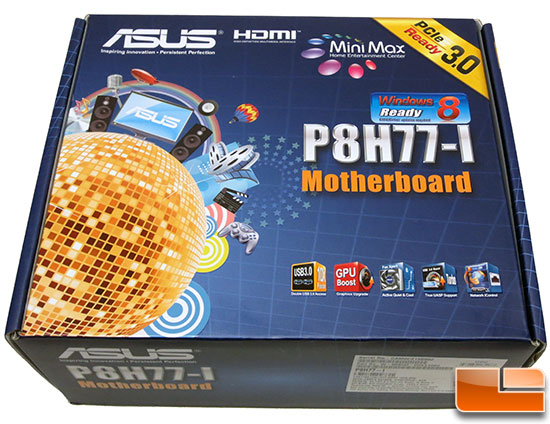
The ASUS P8H77-I motherboard was the perfect motherboard for this budget mini-ITX build based on its features and low $99.99 price point. This board supports all LGA1155 processors and up to 16GB of DDR3 dual-channel memory in speeds of up to 2200MHz! It even has Lucid Virtu MVP technology for those that want to run hybrid graphics! Pretty nice base specs for a mini-ITX build and it is all backed by a 3-year warranty.
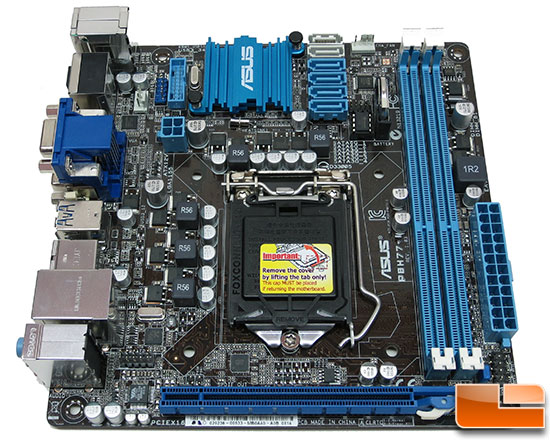
At just 6.7″ x 6.7″ you better believe that each inch of this board is being utilized! It a sports eight USB 2.0, four USB 3.0, two SATA III 6Gbps, and four SATA II 3Gbps ports, so it has plenty of expandability for such a small board. It has one 4-pin fan header for the CPU and another 3-pin fan header for the chassis. This won’t be enough for our build, so we’ll need to purchase an adapter of some sort to hook up the Bitfenix Prodigy’s two case fans.
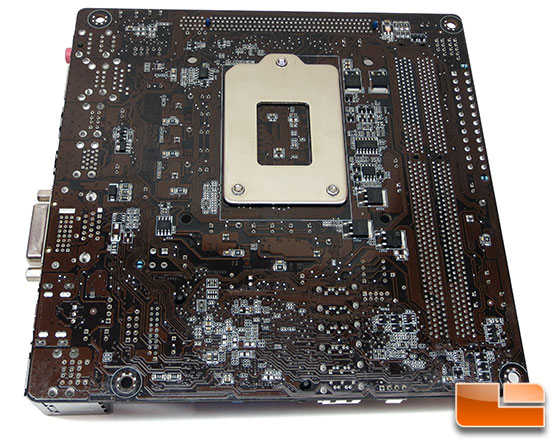
The back of the ASUS P8H77-I motherboard doesn’t have much going on.
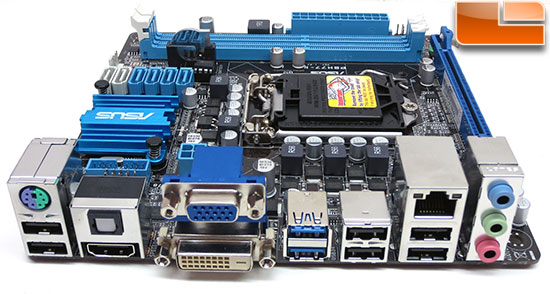
On the rear I/O panel you have pretty much everything that you’d want. The display outputs include, HDMI, VGA 15pin DSub, as well as a DVI port. When it comes to data connectivity there are a total of eight USB ports; six USB 2.0 and two SuperSpeed USB 3.0 ports. It also has have a single PS/2 port for either a keyboard or mouse, six audio jacks, optical SPDIF out, and the Gigabit Ethernet RJ45 jack. It should be noted that ASUS is using a Realtek 8111F Gigabit LAN controller on this board.
This is a solid board and for $100 it is hard to ignore. The ASUS P8Z77-I Deluxe runs $180, so this board is much more affordable and still has the key features that most people need.
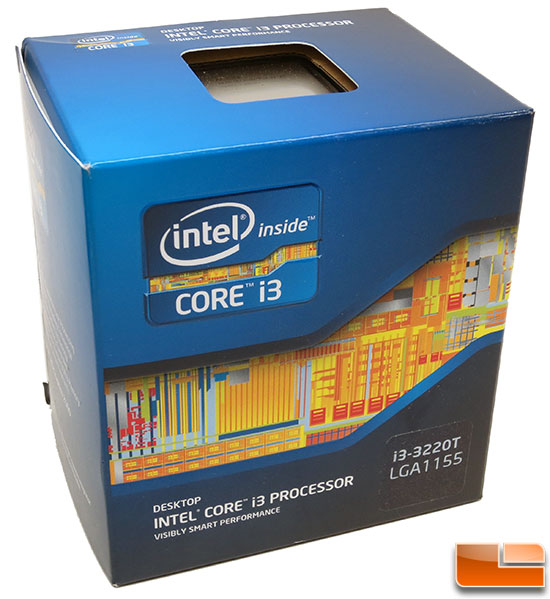
When it comes to processors it really depends on your budget as to what you can afford. I am an enthusiast at heart, so I wanted to run an Intel Core i7-3770K processor, but this is a budget build. There are currently 46 Intel LGA1155 processors listed on Newegg, so you have a ton of choices. For this build I wanted to go with an Ivy Bridge processor and the lowest priced model is the Intel Core i3-3220 at $119.99. This is a 3.3GHz Dual-Core processor with 3MB of cache that uses Intel HD 2500 Graphics and is rated at 55W TDP. This is a great processor, but I wanted to try something different to be more energy efficient. The Intel Core i3-3220T processor costs $127.99 shipped and is one that most people don’t know about. It is a 2.8GHz Dual-Core processor with 3MB of cache that uses Intel HD 2500 Graphics and is rated at 35W TDP. It costs more and runs slower, but the TDP is ~36% lower and that should mean less heat and less power use. Either processor will work for your build and the Core i3-3220 should be for those that aren’t worried about power consumption and the Core i3-3220T should be used for those that do and are will to sacrifice a bit of performance for lower power use and heat production.
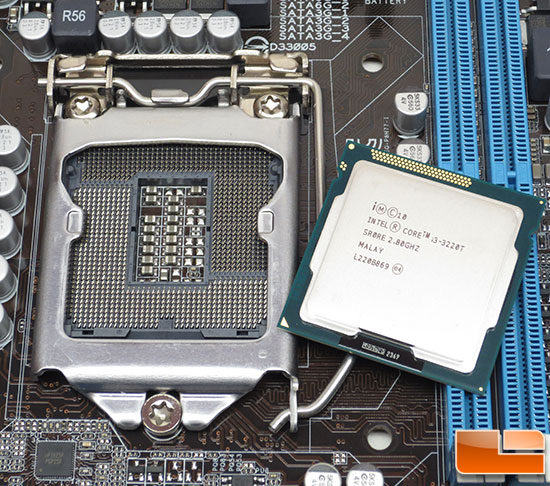
Installing the Intel Core i3-3200T processor is a simple task. You just need to push down the LGA1155 socket lever to unclip it and then lift it up. You then open the load plate and carefully lower the processor into the socket. Be sure to align to the socket cutouts. Lower the processor straight down, without tilting or sliding the processor in the socket. The processor has no required insertion depth, and no force is needed when placing the processor in the socket.
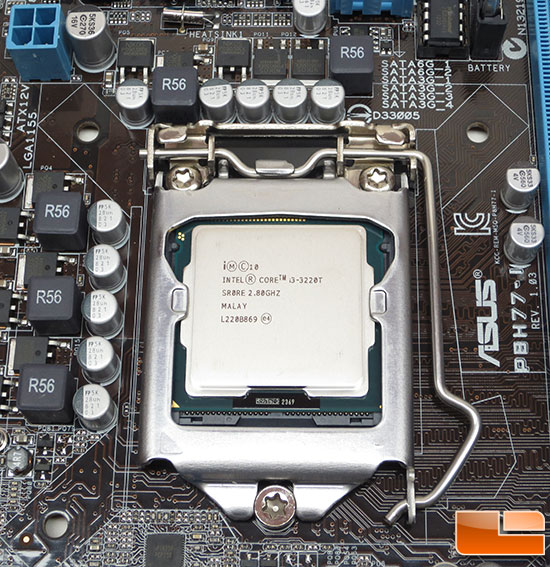
Very little force is required to close the load plate. Press down on the load plate, close and engage the socket lever. Once that is done the CPU is installed!
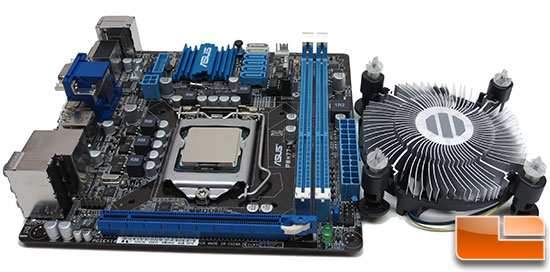
For this build we will be using the Intel retail boxed CPU cooler. This CPU cooler is very small and doesn’t look like it will cut it, but it will! For a budget build we’ll be sticking to the stock cooler for cost savings and the fact that it works just fine. The Intel Core i3-3220T has a TDP of just 35 Watts, so it shouldn’t take much to keep it cool. Intel suggests installing the CPU cooler once the motherboard is installed into the PC Case.
You can do it with the board out of the case, but just be careful not to bend it as you’ll break the PCB layers. To install the CPU cooler you just place the fan-heatsink onto the motherboard, aligning the fasteners through the holes in the motherboard. Push down on the top of each of the fasteners in an alternating pattern while holding the fan heatsink in place. You should hear a “click” when pushing down each fastener. After that you just need to connect the coolers 4-wire fan cable connector to the motherboard 4-pin CPU fan header and you are done!

Comments are closed.