2012 Budget Mini-ITX Desktop PC System Build Guide
Bitfenix Prodify Red Mini-ITX Case & ASUS DVD-RW
When you build any PC for yourself you should always make sure it is something that you like and that reflects your personal tastes. One company that appears to be listening to what enthusiasts want is Bitfenix. The company came out with the Prodigy Mini-ITX chassis this year and it was a huge success. The Prodigy did so well in white and black that Bitfenix added Fire Red and Atomic Orange colors to the list of options. You can read the LR review on the BitFenix Prodigy case here.
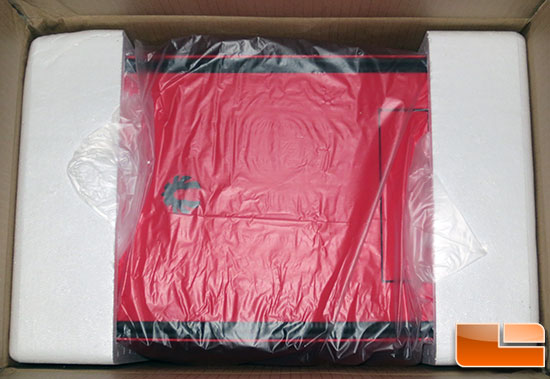
For this budget build guide we wanted to do something other than the traditional white or black chassis and went with the Prodigy in Fire Red! This color option adds a bit to the cost of the system, but for something you look at everyday it is easily justifiable.
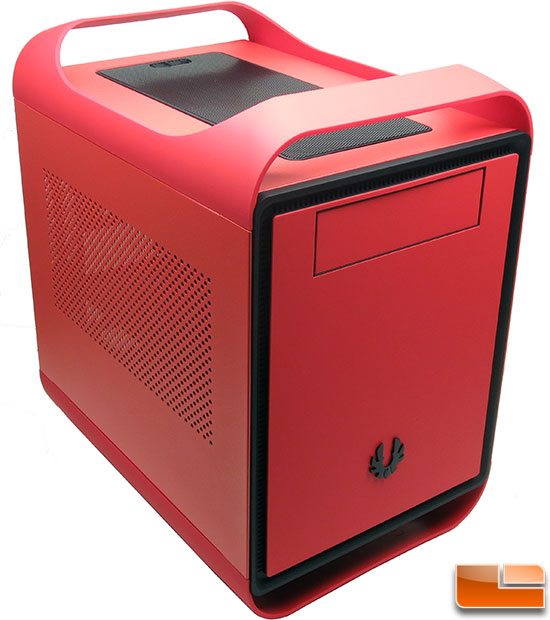
The BitFenix Prodigy is a mini-ITX chassis that measures 250 x 404 x 359mm and has an internal capacity of 26.4 liters. This means that the case is short, but rather wide. The outside of this case is rather simple from this angle, which is great for those that like things simple. You have some ventilation holes on the side panels and the front panel has a spot for one 5.25″ optical drive. All the plastic surfaces of the Prodigy have a SoftTouch finish, which is nice.
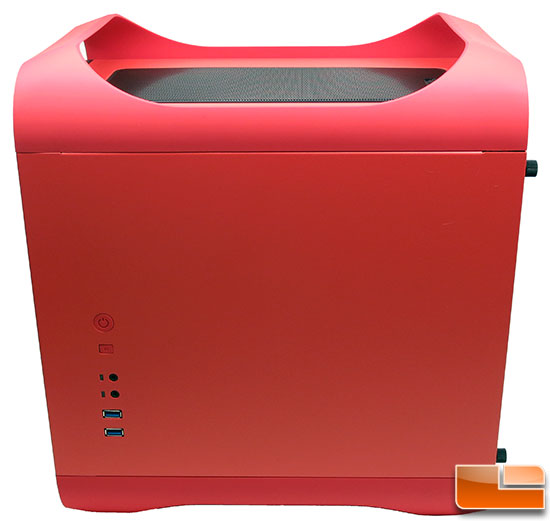
On the right hand side of the Bitfenix Prodigy you’ll find that Bitfenix took the traditional ‘front panel’ and made a ‘side panel’ out of it! You have the usual power/reset buttons, power/HDD activity lights, headphone out and microphone in audio ports and a pair of SuperSpeed USB 3.0 ports. This is a pretty typical setup these days and what we would consider the bare minimum for any PC that is being built for 2013 and beyond.
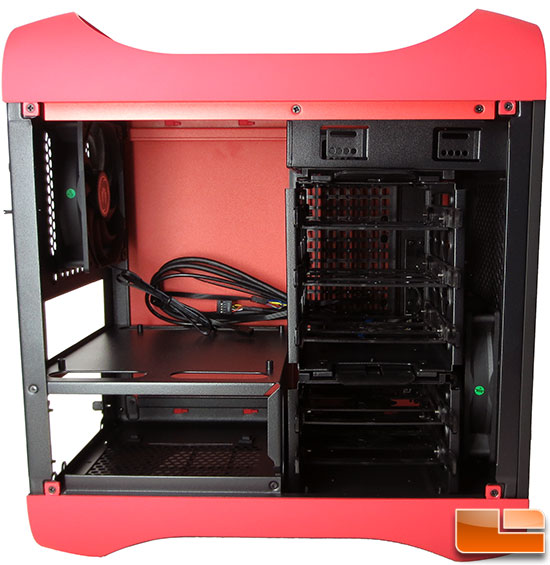
Inside the BitFenix Prodigy Red you’ll find that all the internals are black! The red and black appearance of the Prodigy looks great! The Prodigy uses a ‘FlexCage’ for five 3.5″ hard disks or 2.5″ SSDs. You can also entirely remove it entirely to fit up to 240mm watercooling radiators, long graphics cards or for improved airflow and less clutter. The power supply mounts directly below the motherboard mounting tray, so it will be interesting to see how easy it will be to hide all of the PSU wires. Now that you know what the case is and its main features we can get to building this PC!
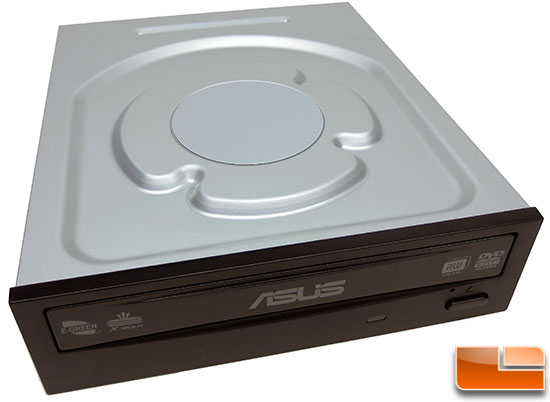
Most people can get away without an optical drive these days, but it is nice to have one and they cost well under $25 shipped. I settled on the ASUS 24x DVD-RW Drive DRW-24B1ST, which can be purchased for $22.79 shipped. This internal DVD+/-RW dual layer drive is priced right. It also has Quiet Track to help keep the drive noise down as no one likes a loud optical drive.
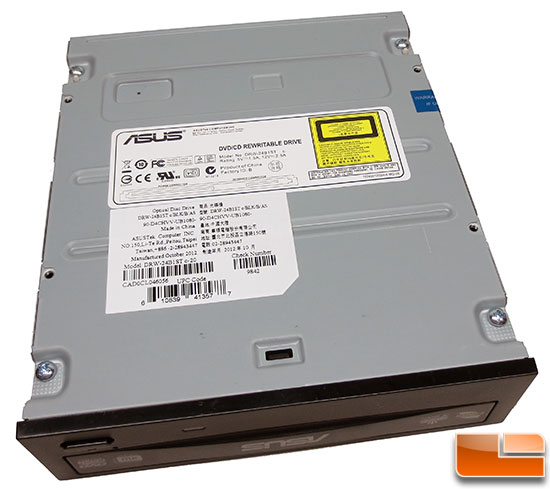
It should be noted that this burner doesn’t come with a SATA cable or mounting screws, but most cases come with mounting screws and retail boxed motherboards usually include at least two SATA cables.
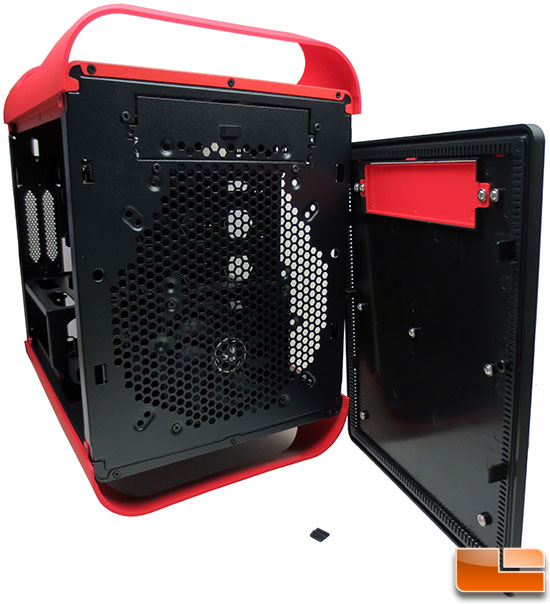
In order to install the optical drive you have to remove both side panels on the BitFenix Prodigy case and remove the front panel. When we pulled the Prodigy case out of the box I heard a noise, but I thought it was the cables rattling on the side panels. When I pulled off the front panel of the Prodigy one of the four tabs that hold the door on fell off! Not off to what I would consider a good start, but Bitfenix will happily replace the front door as it is covered by the warranty.
With the front panel removed you need to unscrew the red plastic 5.25″ drive bay cover from the inside.
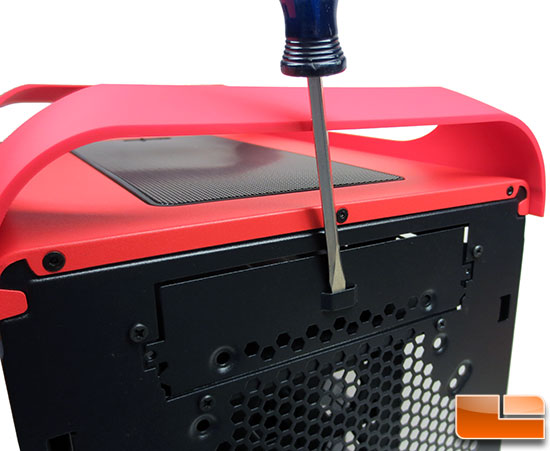
With the front panel cover removed I could turn my attention to the metal frame. You You can’t just slide the ASUS DVD Burner into the Prodigy as there is a break-away metal plate covering the slot. There is a slot in the break-away metal plate for a flat head screwdriver, so you can easily pop out the plate.
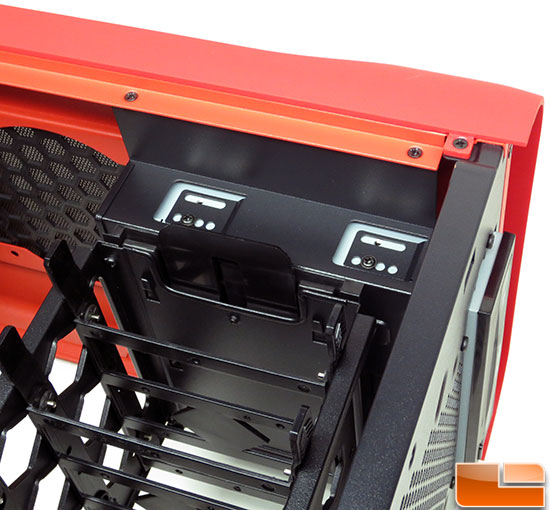
With the plate removed you can slide in the optical drive and tighten down the mounting screws that come with the Prodigy case. Be sure to leave the front bezel out enough in order for it to fit flush with the front panel. It would actually be easier to put on the front panel and then align the drive, but I wanted to take a picture to show you how you space the drive out.
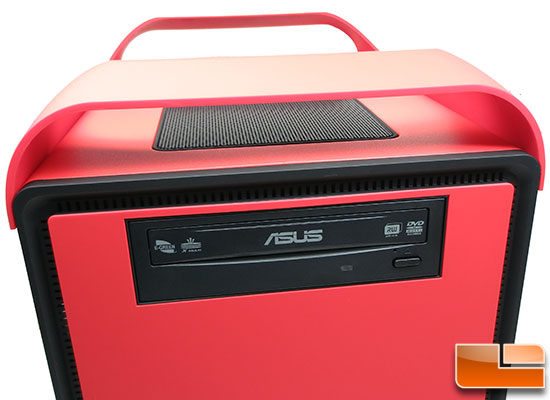
Here is a shot of the ASUS optical drive all mounted up in the Prodigy! Looks like there is enough logos and branding on the front of that drive for the whole system! Now that we got the DVD Burner all locked down we are move along to the more important things. I’ll be attaching the power and SATA data cables later on, so don’t think I forgot!

Comments are closed.