Thermaltake Frio Overclocking CPU Cooler Review
Installing the Frio CPU Cooler
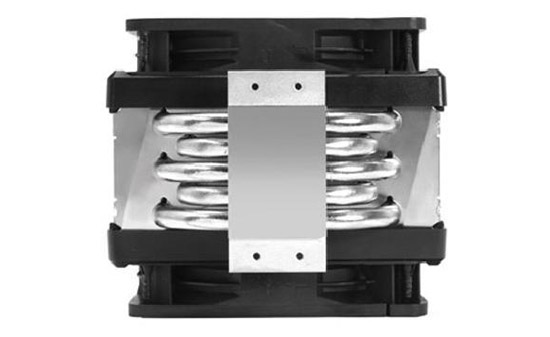
Because the Thermaltake Frio has the ability to mount to a variety of different chipsets, you have to be a little careful in picking up the correct mounting bracket. Since we were installing the cooler on an i7-860 (LGA1156) rig, we did a quick fit check to make sure the brackets would work.
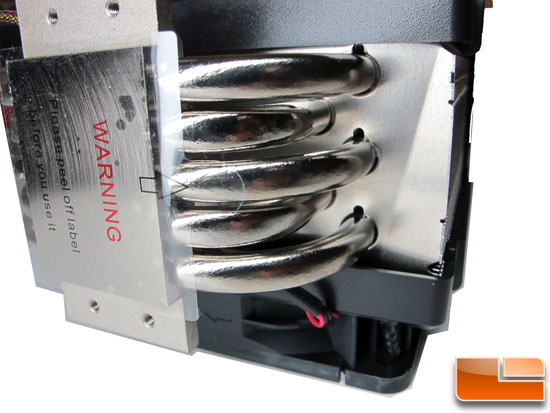
Notice how smooth the underside of the Frio is. Not quite a mirrored gloss, but very good machining. Thermaltake reminds us with a little sticker that this protective covering should be removed when we install it.
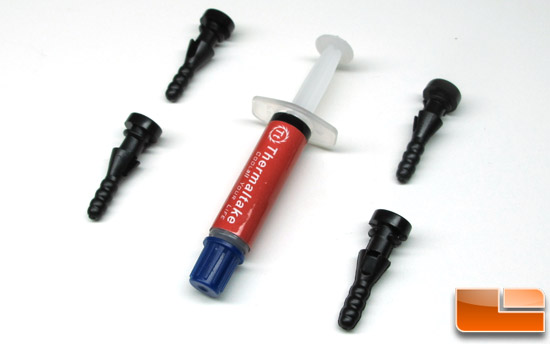
Since we wanted to run both fans, we took the opportunity to install the second 120-mm fan. The Frio kit includes 4 vibration-absorbing soft mounts better known as rubber screws.
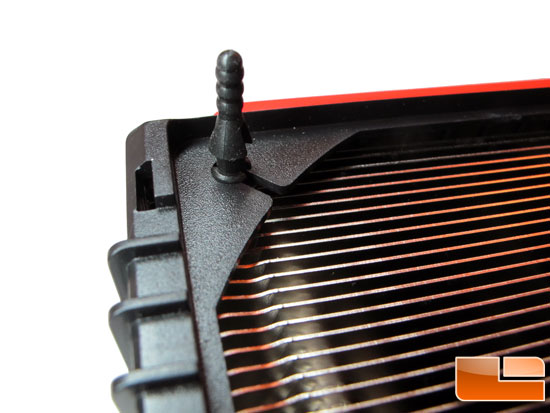
The second fan mounts using these little rubber mounts for a nice snug fit. Even though these mounts were made of rubber I was never worried that the fan would fall off the cooler.
Securing the cooler to the motherboard, however, seemed more worrisome.
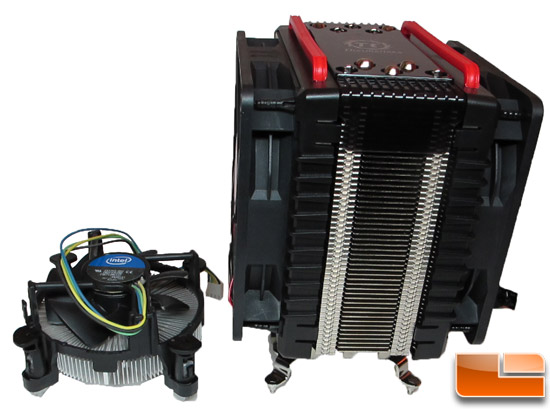
At almost three pounds with the fans mounted Thermaltake provides some nice beefy brackets to hold the cooler onto our motherboard. Compared to the Stock Intel cooler, the Frio looks like a behemoth. At this point I was wondering if the cooler would fit my case (Antec Nine Hundred Two). At 165mm (or 6.5 inches) tall, the Frio should fit into most mid-to-large sized cases. If you are in the market for a cooler, make sure you take careful measurements for the case you want to use the Frio in. It turns out that I had plenty of headroom in the Nine Hundred Two case.
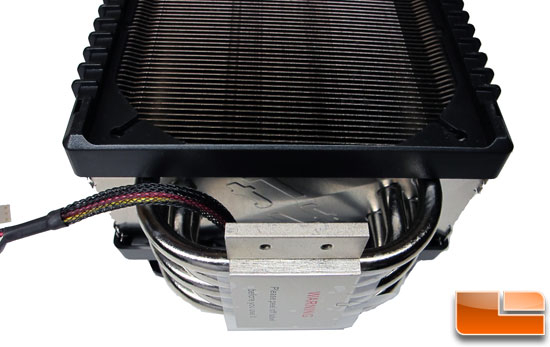
As was mentioned earlier, this cooler kit is designed for a number of different chipsets, but the Frios mounting solution is across the board solid. After choosing the correct brackets and screwing them onto the Frio, we removed the protective plastic cover (seen above) and applied our thermal compound and turned everything upside down. Because this cooler is so big and beefy, you need to mount your motherboard onto the Frio by turning everything upside down.
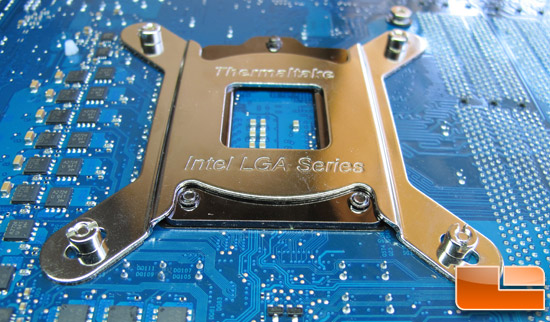
The mounting procedures are pretty straightforward even for novices. When you are finished the order from bottom up will be: Cooler, washer, bracket, motherboard, back plate and the nut.
After installing the Frio in our case, we could still see some daylight between the cooler and the motherboard. Our Gigabyte P55 motherboard didnt seem too cramped, but I know I didnt really want to fool around and replace the RAM DIMMs nearest the fan.
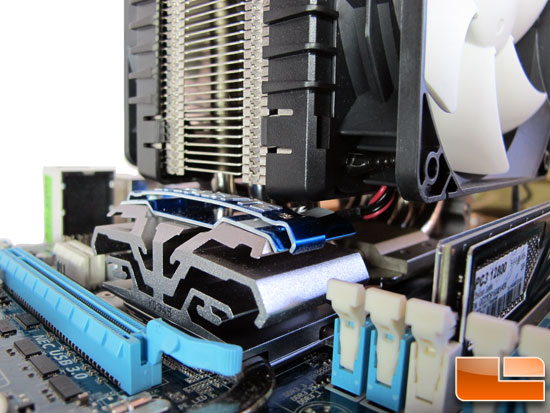
Let’s fire this bad boy up and see how it performs!

Comments are closed.