Thermaltake Chaser A71 Full Tower PC Case Review
Chaser A71 External Impressions
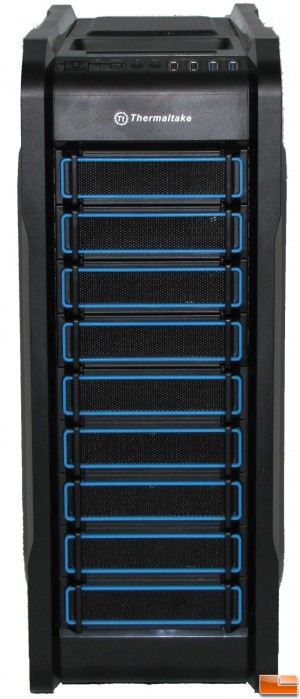
A close look at the front of the case makes it look like there are nine 5.25″ drive bays. However, after reading the specifications, we know that’s not true. As the case is mostly black, the drive bay covers have some blue accent lines that make them stand out. This gives the case a little color, without being over powering. Each of the drive bay covers are a wire mesh to provide ample airflow. While the majority of the case is steel, the front bezel is one of a few parts that is ABS plastic.
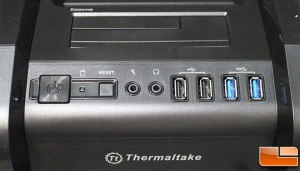
Taking a brief look at the front panel I/O ports, we find the usual suspects. From the left is a large power button, a reset button, microphone/headphone jacks, a pair of USB 2.0, and a pair of USB Superspeed 3.0. Directly behind the front I/O ports, is the hard drive dock which allows connecting an internal style 2.5″ or 3.5″ hard drive directly to the SATA bus without having to open the case.
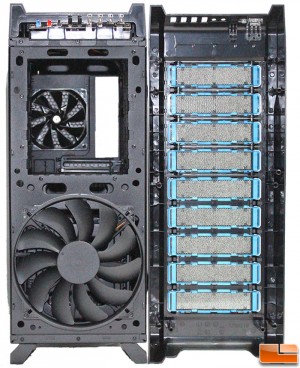
The front bezel is easily removed by pulling from the bottom; you have to be a little careful with the I/O ports as a wrong move could easily damage them. Behind the bezel is the large 200mm intake fan, and the large opening for the 5.25″ drive bays. On the bezel itself, it appears to have drive bay covers from top to bottom. However, only the top four can be removed. On the back side of each of the drive bay covers is a filter to help keep the interior cleaner.
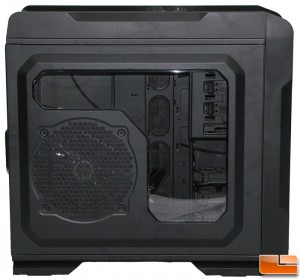
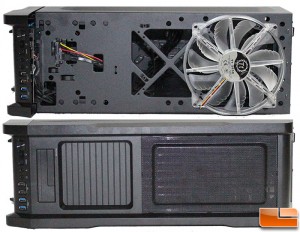
The main side panel has a large window and another 200mm fan, which will be river of the expansion slots on the motherboard, this can provide additional airflow over video cards. The large window is a nice feature, and should provide a nice view of the CPU cooler, and a partial view of the drive bays.
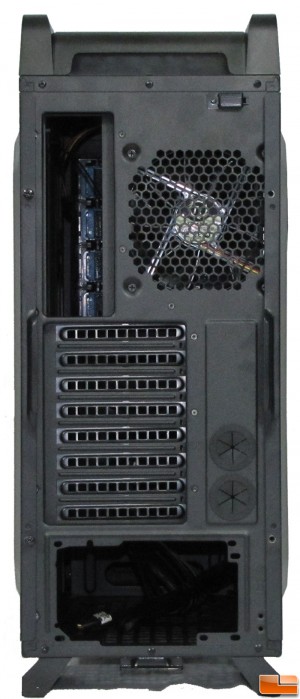
On the back of the Chaser A71, at the very top is a cable lock, which comes in handy to lock your keyboard and mouse cable to the case. Otherwise, we find everything we would expect, a motherboard I/O port key slot, exhaust fan, expansion ports, two water cooling holes with rubber grommets, and at the bottom is the power supply mount.
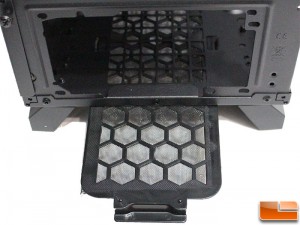
Thermaltake has added an easy clean fan filter to the bottom of the Chaser A71. This will cover the power supply intake and the extra bottom fan slot. I like that the filter comes out of the back of the case very easily, this provides little excuse not to keep it clean.
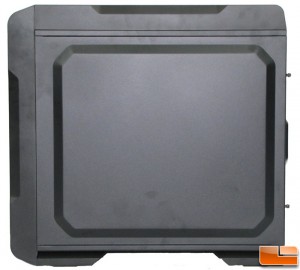
The right side panel is plain, however what is interesting is that the majority of the side panel is raised which will give cable management a little extra room.
Usually on the top of the case we’ll find some air vents, or the I/O ports. Thermaltake makes use of this area by adding in the hard drive dock, and a little storage tray. The storage tray is a great place to put screws while you are working on the system. The top is easily removed. Like the front bezel, grab the back and pull up; once again being careful around the I/O ports and the hard drive dock. Under the top bezel, we find the top 200mm exhaust fan, another TT-2030 blue LED fan. The hard drive dock SATA connectors could be replaced if something was to happen or perhaps an upgrade to SATA 3.5 once that becomes available; this is only a wish by me, Thermaltake has not made any claims to this. The top bezel is the second piece of the Chaser A71 that is ABS plastic rather than steel.
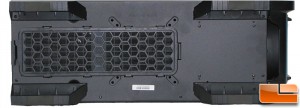
Finally, we take a look at the bottom of the case. Four large feet keep it off the surface to provide airflow, which is necessary for the power supply and if an optional fan is installed in the bottom. It’s great to see the large filter on the bottom, no airflow restrictions, but helps to keep the system cleaner. I only wish they would do something like this for the front filter! The feet is the final piece that is made of ABS plastic, which is very common for case feet.