Thermaltake Bigwater 760i Water Cooler Review
Installation
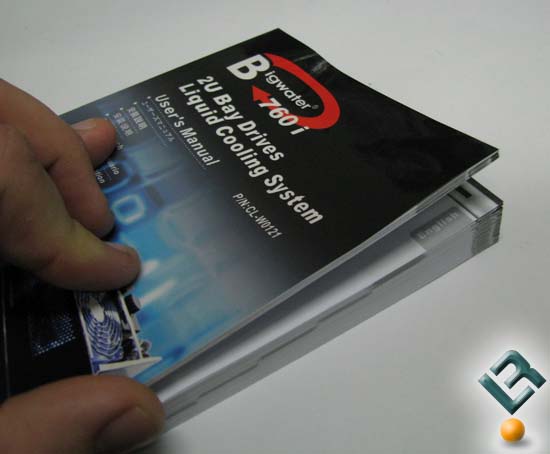
Thermaltake includes a rather daunting looking instruction manual and maintenance guide, but again looks can be deceiving. Both books are printed in many languages so it makes it look worse than it is. The manual is very nicely done and very clear on how and in what order to install parts.
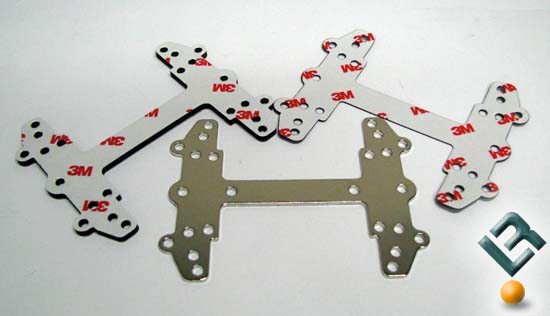
First you have to assemble the back plate. It consists of a steel H bar, thin plastic shield, and a thick foam pad.
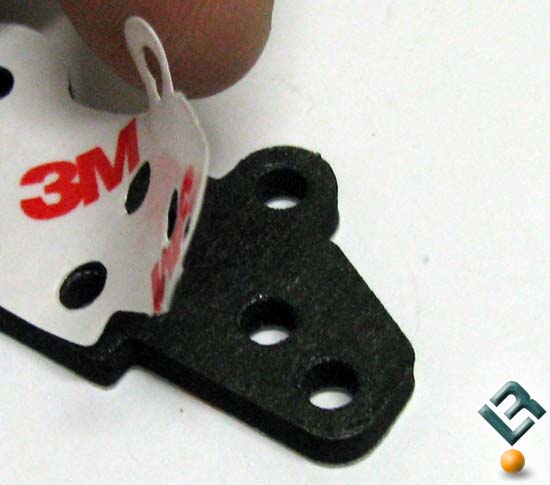
Thermalright warns in the manual that if you are not planning for the install to be permanent you should not peel back the protective film that covers the foam’s sticky surface that mates to the motherboard. Its so sticky that upon removing it, it may leave parts of foam stuck to the motherboard. So if you plan to use the system on another board you need to leave the film on.
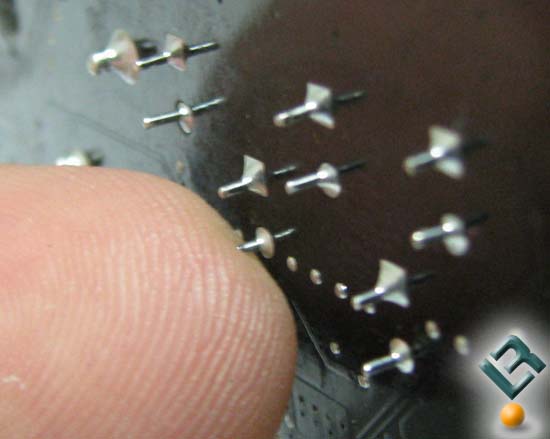
This is where I ran into a little snag on my board. On the back of the board the pins from the board components stick up a bit. With a normal X style retention plate these are avoided. With the H shaped retention plate however, they are covered. No matter which way I turned the plate there were pins that it covered. I was unable to install the plate with the protective film; they could not poke through the film. When I removed it the pins where able to poke into the foam with no issue, and the plastic insulator prevented the pins from touching the metal backing plate.
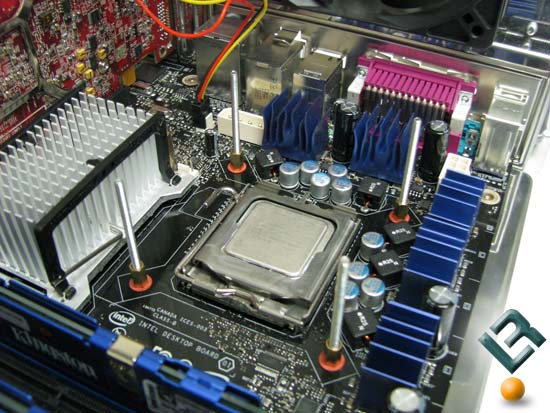
The rest of the retention system consists of four long screws, fiber washers, hex nuts, and thumb screws. With the long screws and nuts in place we can put the water block on. I first did this with no thermal paste because I wanted to dry fit the system so I could figure out the best way to route the tubing in my case. I installed it just as the instructions say but when it came time to put the retaining nuts on it was hard to tell if the block was setting correctly. The directions also do not provide any insight on how to do this either. The way I tightened them down so I knew it was flat was by pushing lightly on the center of the block and running the nuts down so they just touched the block, and then tightening them in an X pattern a half a turn each.
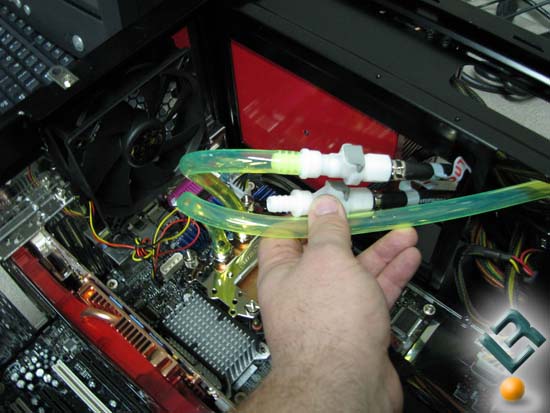
Then, with the drive bay unit install I put QD couplings together and attached tubing to the water block. I maneuvered the tubing around until I found a route that I liked that did not kink the tube. Using a pair of scissors, I cut the tube to the right length to match the fitting. Taking it all back out of the case, I set it up on my work table to put on the hose clamps and do the leak testing. The manual says you can do this in your case if you have to but since this is my first time with water Im not willing to chance it.
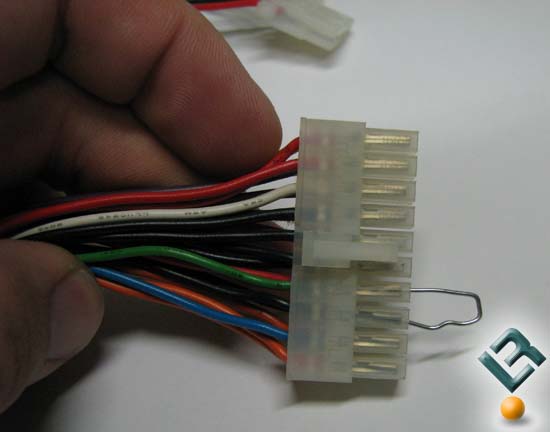
Now youre wondering, “How are you going to power it out side of the PC?”. Well, if you are like me then you probably happen to have a junk PSU from a generic case lying in your spare parts (preferably one that has a switch on the back). To jump start the PSU you have to put a jumper on the 20/24 pin connector to make it think its hooked to a motherboard. To do this you need a paper clip and to locate the green wire on the power plug — there should only be the one. Once you find it, with the PSU unplugged from the wall, jam one end of the paper clip in it and the other into any black wire. You now have a 12v power source to power up your water cooler for leak testing. If you dont have a spare or dont want to do it this way, you can use your PCs PSU.
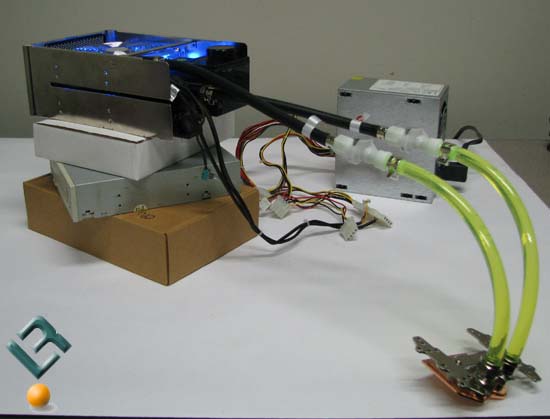
I set it up so that the drive bay unit was higher than the water block to help get the air out of the system. With the reservoir filled I powered up the unit and added coolant as the level dropped. I then ran the system this way for the better part of a day to get the air out. When I couldnt see large bubbles in the line I put the system back in the case and installed it for real this time. For the next couple of days I checked the tubing now and then looking for bubbles all while keeping an eye out for leaks. Id also like to point out that until I ran the unit for a while to get the air out the pump sounded like it was full of rocks, but after bleeding the system you couldnt hear it running. The fan on high was louder than the pump.
Comments are closed.