How To Build A Sonoma Notebook
Optical Drive & Wireless Card Installation
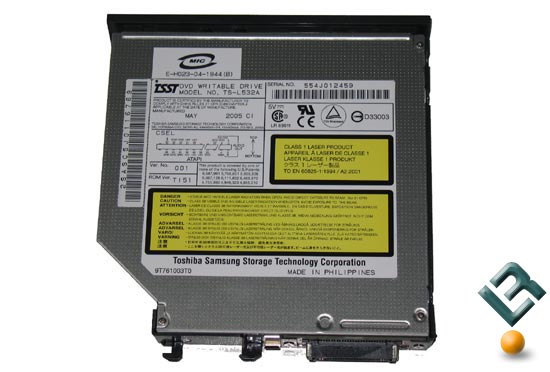
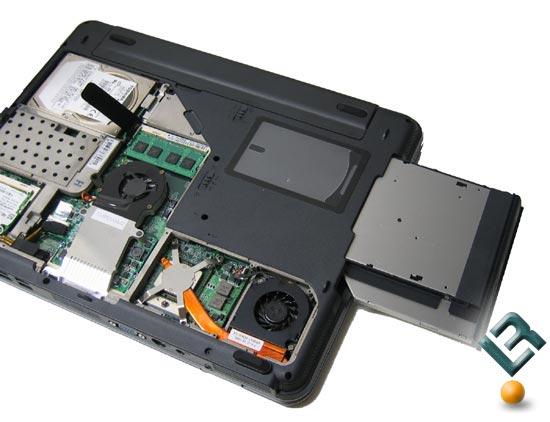
Now that the memory, processor, and hard drive are installed you can install the Toshiba optical drive that comes with the special face place for the ASUS Z71 series. This is by far the easiest install of the project since it simply slides in and locks into place.
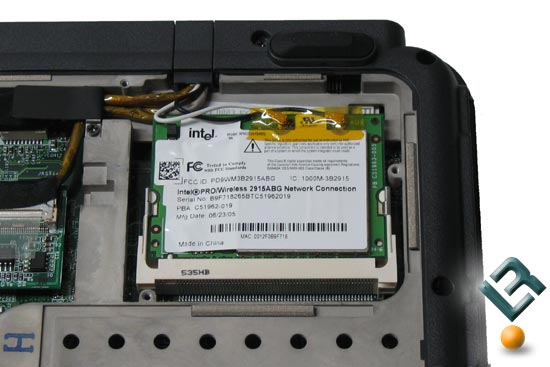
The wireless controller card is installed exactly the same way as the memory modules. Line up the notch on the Intel Pro Wireless card with the socket and insert the card at a 30-degree angle. Once the card is placed into the socket push it down to lock it into place. The black antenna is attached to the main lead and the white to the auxiliary lead. The antenna is pre-wired around the LCD display, so no wiring is required of the consumer for the wireless card to be installed.
Now that everything has been installed the notebook covers can be re-installed and installation is complete. Power the system on and continue by installing the operating system of choice!
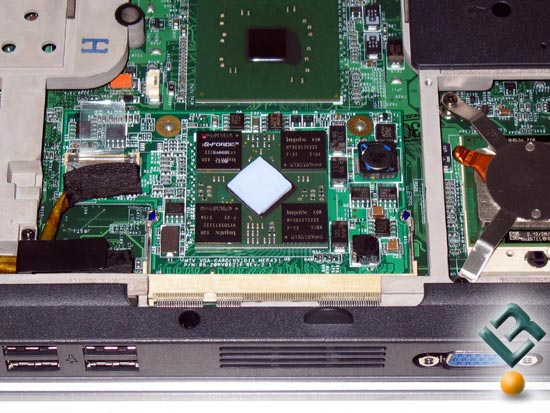
A Closer Looks @ PCI Express Graphics:
The graphics card comes pre-installed and shares a heat sink with the Intel 915PM chipset. The ASUS Z71V does use an MXM interface and should MXM upgrades cards become available this is one of the first notebooks on the market that will be able to take advantage of the technology.
Stay tuned for an article on how to do some more custom tweaks to help make the ASUS Z71V notebook perform better!
Comments are closed.