Gigabyte GA-EP45-UD3P Motherboard Review
Bundle and BIOS

The box proudly wears the product name and has many stickers and color swatches to display what features this board has.
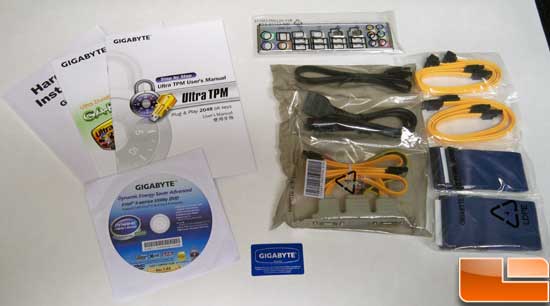
As you would expect, the bundle for this board came with just about anything you could ask for, aside from a fiber or coax cable. The included eSATA bracket with power connector is really handy for test bench setups!
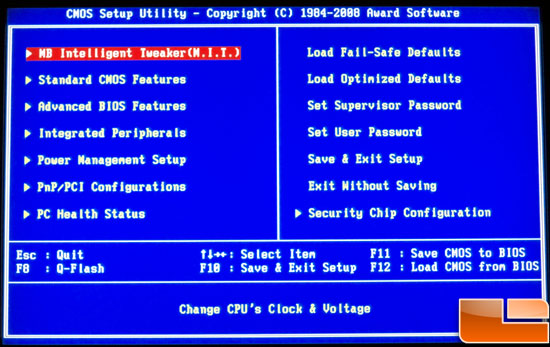
The BIOS options on the EP45-UD3P are sufficient for anyone looking to overclock. We see the root BIOS menu here; thoughtfully placed is the overclocking menu as the very first option.
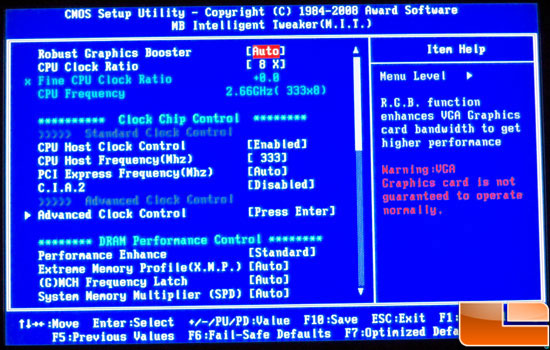
Entering the MIT menu to tweak the system we can see several different things, such as the system multiplier, FSB adjustment, and some DRAM settings.
This is a continuation of the first MIT screen; we can see settings for memory multiplier and primary DRAM timings.
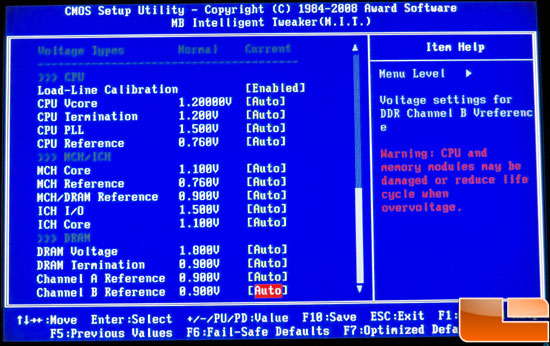
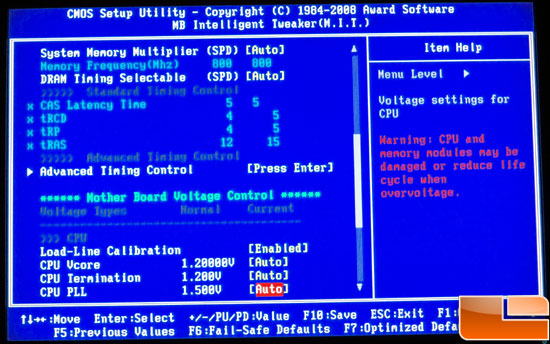
Now, we’re starting to talk. This is a further continuation of the primary MIT screen and we’ve finally made it to the voltage section. There are quite a few settings to play with here, but if you’re looking for a 400 FSB overclock you shouldn’t need to change anything, though we highly suggest setting each selection from Auto to the value listed on the left, however your DRAM voltage may need further adjustment.
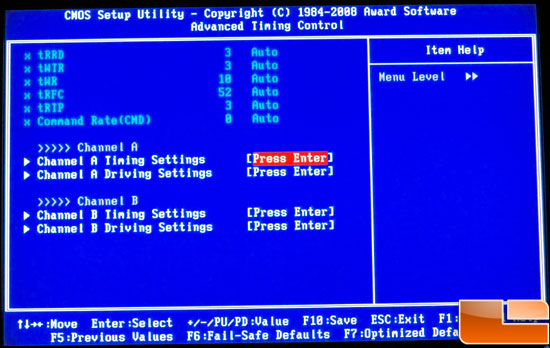
Entering the DRAM advanced timing control we see further DRAM timings are unlocked.
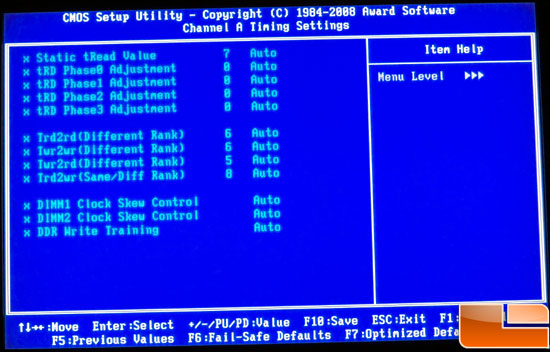
Digging even further, we enter the Channel A timing settings and find some obscure timings. Extreme overclockers looking to eke out every bit of performance from their memory will be doing lots of work in here.
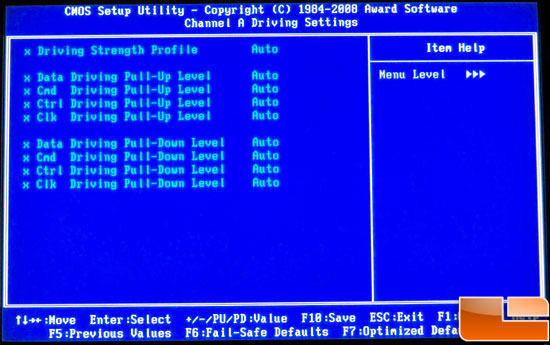
Here is the second menu for Channel A which gives us access to the Driving settings. Again, this is pretty advanced and tweaking this will take a lot of time, but will pay off with the highest performance and stability.
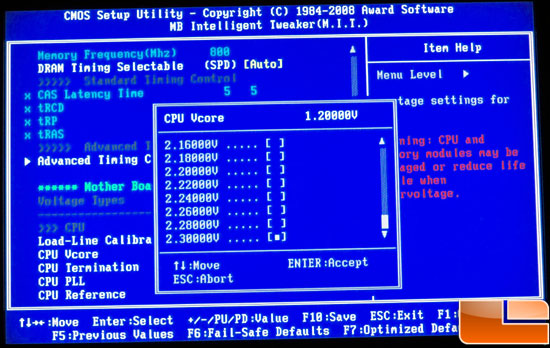
Back in the MIT settings, we see that we can give up to 2.3v to our CPU. Do NOT set this to 2.3v or you will quickly have a brand new key chain and a computer that doesn’t work!
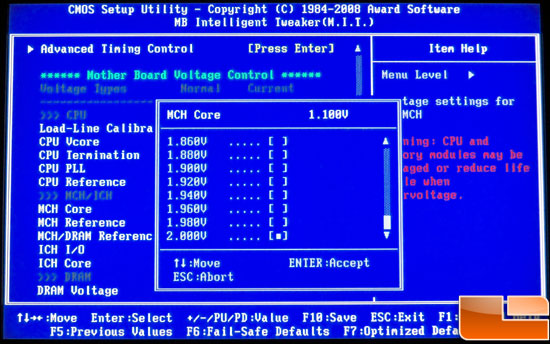
The MCH, or Northbridge, core voltage can be loaded with as much as 2 volts, though our board would fail to boot at anything over 1.46v. 1.55v should be more than enough for just about any overclock.
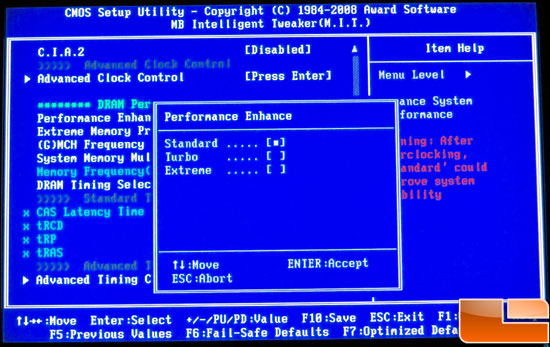
Performance Enhance is a DRAM setting that automatically adjusts all of those sub timings that we saw in the screen shots above. If you aren’t into tweaking each and every one of those you can come here and select a preset. At high FSB speeds you’ll need more MCH and memory voltage to use the Turbo and Extreme profiles.
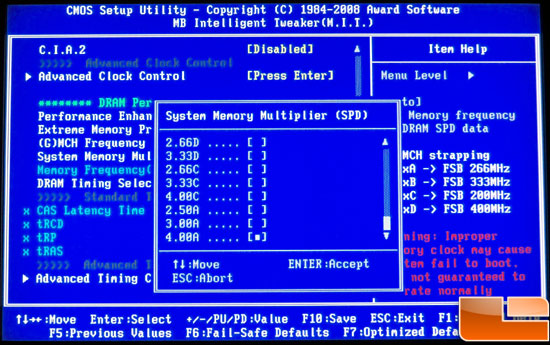
This is the memory multiplier. If you start to really crank the FSB, you’ll need to run your memory at different settings, you can select a different multiplier here to keep your RAM running within spec. The underlying screen shows in real-time what your memory speed will be at the FSB you’ve selected.
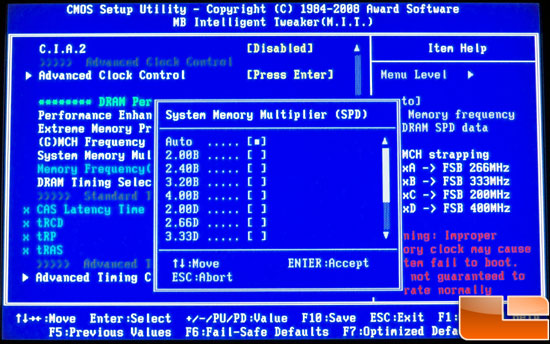
A continuation of the memory multiplier options…
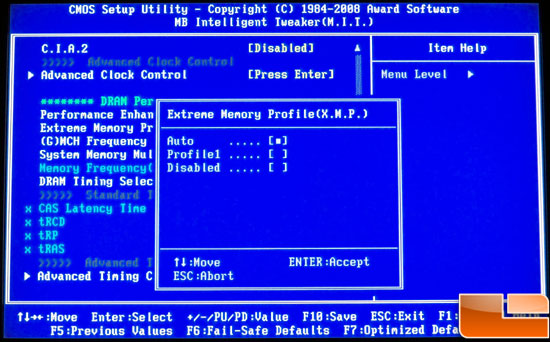
This is another DRAM setting. If you purchased memory that has preset X.M.P. then you can choose that here and it will automatically adjust the memory voltage and timings for you.
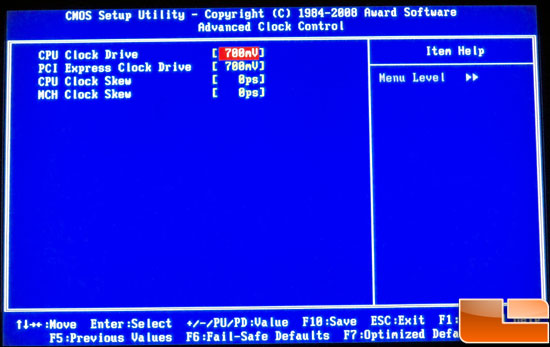
In this screen we can see some advanced CPU clock control options. These are used to fine tune and improve the stability of the CPU, especially Quad core CPU’s. Be sure to read up on these settings before changing anything here!
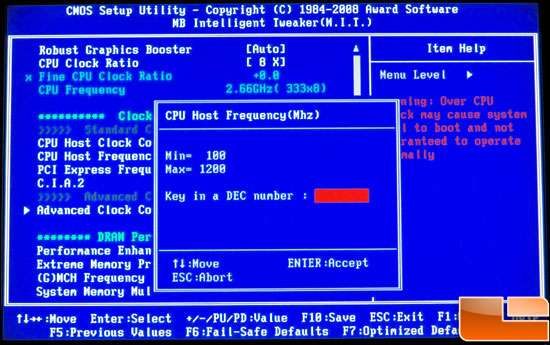
Finally, we have the FSB input. 100-1200 FSB is selectable on this board but I haven’t personally seen anyone break 700 FSB. But, it’s better to have that sort of flexibility than not, right?
Comments are closed.