Corsair Obsidian Series 650D Mid Tower Case Review
Internal Impressions

Moving inside the case we have a shot of the backside of the case, directly behind the mobo tray. Unlike the 700D & 800D, the 650D does not feature a fold down flap over the CPU-Backplate hole. This case also features about 3/4 of an inch of space to route and store cables behind the mobo tray. More than enough, even for thicker cables like the ATX 24pin cable.

If we move down some, we can see 2 holes. That large one is for larger PSU’s to route cables easier, but also so that if you have the HDD cage in one of the optional positions, then you can easily attach the cables after sliding the drives in.

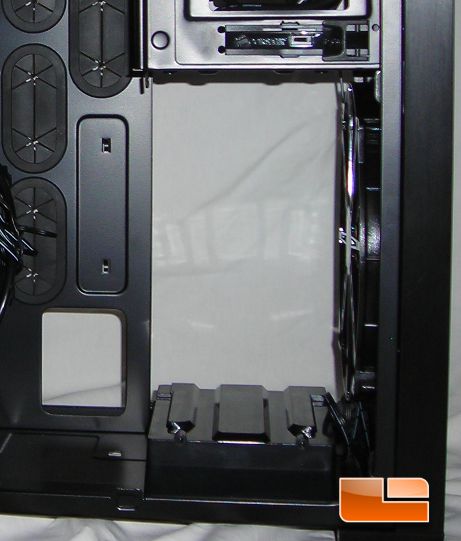
Starting at the bottom front of the case, we see the PSU Lockdown bracket that uses thumb screws. This was very easy to slide into place and it held the PSU snugly. Some may ask why this is even a feature worth noting, but the importance is lost to some of those who have never shipped a full system. The Power Supply is one of the heaviest components and this gives it an extra 5 points of contact to add its weight to when being tossed around by the truck, plane, or boat carrying the case.

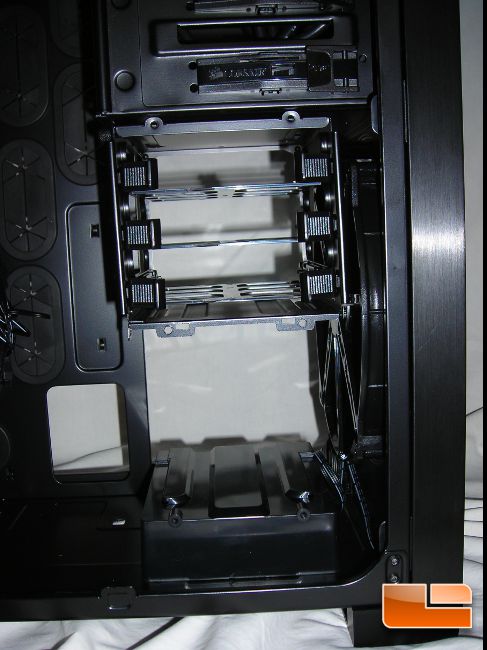
For those of you running this case and planning on using more than 4 HDDs with any mid-range to high-end GPU, this is the setup I suggest for the HDD cages. It allows for better airflow to the GPU section. There are also 2 other optional methods for installing the HDD cages, including removing both or having one hanging from the 5.25″ rack.
Comments are closed.