Corsair H100i GTX Extreme Performance Liquid CPU Cooler Review
Installing the H100i GTX CPU Cooler
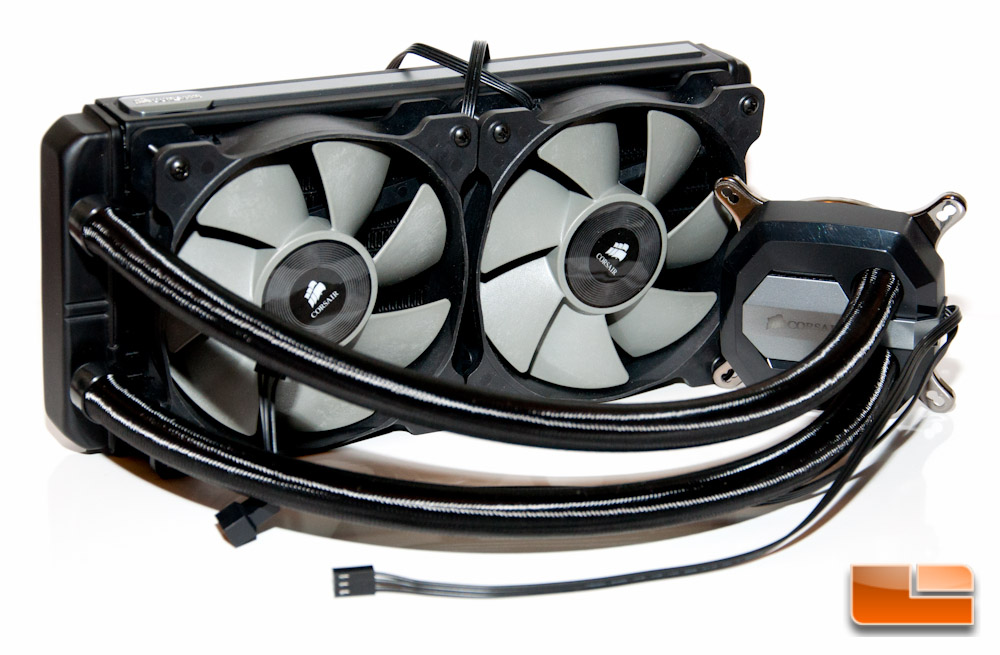
Prior to installing the cooler, I strongly recommend doing a little prep work beforehand. Obviously clean your processor with rubbing alcohol, plus prep the cooler’s fans and block (if you’re doing an AMD install). Since I’m doing an Intel install, I did not have to prep the block, as Corsair pre-installed the Intel mounting bracket. Installing the fans now instead of later will save you an atrocious amount of grief.
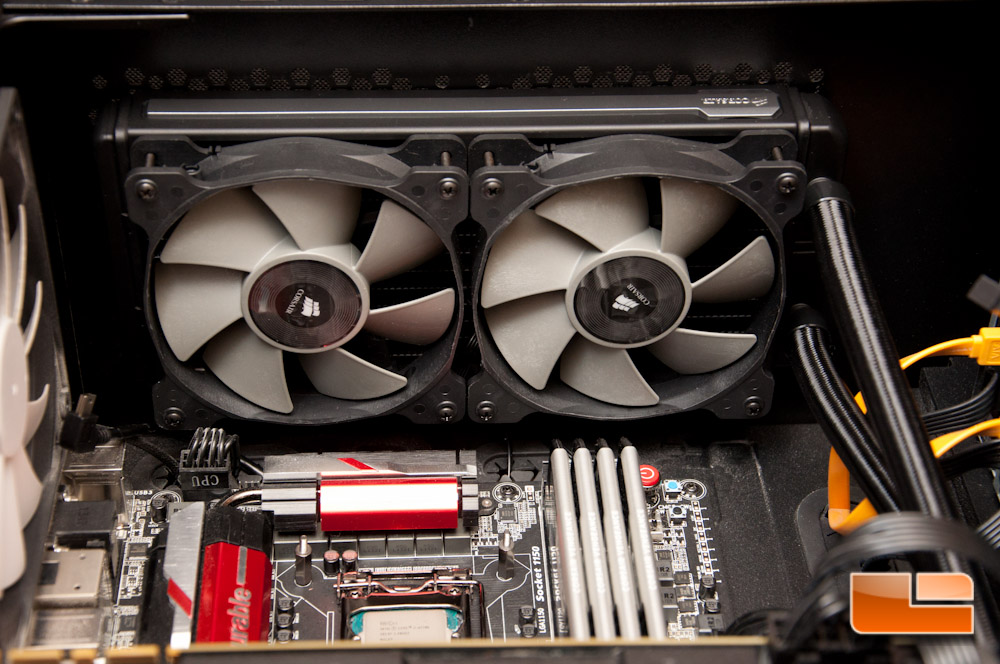
With the fans installed prior to dropping this cooler into my case, you can finally take in the full beauty of the H100i GTX.
I started off by installing the backplate and screwing in the standoffs. This is exactly how other Corsair coolers install and it is extremely painless.
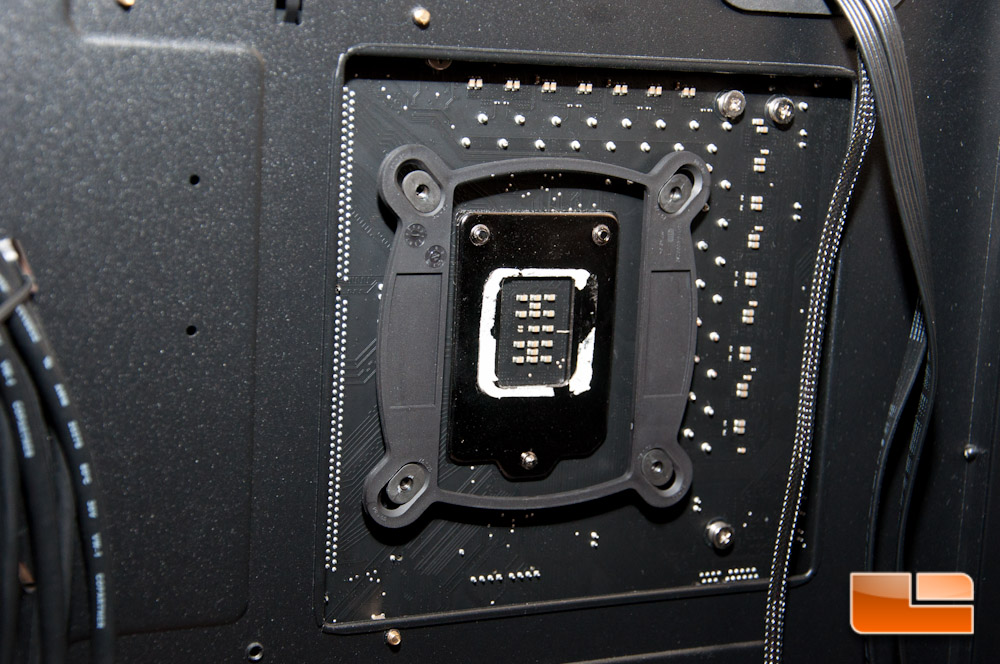
Being able to screw in the standoffs allows you to not taint your system with double sided tape to hold the backplate on while installing. You’ll see residue from a previous cooler that I had to do this with in the above picture.
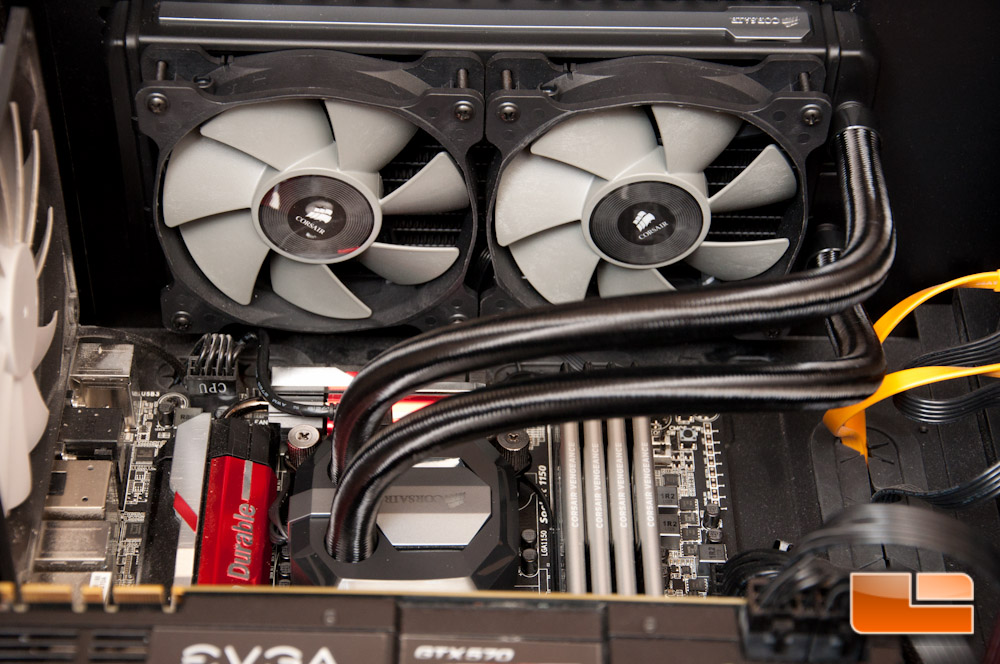
Installing the radiator is made easy with the screws and washers that are included. Take note that the way I chose to install this cooler in my case, the Corsair logo on the radiator is now upside down, which is slightly annoying, but not a deal breaker.
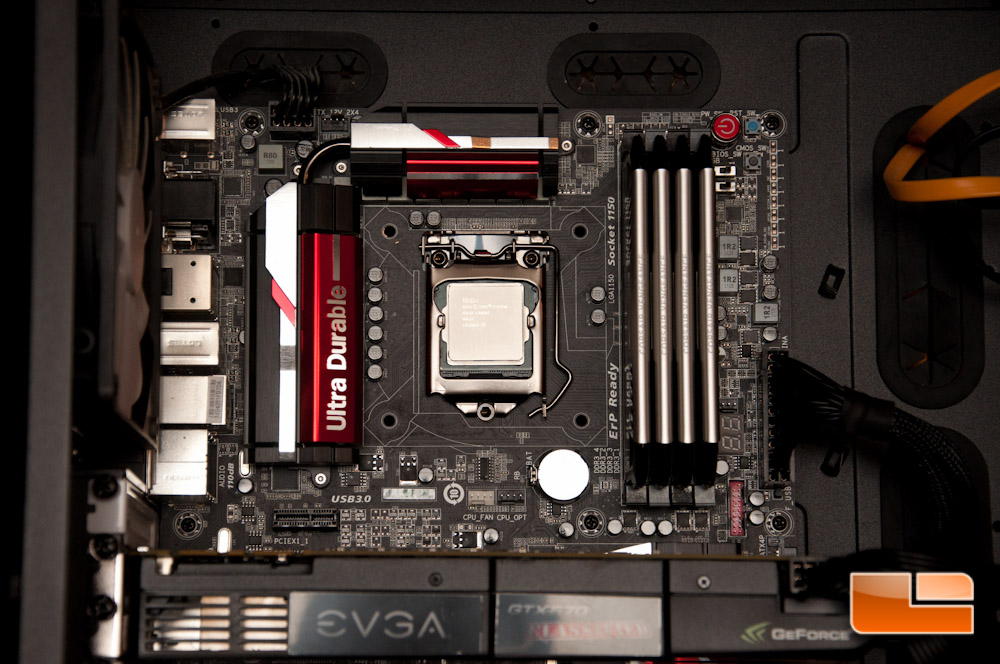
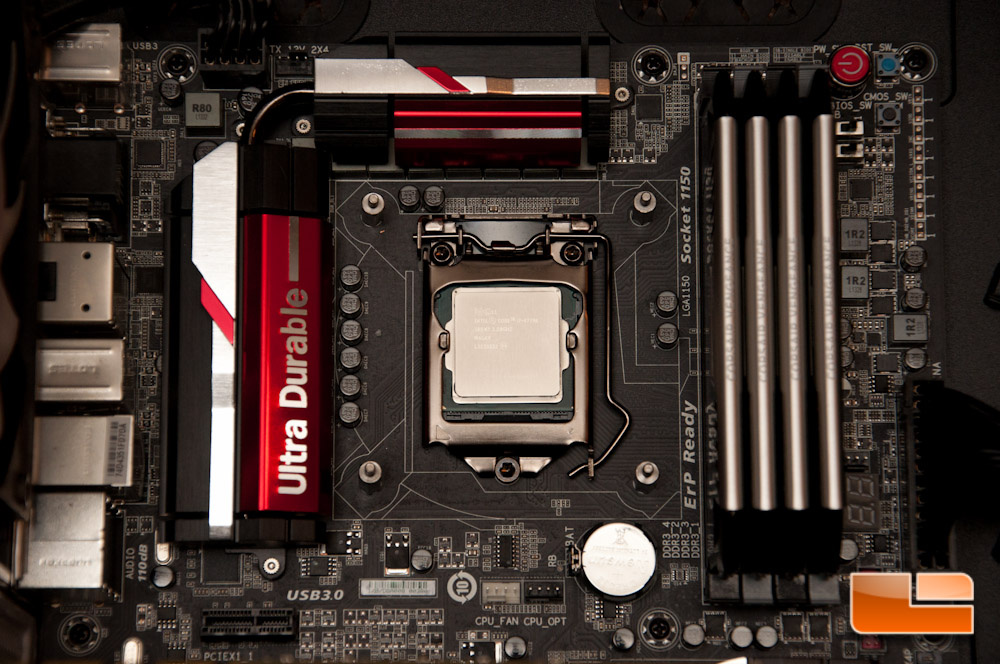
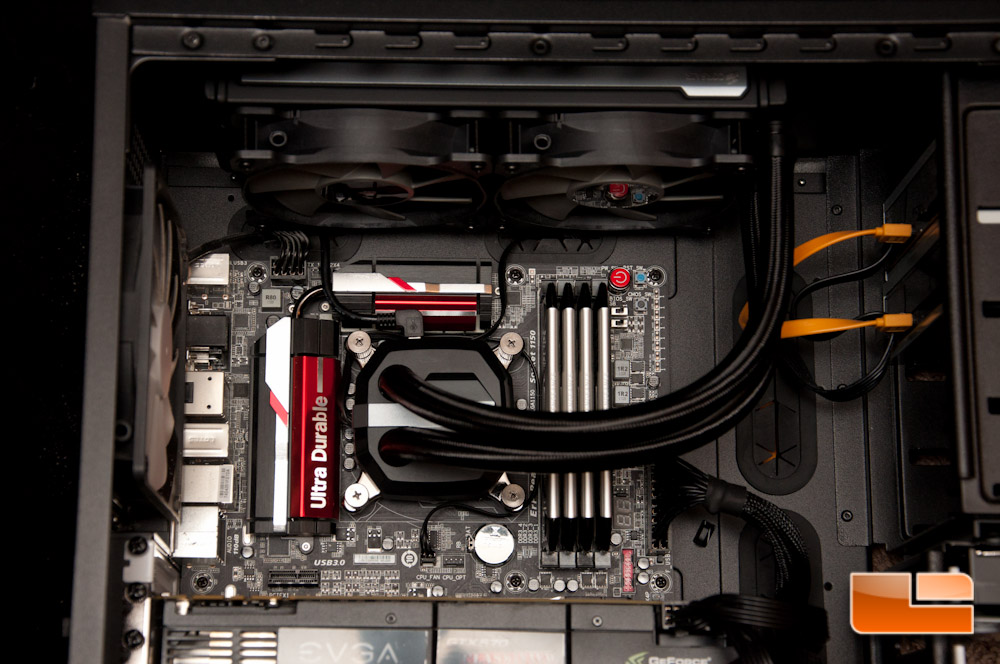
Finally mounting the block to my CPU was also made simple thanks to the thumb screw system, plus the fact that the TIM was pre-applied from the factory. I always start by tightening them down loosely to hold the block in place and then tighten them in a crisscross pattern to evenly “spread” the paste, even the pre-applied stuff. You can make these a little more snug with a screwdriver if needed. Because of how I chose to mount the cooler inside my case, the Corsair logo is also upside down on the pump cover. I wanted to avoid putting too much stress on the tubes, all to avoid kinks, but it could have been possible to flip it 180 degrees to make it work. I also went ahead and connected the pump power to the CPU_FAN header and routed the wire for Link (seen at the top of the block) and the fans.
Powering up the cooler for the first time, I get a catch a glimpse of the LED on the pump cover and also can take note of the fan and pump noise. I immediately noticed the pump was quite noisy and hoped it would settle down as any trapped air moved out, but it didn’t – I’ve honestly never heard a pump this noisy. The fans were pretty darn quiet, but then again, I haven’t told them how to be controlled with the Corsair Link software.
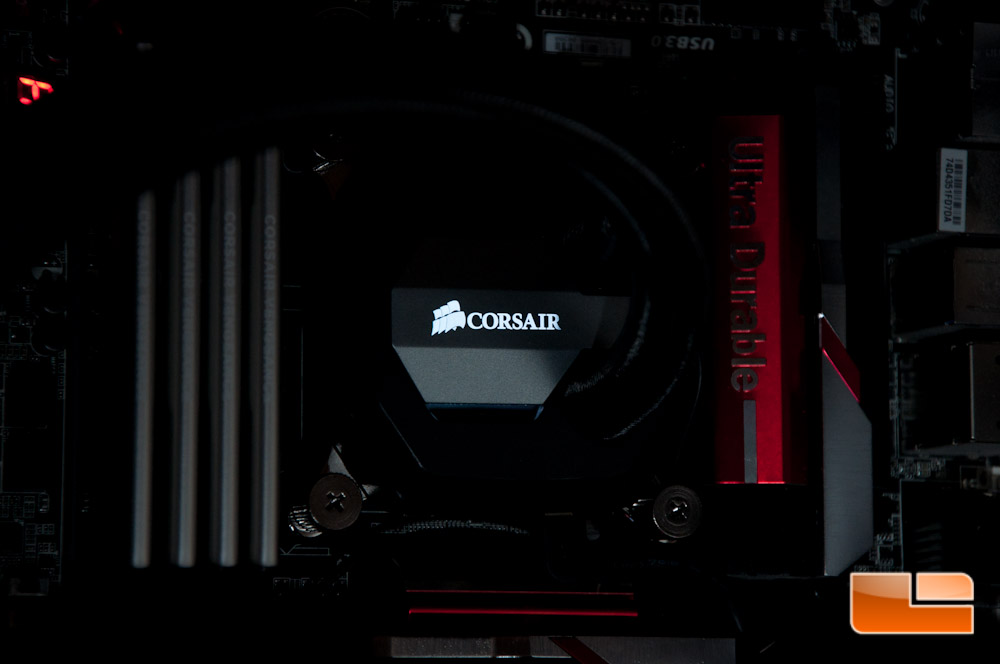
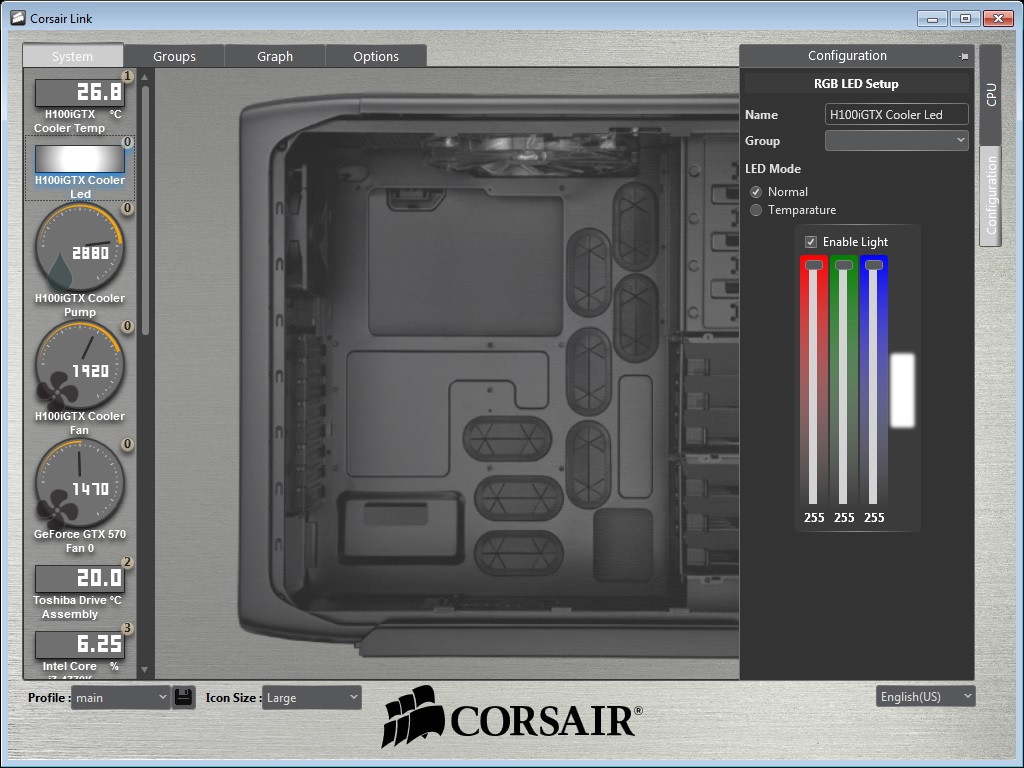
The LED on the pump cover can change colors through the Link software, which can be manually set to a color of your choice or even work based on temperature.
Corsair Link Software
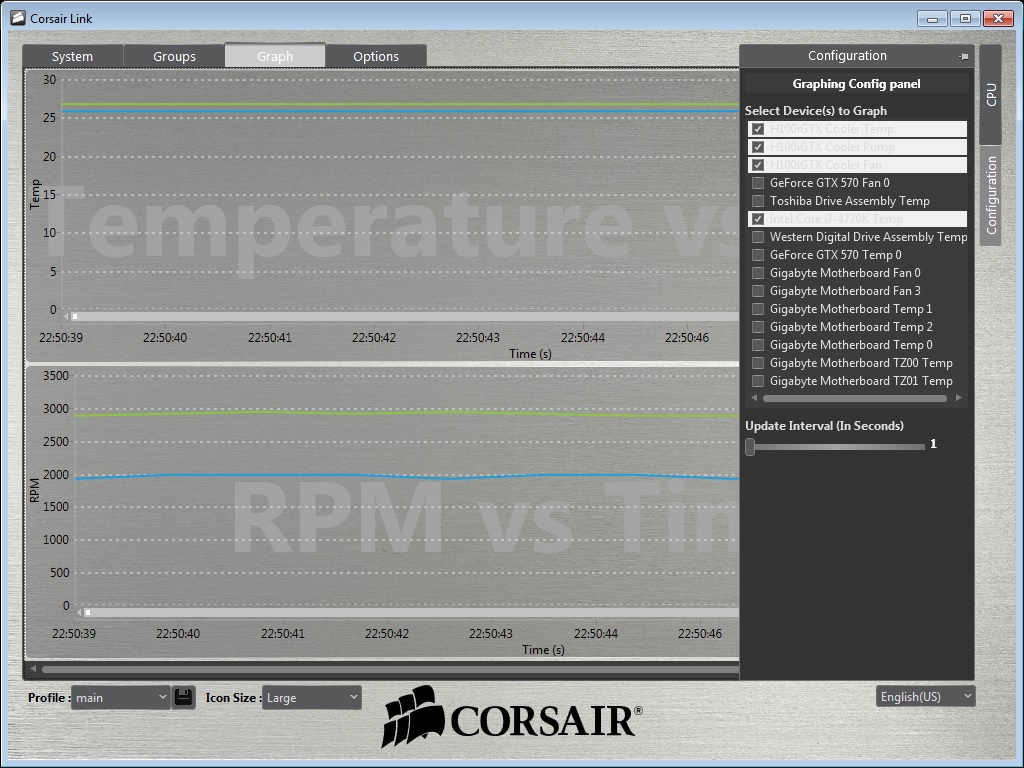
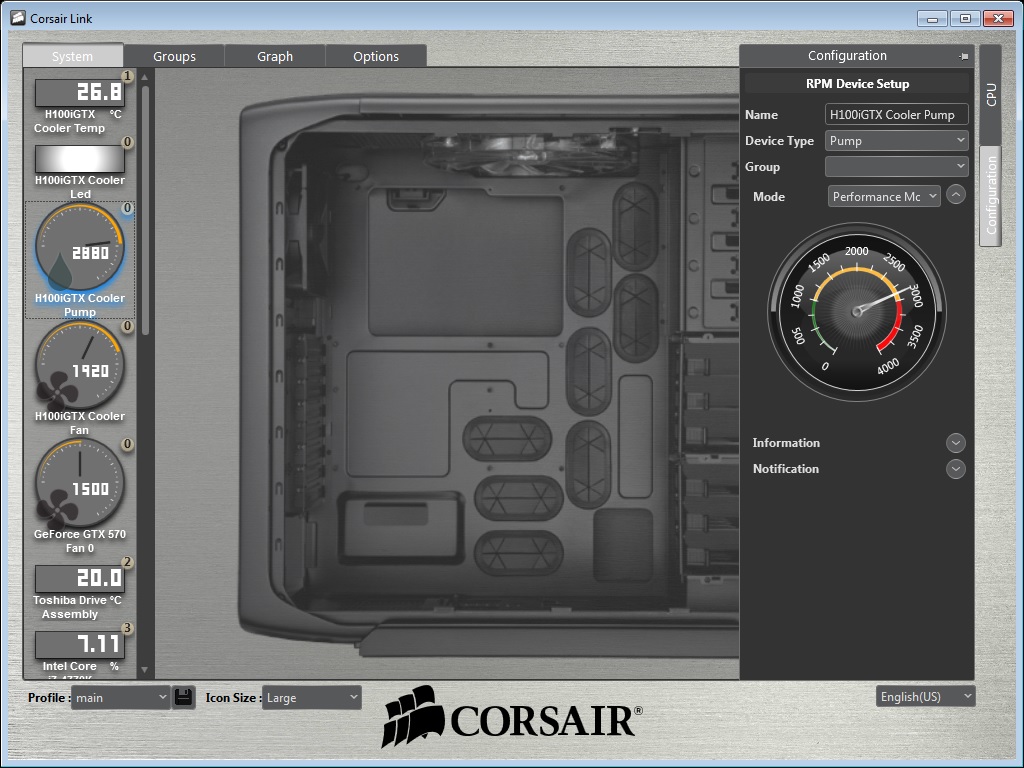
Corsair Link is a software tool that you download from Corsair, which allows you to control the fans, pump, and built-in LED on the H100i GTX (plus other Corsair products that have an ” i ” at the end of the product name. There are profiles already setup for you on both the fan and pump settings. On the pump section, you will find only quiet and performance. For the fans, the profiles allowed are default, quiet, balanced, performance, custom curve, and fixed percent. You will also be able to view fan and temperature numbers from other devices inside your system.
While using the Corsair Link software, I had a little trouble getting it to recognize the H100i. After you install it, it asks you to reboot. I restarted my computer, came into Windows, and it did not see any of the Corsair items that I need to modify. This made me restart the computer once more, and this time I saw the LED, Pump, and Fan controls, but I couldn’t do anything with them. Exiting and opening the software again yielded zero change, so I restarted once more. Third time’s a charm, because I now could play with the profiles. Upon rebooting later, I then had the inability to see any Corsair items again; restarting cured that once again.
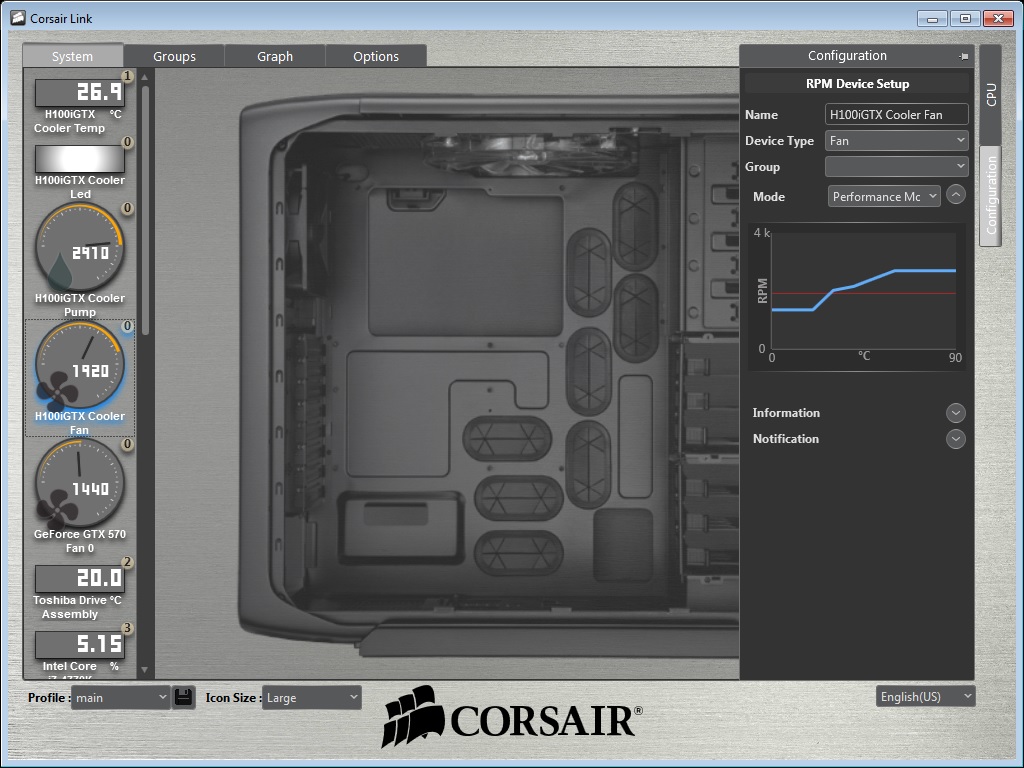
One other item that I noticed is the profiles are a bit off on how they should work. Default and Balanced provided zero change in fan speed when the CPU was warming up; Quiet stayed quiet, which I expected. Performance showed me about a 300 RPM difference, but constantly ran between 1800 and 2100 RPMs (Max 2435 +/- 10% RPM), creating a fairly noisy environment. Toying with the manual ramp rate was a bit tricky, but can be done. For all of my testing on the upcoming pages, I chose to use the Performance mode, as it did ran at the speeds that I personally expected and can tolerate when utilizing my processor for gaming or encoding.
So basically what I’m getting at here, is the Link software is quite buggy. With due time the software will end up getting updated, hopefully addressing these issues, but it definitely did not seem ready for the H100i GTX.
If you would like an even more in-depth view of the Link software, Corsair has a manual available for your viewing pleasure.
Lets move onto the testing, as we know thats what everyone is here for. Well compare it to the various liquid CPU coolers that weve tested in the past, see how well it works with an overclock to 4.3GHz on a i7-4770k. Before we get into the tests, click the next page to see what weve got in our system.