Corsair Carbide Air 240 mATX Case Review
Carbide Air 240 Hardware Installation
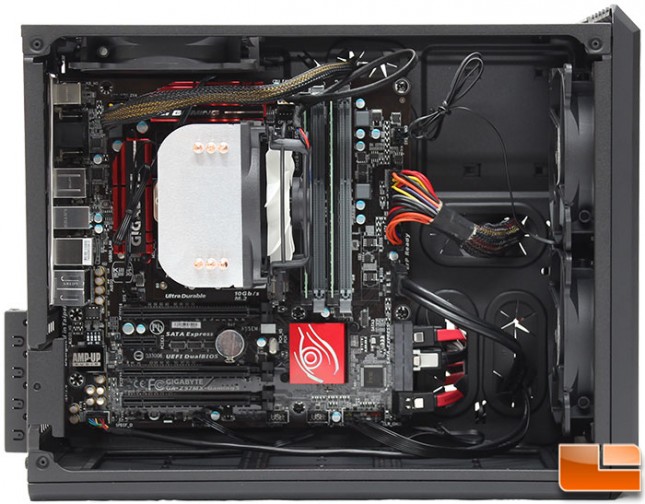
Installing a Micro ATX board in the Air 240 goes off without a hitch. Everything lines up perfectly, and the four exposed cable management holes makes it easy to route cables to keep the interior clean. If you decide on air cooling for the CPU, you will need to keep in mind that the Carbide Air 240 only supports CPU Coolers up to 120mm. Of course a liquid cooler won’t have to contend with this height issue, but you’re limited to 240mm radiators.
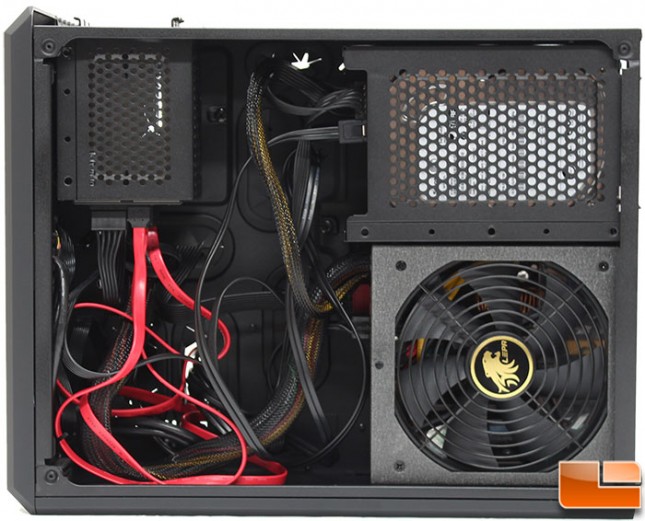
There were no real surprises when installing everything on the power supply side. Corsair has installed four rubber feet for the power supply to rest on, which will reduce vibration noise. The side panel is vented to allow for the power supply to bring in cool air. While the cables haven’t been organized, there is a large amount of room to get them organized, which would improve airflow and even allow for installing a fan or liquid cooling radiator on the side panel.
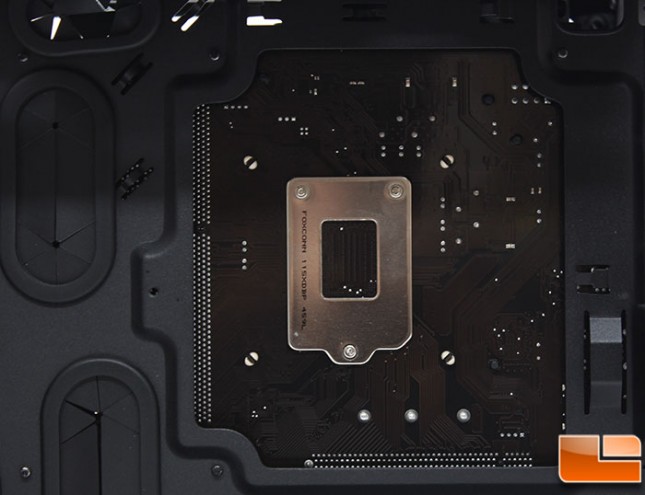
Before reinstalling the 3.5″ hard drive cage, we took a look at how much room there is for installing a CPU cooler after the motherboard has been installed. It could be a little annoying to do it later, as the 3.5″ hard drive cage has to be removed, but that’s easily done.
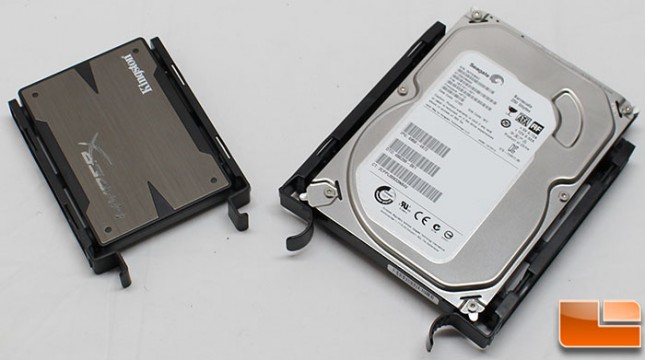
Both sizes of hard drives pop into their associated rail with ease. Slightly bending the tray allows for the drive to pop into the slot.
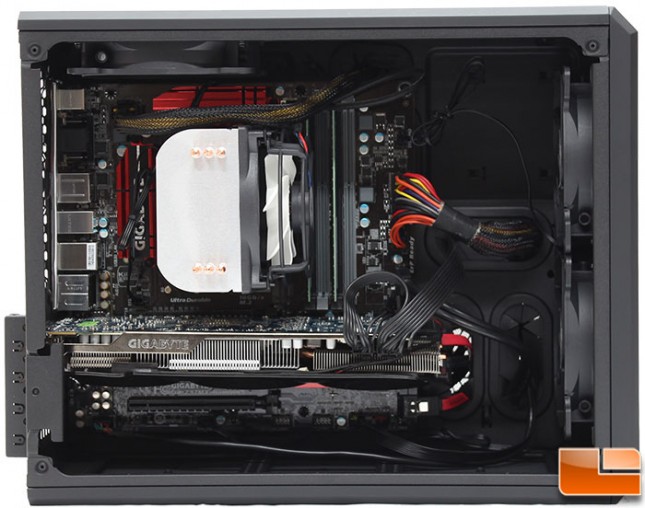
With the video card installed, it’s time to close up the case and look at the final build. Even with the Gigabyte HD7870 installed, there is just about 3in of space between the end of the video card and the front intake fan, leaving plenty of room for a 240mm radiator in push/pull configuration.
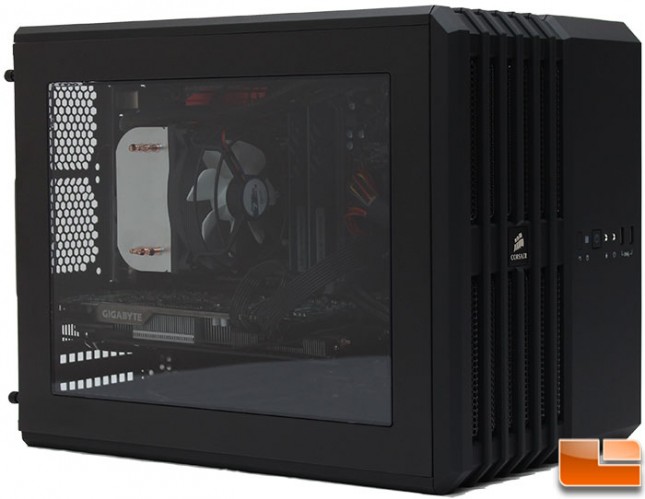
Looking through the window, all the hard work on the motherboard and GPU can be seen. The cable management behind the motherboard is invisible since the back panel doesn’t have a window.
