Building Your Own Intel Core Duo Gaming Notebook
Building The System – CPU & Memory
To build or upgrade your Clevo M57U / Sager 5760 gaming notebook the first thing you need to do is flip it over and grab a number 1 philips screwdriver to remove the eleven screws holding on the back cover.

With the back cover removed you will see the insides of the notebook and by removing this back plate you know have full access to everything you need to work on. There is no need to remove the keyboard or any other plastic bezels on this notebook chassis.
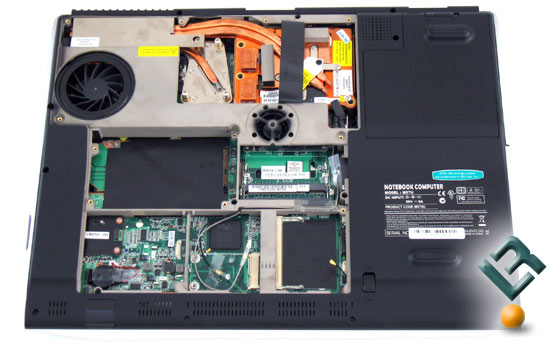
The first thing I am going to install is the processor. For this gaming system I picked a retail boxed Intel Core Duo Processor T2600 (2.16GHz, 2MB L2, 667MHz FSB). I did so because I didn’t want the system to be CPU limited when paired with the GeForce Go 7900GTX graphics card. I’ve run both the T2500 and T2600 processors on this notebook and neither cause CPU limited game benchmarking, so take that for what’s it worth. Notice that the CPU heatpipe comes installed when the notebook is shipped. It must have the four screws holding it down removed.
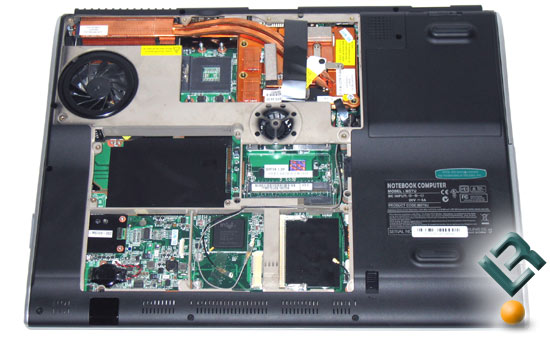
Once the four screws are removed you will see the CPU Socket (the black square). Now you need to place the processor into the socket, but be carefull as it only goes in one way. The pins must line up correctly, so be sure to place it into the socket correctly.
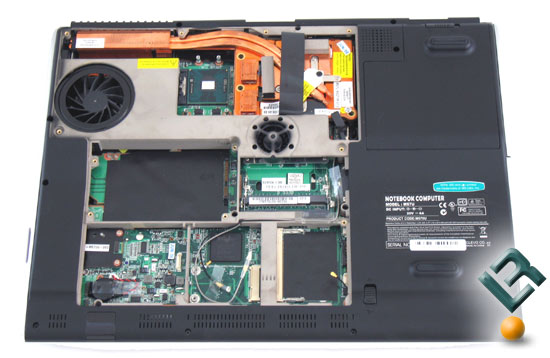
With the processor in place take your number 1 screwdriver and lock it in place by turning the lock on the socket. Once the processor is locked into place you can apply thermal compound to allow better transfer of heat from the processor to the heat pipe. I used Arctic Silver Ceramique on my system and applied a thin coat to the processor. Be sure to remove the black square of thermal compound that is pre-applied to the heatpipe as it will not be needed if using your own thermal compound. If you have never installed thermal compound before it’s always good to install the heatpipe and remove it to make sure the thermal compound is thick enough. When screwing down the heatpipe take note that each of the four “arms” has a number on them (1 through 4). These numbers are the order that the heatpipe must be secured in. (Think of it like a wheel on a car)
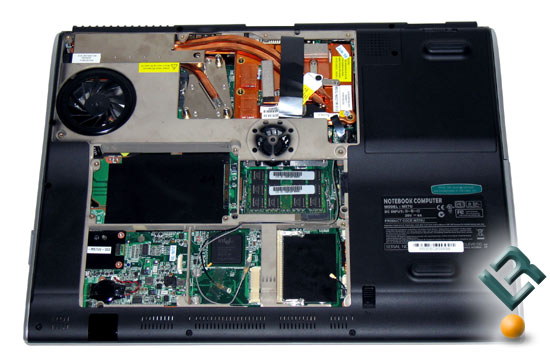
With the heatpipe secured we can now move on to the next piece of hardware to install and that is the memory modules. I’ve been using Kingston memory in my DIY notebooks for three years now and used them again on this system build. Since this is a gaming machine I went with two Kingston 1GB modules of PC2-5400 SO-DIMMS (part number KVR667D2S5/1G). Intalling the pair of DDR2 667MHz CL5 modules is very simple to do. Simply line up the notch in the memory with the notch in the SO-DIMM slot and push the memory into the socket at a 45 degree angle. Once the memory is in the socket push it down to click it into the tabs that hold it in place. Repeat this for the second module and the notebook memory is installed. Just be sure to install the memory into the bottom (the closest to the motherboard) first!
Now that the processor and memory are installed we can install the wireless internet card and the hard drive.
Comments are closed.