AZZA Nova 8000 Full Tower ATX Case Review
AZZA Nova 8000 Build Experience
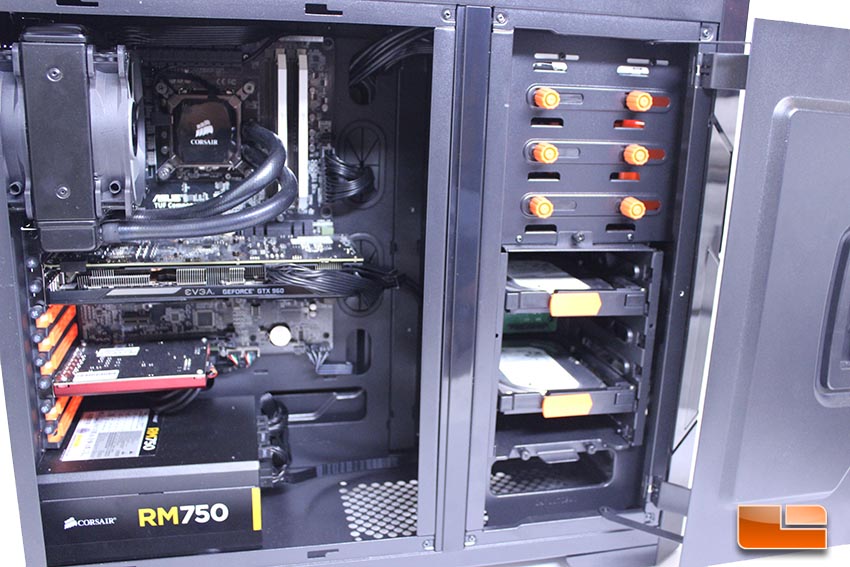
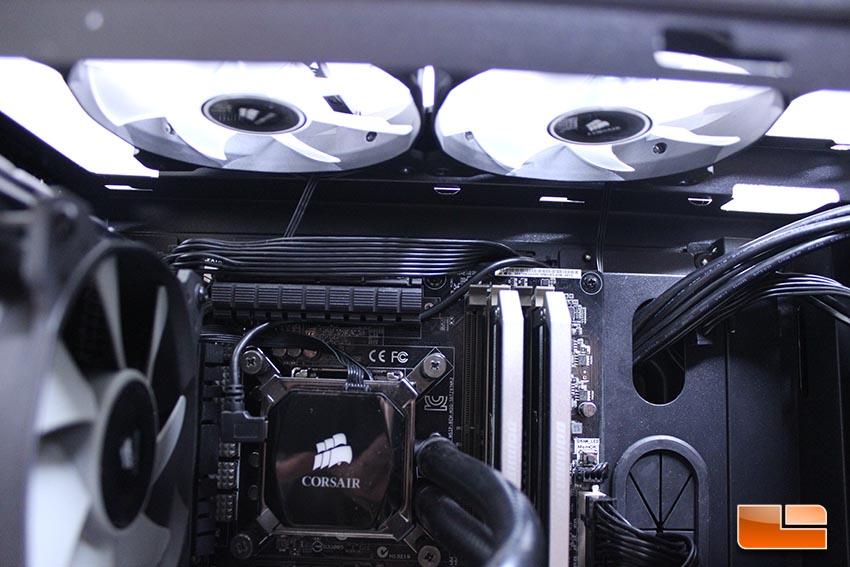
For this build, we are using an Asus Z97 Sabertooth motherboard, Corsair H80I AIO CPU Cooler, EVGA GTX 960 SSC GPU, 2x HDD’s and 1x OCZ Vertex 460A 240GB SSD. Building our system into the Nova 8000 was a very simple, easy experience that didn’t lead to any notable problems, besides a small issue with the fan controller that we will bring up shortly.
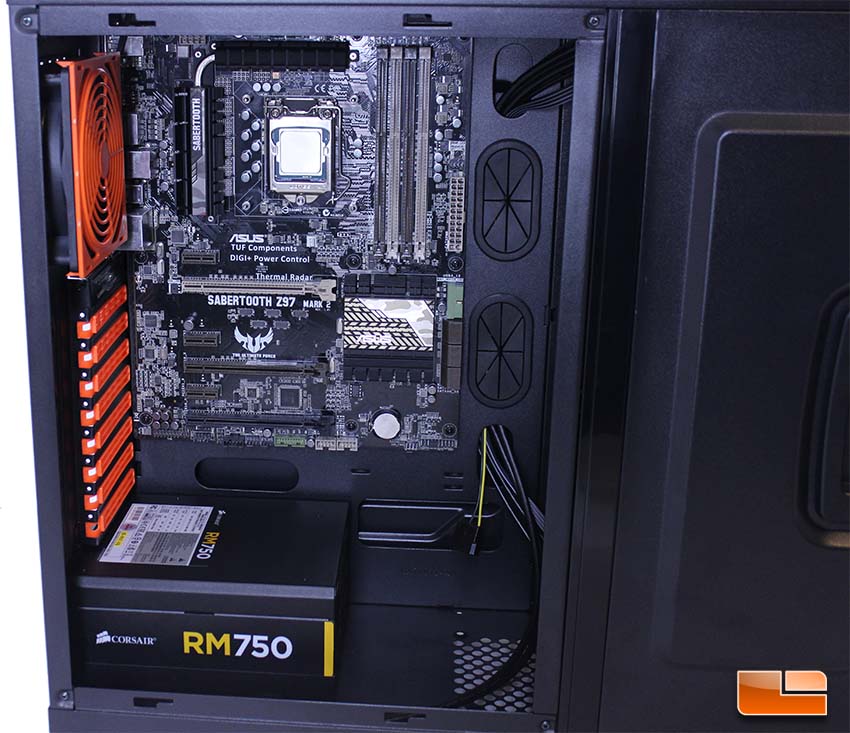 Installing the motherboard and PSU went without a hitch. The motherboard standoffs lined up and screwed into the tray without issue and the motherboard easily screwed into place after being lined up properly. The ample room inside of the chassis made this process go very quickly and without issue.
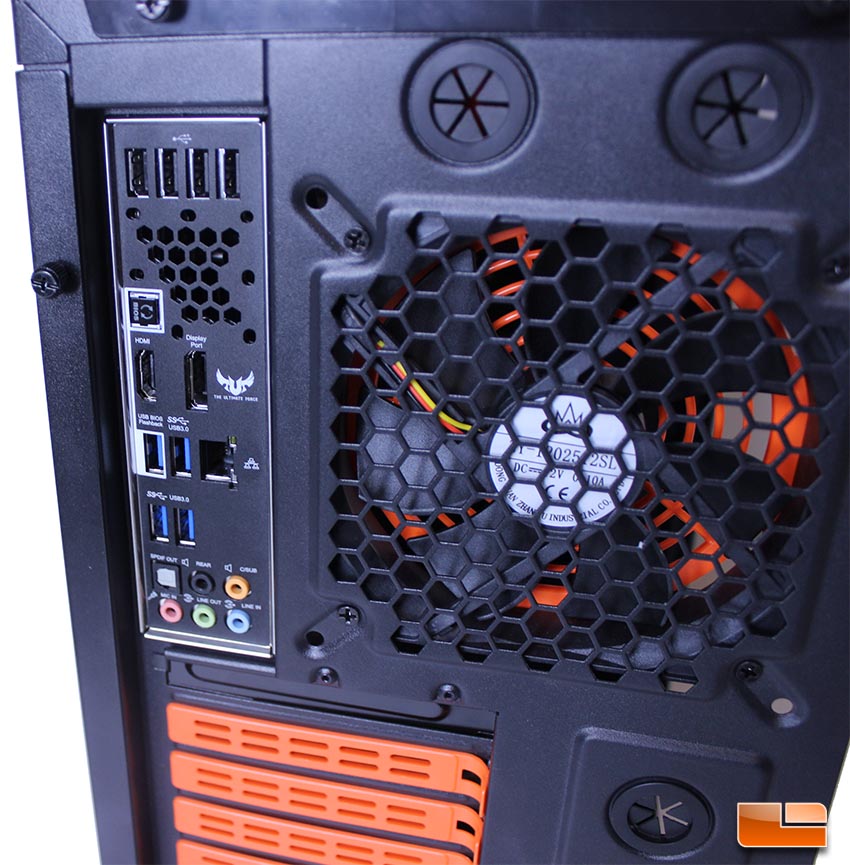
The IO shield fit properly and all of the ports lined up perfectly between the IO shield and motherboard, with no unusual issues being presented.
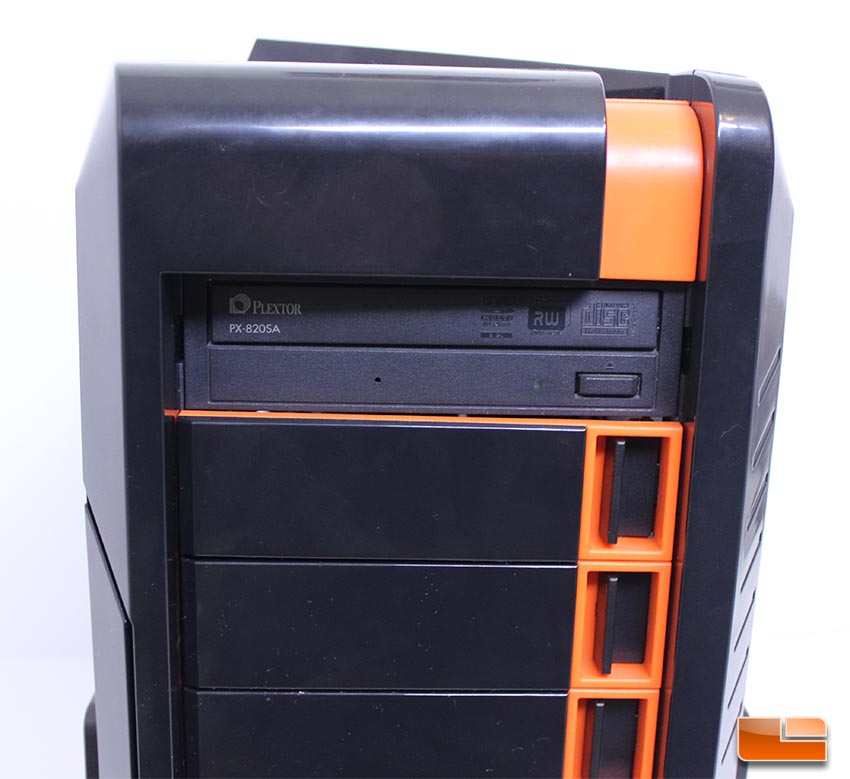 The DVD Drive installed into the top bay with no problem and lined up nicely with the front of the case, though it was slightly recessed. Removing the front bay cover was very easy and didn’t present any issue.
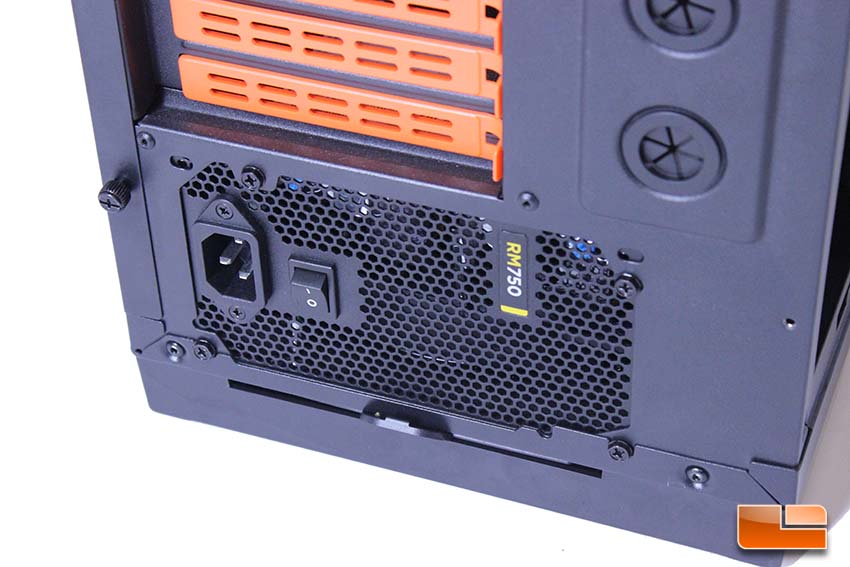 Our Corsair RM750 PSU installed without any issue and sat properly on the included anti-vibration pads. All of the screw holes lined up properly between the case and PSU. AZZA includes the proper screw hole configuration for installing PSU’s in either a fan-up or fan-down orientation, depending on your particular cooling needs.
Getting the rest of the hardware installed was simple and went without issue. During the build, since we are using an H80I, we relocated the rear fan to the front of the case so that there would be additional airflow. Everything installed very quickly and it was a pleasure building into the AZZA Nova 8000. There were no sharp corners or any particular areas that gave us a hard time while building into this case.
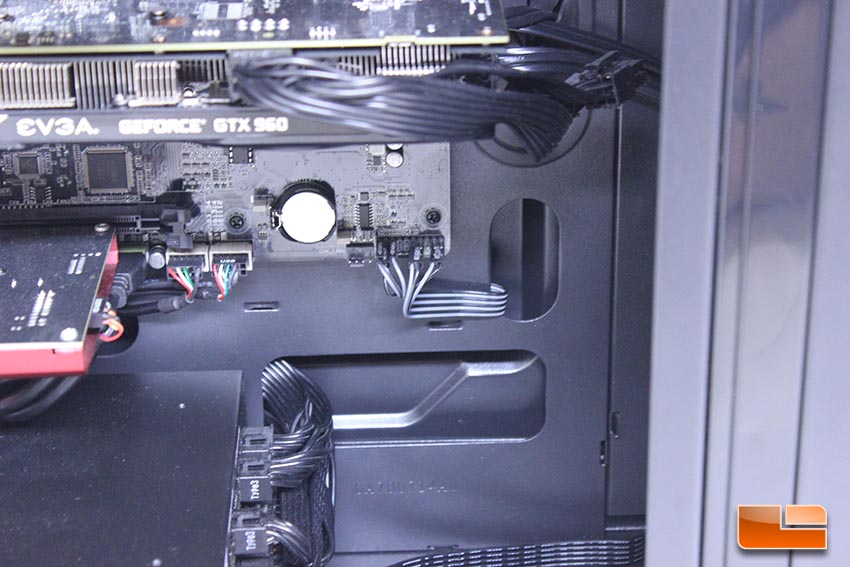
Our EVGA GTX 960 SSC graphics card fit like a charm, with about six inches between it and the Hard Drive cage area. 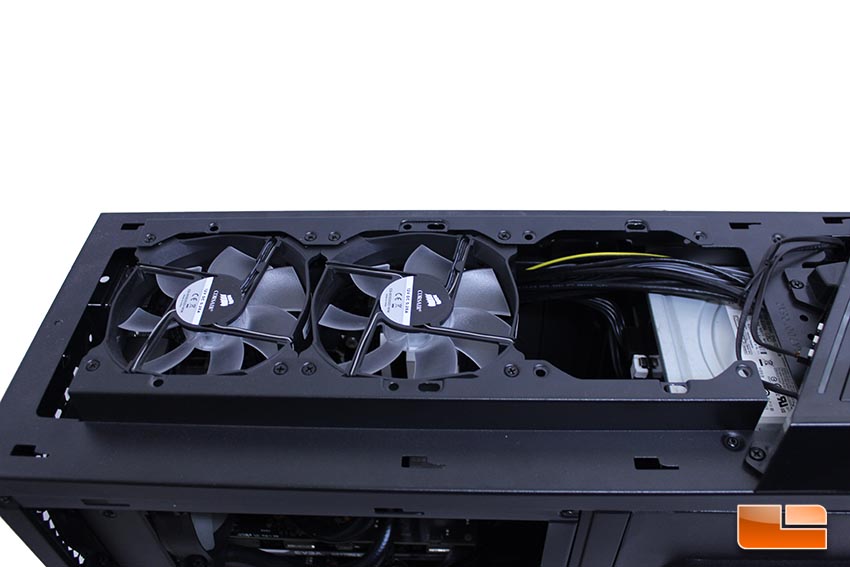
We also removed the stock 120MM fans and replaced them with Corsair SP120 units due to something we noticed during testing. The stock fans, when run at slower speeds on the internal fan controller, emitted a humming noise. We found this to be the case with a couple of different fans, while our SP120 units produced a faint hum, while a Zalman Quiet Fan produced no hum. We plan on placing the stock fans on the bottom of the case once we obtain the correct filters and using the motherboard to control their speed. Users buying the AZZA Nova 8000 should be aware of the issue with running certain fans at slower modes via the fan controller, though you may not even pick up on the humming sound if you don’t have sensitive ears.
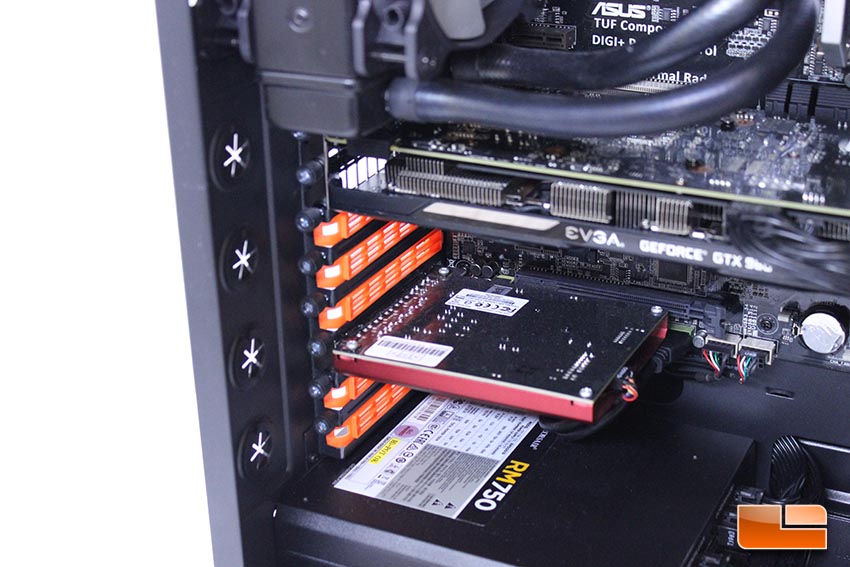
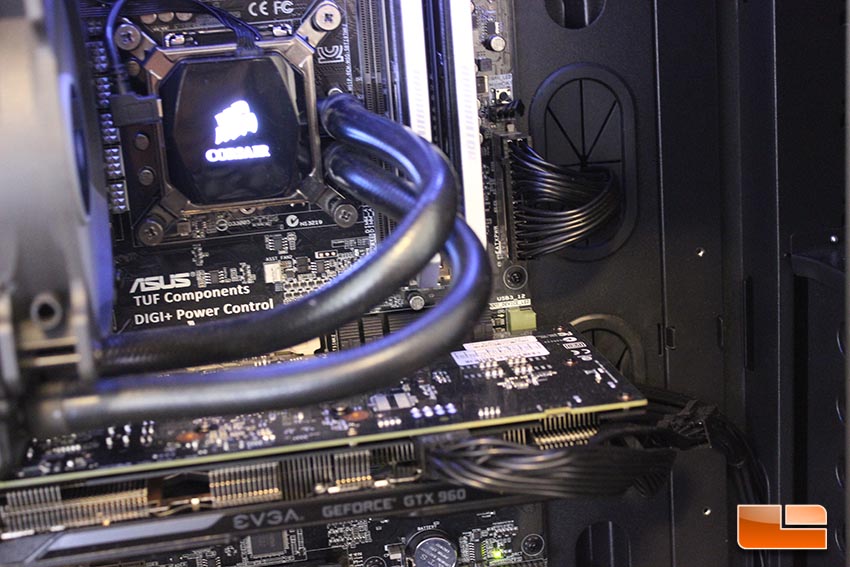
I installed the included thumbscrews into the PCI-E slot area for future use. The included orange slot covers are easily removed and can be put back in the event you should change your card configuration. The expansion cards lined up perfectly with the slots. The cut out in the motherboard slot underneath the board allowed the front panel USB header cables, the front panel audio audio connector and the USB connector from the H80I to be routed behind the board for a clean look.
AZZA went with a grey and black front panel header color scheme, which really helps with the aesthetics of the system. It flows perfectly with the color of the modular cables on the RM750 PSU from Corsair that we are using. Cables from the power supply are easily routed through the motherboard tray cut out. The only glaring omission that would have helped clean up the looks would have been rummer grommets being used on every cable pass through.
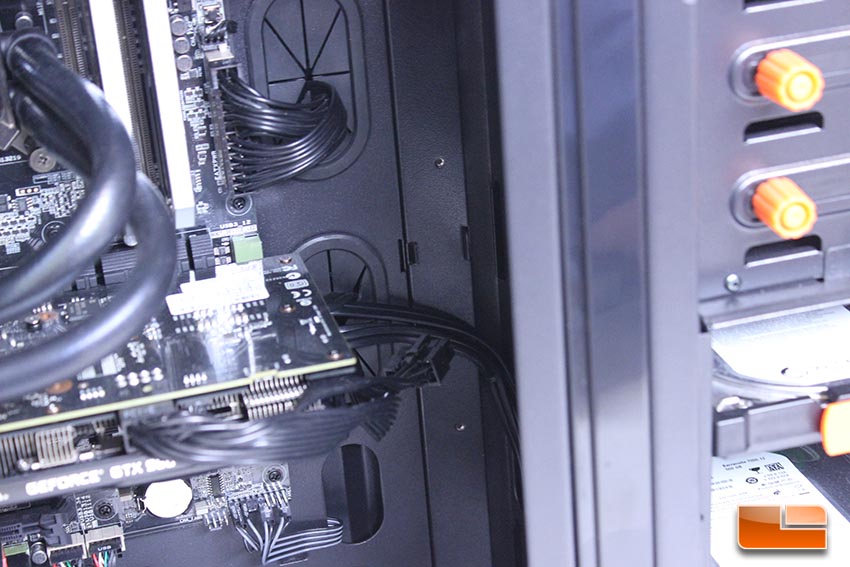
Also, of note, is that we had to run a SATA power and data cables across the case, due to the motherboard tray side not having a rear path to the HDD area, as we mentioned earlier. This is a minor hitch that detracts from the overall aesthetics.
The placement of the top cable pass thru hole where users can pass their 8-PIN CPU connector and other cables that go to the top of the motherboard that route behind the motherboard tray is decent, but I am not a fan of there only being this one center hole and think it would have helped if they also included another routing hole to the left rear of the case, near the IO area. For example, on our system, we route the USB cable for the Corsair Link for the H80I through this hole and down to the bottom of the motherboard tray for a cleaner look, but with there only being a center hole, we are forced to route the cable across the motherboard, along with the 8-Pin CPU connector.
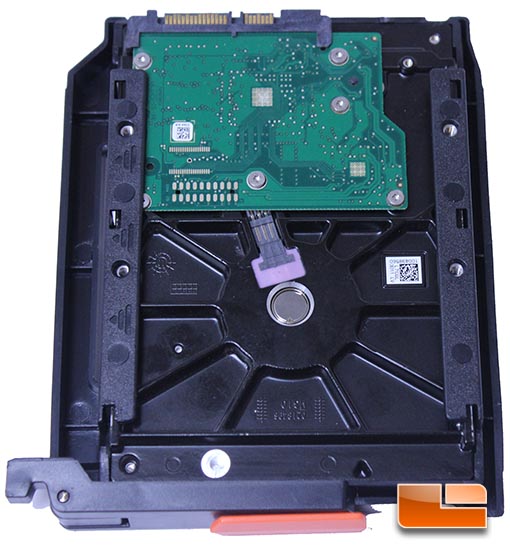 These cages are sturdy and well-built, unlike some others we’ve used in the past. They didn’t flex or have any issues that stood out. These cages also offer screw holes to secure drives even further. Unfortunately, these hard drive cages don’t have built-in support for 2.5″ SSD’s, but the Nova 8000 features three SSD mounts, including a hidden one on the bottom of the pictures HDD tray.
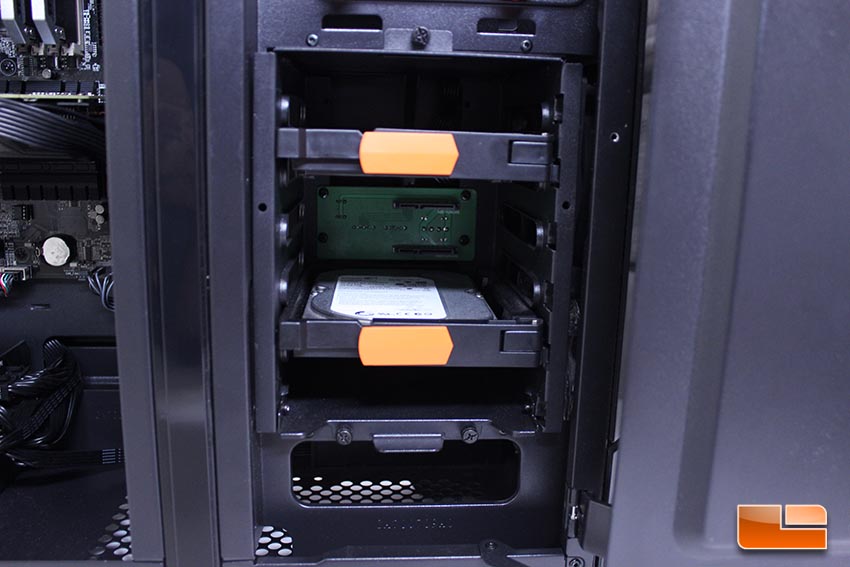
The Hard Drives were easily installed once we snapped them into their cages. These cages are very well built and the cages slide in and out without issue.
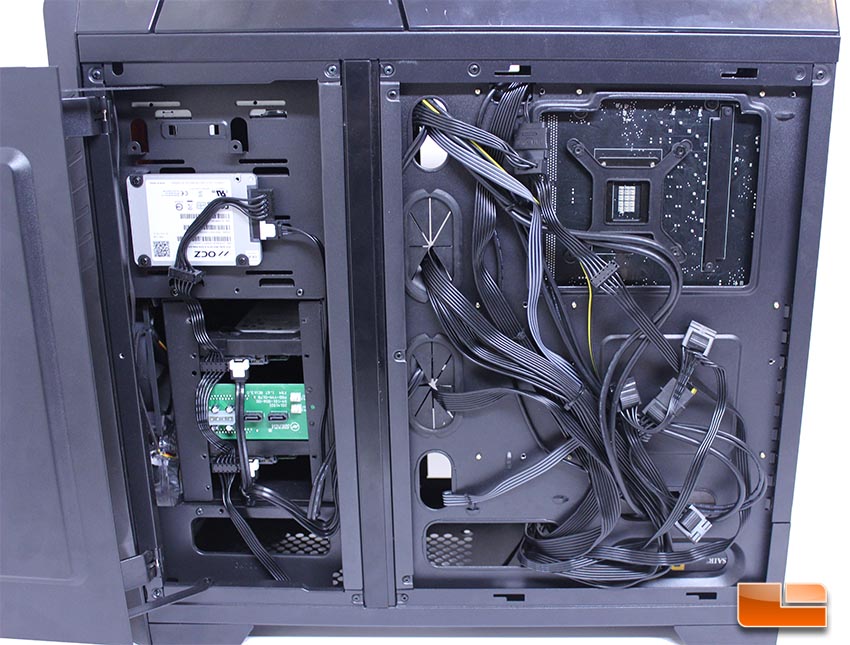
Here we see the completed system from the rear panel area, with both panels opened/removed. We had no issues with the side panel closing on our case, despite the fit being a bit tight and there not being a lot of room behind the tray. Users without flat modular cables may have less luck in this regard.
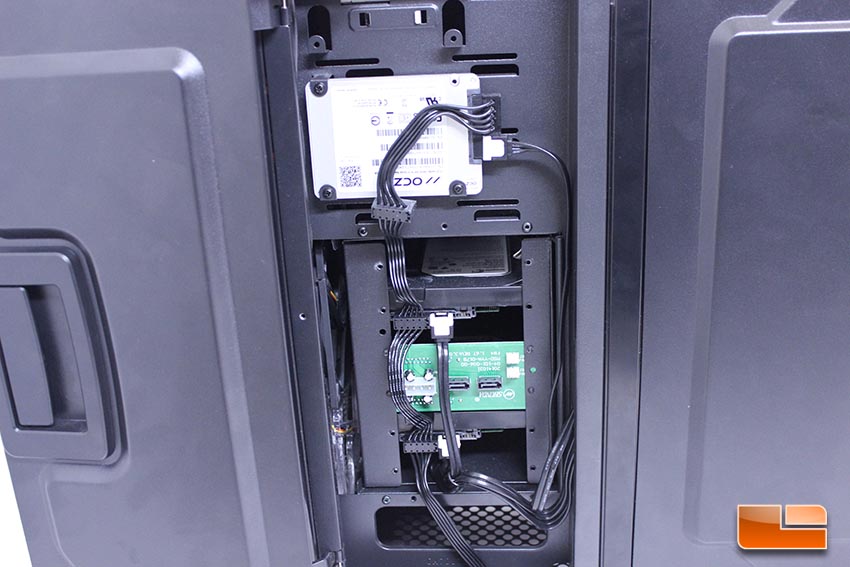
The SSD/HDD area being isolated and spaciously laid out allows you to run the power and data cables in a bundle without much effort. The design of the Hard Drive cages allows cables to be run without any interference or pressure being placed. Overall, we are very happy with this layout and how easy it made connecting and running cables to our drives. Users with a keen eye will notice the top and bottom SSD mounts only have two and three screw mounting points, respectively. For SSD’s this is not a concern, as there will be no vibration and thus no noise produced from not screwing the drives down.
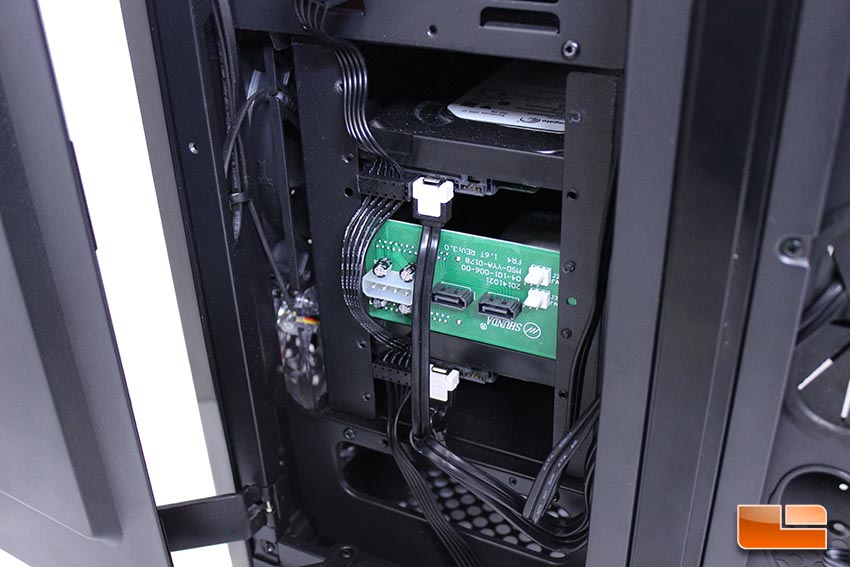
We chose not to connect or use the hot swap drive bays, as this functionality simply would never be used on our system and would require additional cables to be run. We are happy to report that testing of the unit went fine, with both connectors registering properly with our SATA3 SSD and running at full speed. We also see the cable management loop AZZA has placed for the front 120MM fans to be run through. This is a nice touch that assists in keeping the cables out of the way and run properly to the fan controller.
Overall, this case is very easy to build into, but users without modular power supplies may find cable routing behind the motherboard to be a bit tricky. We were able to install all of our components and change the fan orientation of the Nova 8000 very quickly. The issue with the fan controller at lower speeds was annoying and AZZA should have caught it before sending this case out into the sales channel, as it really affects use with the stock fans. The inability to run SATA power and data cables behind the motherboard tray and to the drives was a kick to the aesthetics of an otherwise really clean internal build. Hopefully AZZA remedies this with future chassis revisions. We really liked how solid everything was throughout the system assembly process and the build quality of this chassis really stood out in a positive way.