ASUS Rampage 2 Extreme Motherboard Review
Board Layout
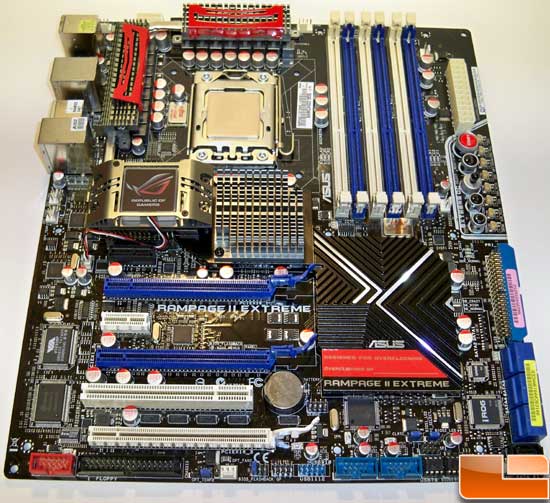
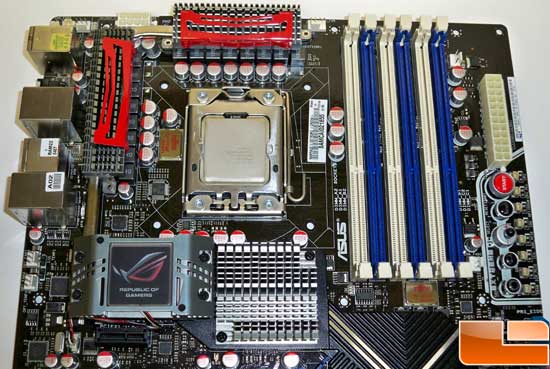
A quick glance at this board and it becomes very clear that this motherboard was built to overclock. The massive black south bridge heat sink dominates everything else. In addition, there are eight fan headers, so you should have no problem keeping this system cool!
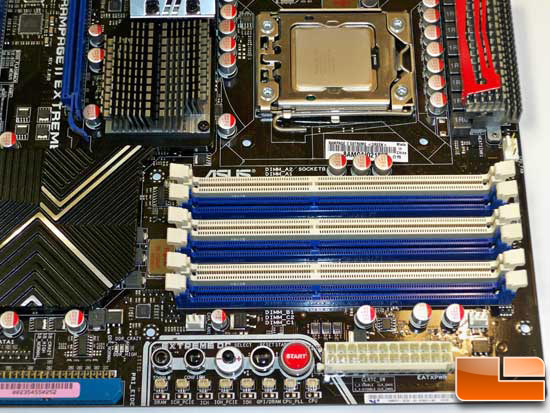
One right side of the board we have the now familiar overclock toggle switch. The power button, reset, and toggle are all carried over from the original Rampage Extreme. Note that these switches can be disabled in the BIOS if you do not plan to use them, though when shooting for a quick overclock or pushing every last MHz without rebooting the added controls really help. Also on the surface of the board, you can see voltage measuring points for each of the critical components. Using a multimeter you can see if setting vcore in the BIOS to 1.30v really means 1.32v!
The CPU socket is a very busy place, but none of the heat sinks added in this area interfere with installing heat sinks like the TRUE and Cooler Master V10. Six DDR3 DIMM slots are available which can be populated with 4GB DIMM’s for a total of 24GB! We can confirm that the board is capable of running 12GB at 1333MHz with 7-7-7-20-1t timings without a single problem. Getting speeds up to 1600MHz on 12GB is going to depend largely on just how good a particular CPU’s memory controller is.
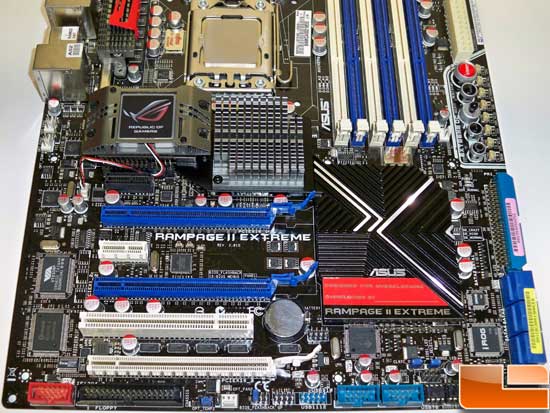
The layout of the PCIe slots is quite good, though I have an extreme dislike of the PCIe retention clips that ASUS uses here. When you have multiple dual slot cards installed it is an incredible pain to free them when you drop a retention screw during install, meaning you have to pull just about any PCI/PCIe cards that you may have already completed installing.
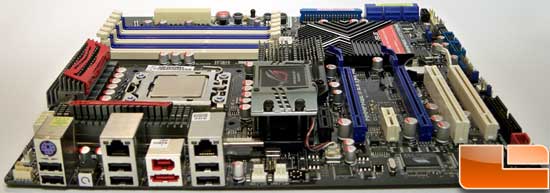
Finally, out back we have a single PS/2 port for a keyboard or mouse, whichever you prefer. With the right cable, you can use both. Six USB ports are provided on the back with four more available via expansion headers. Firewire and eSATA are here as well with an additional Firewire header available. Notice the small gray button with the reset arrow between the PS2 and Gigabit LAN port? Pressing this button will reset the CMOS, and I have to say that this is extremely handy when you are chasing high memory/QPI clocks. Notice that there are no audio ports here as the board includes a PCIe sound card.
Comments are closed.