ASUS M4A79T Deluxe Motherboard Review
Box, Bundle, and BIOS
The ASUS M4A79T Deluxe motherboard packaging states that it is designed for the new AMD AM3 processor series. It also says that the board uses 100% Japan-made solid capacitors that have a VRM of 57 years at 65C as well as other features like anti-surge protection, Quad CrossFireX, Express Gate and 8+2 phase power design. It is clear that this AMD 790FX chipset powered board is loaded with a ton of interesting features, so let’s open the box and see what it comes with.
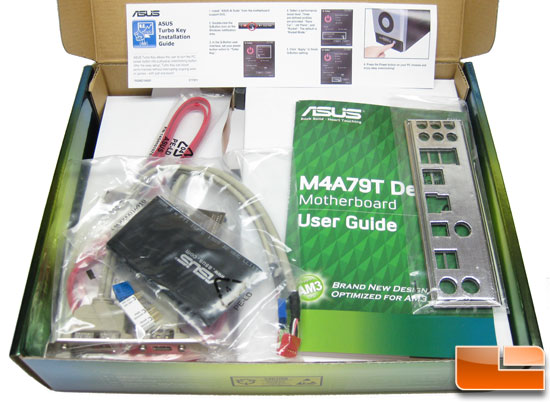
The ASUS M4A79T Deluxe motherboard comes with the padded ASUS Q-Shield (I/O) shield, user guide, support DVD, ASUS Q-Connector kit, Ultra DMA 133/100/66 IDE cable, five Serial ATA signal cables, a pair of ATI CrossFire bridges, and a multi-functional module for the case that contains two USB 2.0 ports and a single Firewire 1394a port.
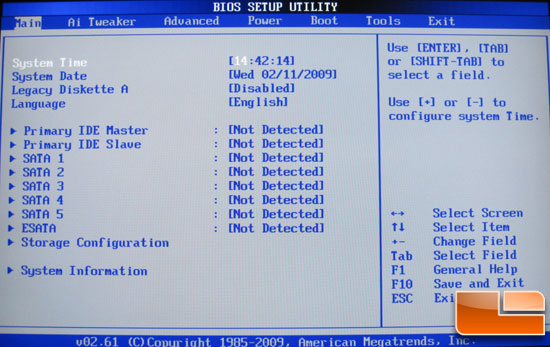
ASUS uses an American Megatrends Incorporated (AMI) BIOS on the M4A79T motherboard and when you first enter the BIOS you will be see the familiar screen shown above.
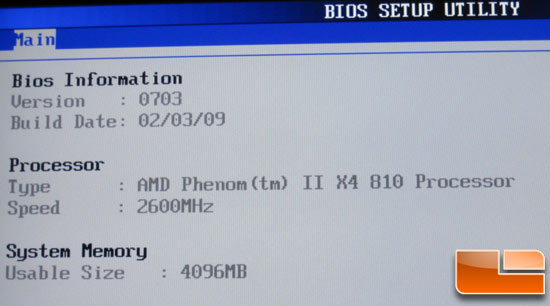
Going down to the System Information screen you can see the BIOS, Processor and Memory information for the system. Our test system was running an AMD Phenom II X4 810 Processor with 4GB DDR3 memory and BIOS version 0703. This is the second BIOS version for the ASUS M4A79T since it was released and features the following changes:
-
Update EZ-Flash to v3.35
-
Increase BOOT_BLOCK_COMPATIABLE_VERSION by 1
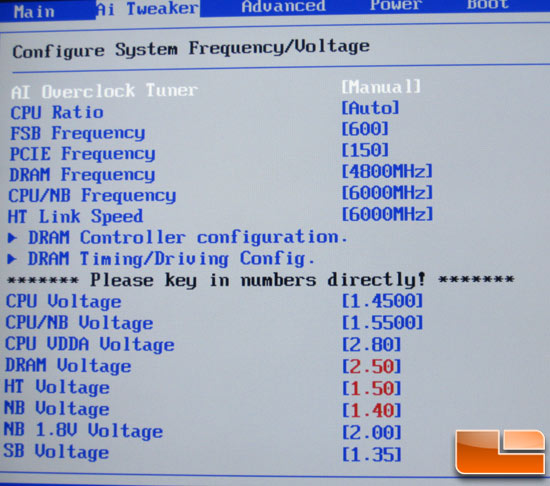
The first place that enthusisats will more than likely head to is the Ai Tweaker page. This is where you can change all the clock frequencies and voltages to overclock the motherboard. Shown above is the Ai Tweaker page with all the values set to as high as they could go when using the AMD Phenom II X4 810 processor in the test system. It should be pointed out that the highest voltage that is allowed on the Phenom II X4 810 processor was 1.45V, which isn’t enough for those running extreme cooling and wanting to overclock.

In the Ai Tweaker setup page there is another page called the DRAM Controller Configuration that lets you change the memory bank interleaving, gang mode and the swizzle mode if you want to really optimize the system for the most performance.
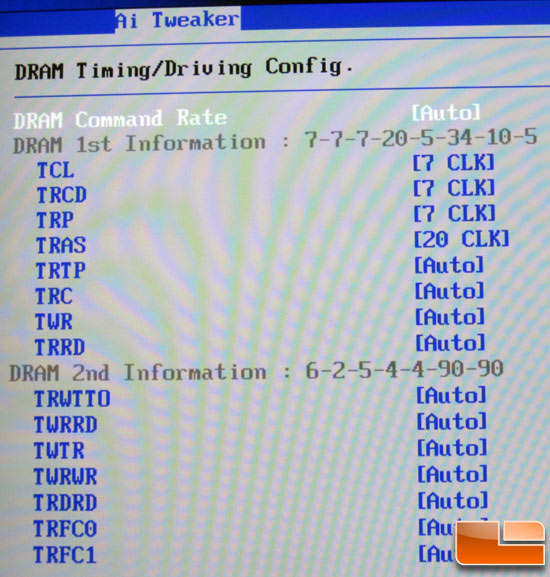
Under the DRAM Timing/Driving Configuration page you can manually set the memory timings and here you can see that the manual base clocks were manually set to 7-7-7-20 at 1333MHz for the benchmarking that we are about to do. The secondary memory timings that you can adjust are vast and can’t all fit on one screen, so take a look below to see more of them.
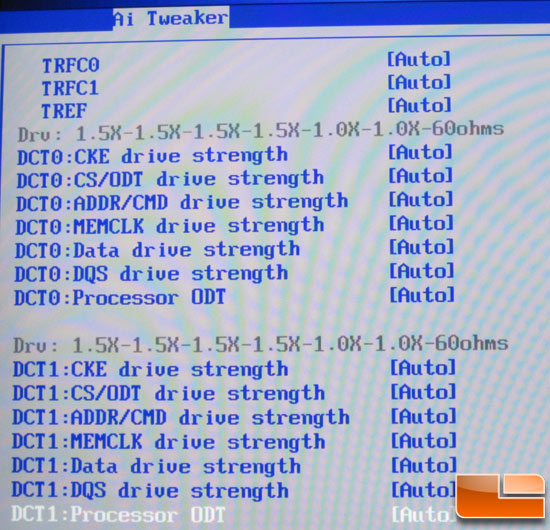
Since DDR3 memory modules are new to the AMD platform I’m not sure what many of these settings exactly do with the new memory controller, but for the dedicated enthusiast this is a dream come true. With more than a few dozen memory setting options available in the BIOS you can’t complain that this board doesn’t have enough available settings.
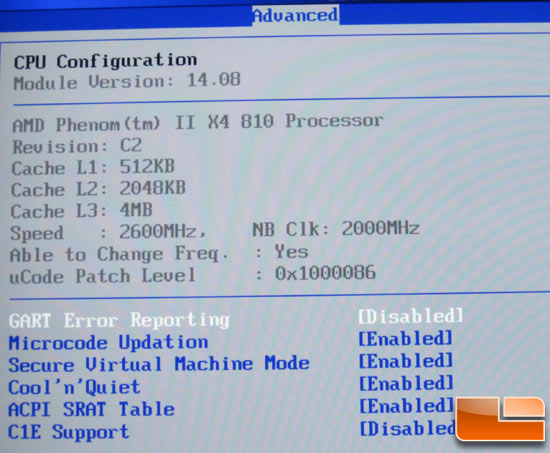
Under the Advanced menu you can see the detail processor specifications and settings for the processor. The main reason I am showing this page is because AMD Cool’n’Quiet is disabled by default and was enabled for benchmarking as it does lower the idle power consumption and temperatures.
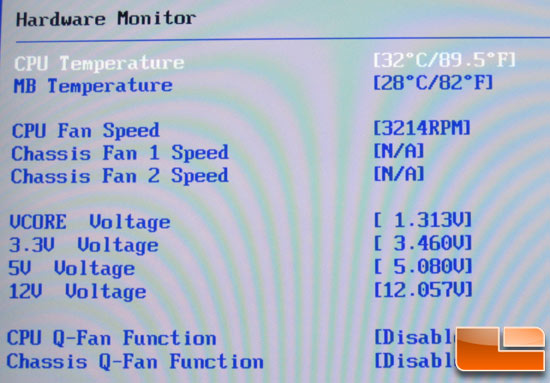
Speaking of temperatures you can check those out on the Hardware Monitor page along with all the fan speeds and system voltages.
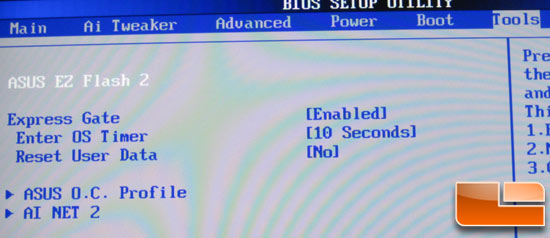
Under the menu for Tools you can find the ASUS EZ-Flash 2 v3.35 BIOS update utility. The ASUS EZ Flash feature allow you to easily update the BIOS without having to go through the long process of booting from a diskette and using a DOS-based utility. The EZ Flash is built-in the BIOS firmware so it is accessible by simply pressing “Alt” + “F2” during the Power-On Self Tests (POST) or by entering the BIOS and clicking on it. I personally used the ASUS EZ Flash 2 utility to update the BIOS on the M4A79T of a USB flash drive and it worked great.
Comments are closed.