ASUS Crosshair IV Formula 890FX Chipset Motherboard Review
ASUS Crosshair IV Formula Motherboard Layout
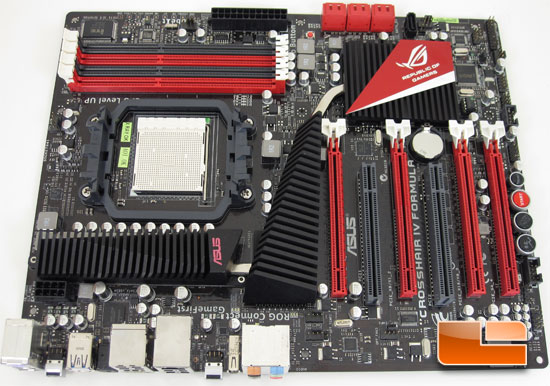
Now we get to the part where all the magic starts to happen! Here we will be able to take an in depth look at the components that make the ASUS Crosshair IV Formula tick. The first feature that stands out to me, aside from the Republic of Gamers Red and Black color scheme, is the heatsink assembly. The heatsink assembly is connected with a single heatpipe that aids in keeping all the components nice and cool. Though that isn’t the particular part that does it for me, what does is the unique design and shape of the individual heatsinks. If you are a fan of showing off your components, these will undoubtedly draw some attention!
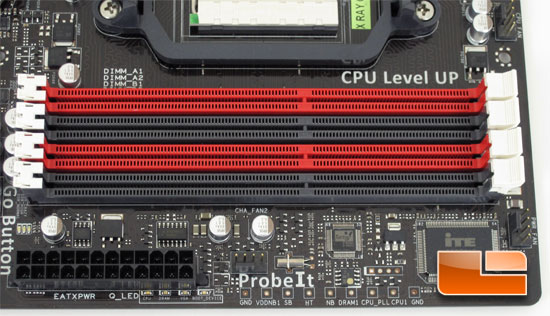
Starting the tour by the memory slots, there are a couple of features that I like about the ASUS Crosshair IV Formula. The first feature that I notice is where you place the memory to take advantage of the dual channel architecture. Unlike the 890GX boards that I have taken a look at here and here, the ASUS Crosshair IV Formula separates the DIMMS for better cooling of the memory. Just below the DIMM slots are the ProbeIt points. There are a total of nine points to measure voltage, two of which are grounds, one at either end. The other points are VDDNB1, SB, HT, NB, DRAM1 CPU_PLL, and CPU1. To the left of these are the 24 pin EATX power and a 4-pin chassis fan header. Just below the 24-pin plug is a set of four LED’s. These are POST state LED’s; if there is a situation of POST failure the LED that is next to the component that is having issues will light up and help narrow down the issue. Fortunately, during my experience with the ASUS Crosshair IV Formula I didn’t have to use these since the board never had an issue.
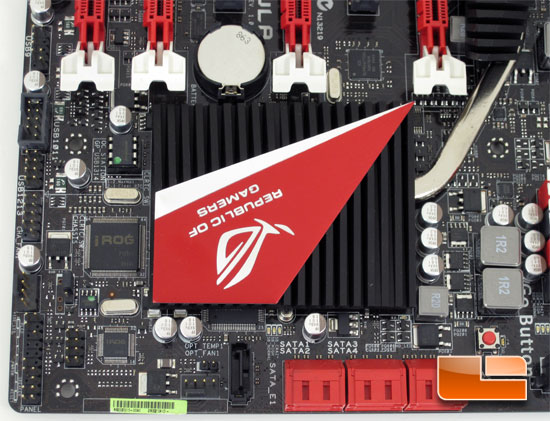
Moving further down the ASUS Crosshair IV Formula we will start by looking at the little red button. Typically in my experience a little red button isn’t a good thing; in this case, though, it is. If it is depressed prior to firing up the ASUS Crosshair IV Formula it will enable the MemOK feature. MemOK is a technology that is able to determine failsafe memory settings that can dramatically improve system booting success. If the Go Button is depressed once the system is already loaded into Windows, it will automatically overclock the system to a predetermined profile. Next to the Go Button we have the six red SATA 6Gb/s ports and one black SATA port that can be used for the USB/E-SATA bracket that is included in the retail bundle. Next to the E-SATA port there is one of the many fan headers. Above the SATA ports we can see the SB850 chipset heatsink. Next to the heatsink is the i.R.O.G. chip.
- The iROG is a special IC which enables several ROG highlighted functions that gives users full disposal of the motherboard at any stage! This design allows advanced user control and management to be processed purely at a hardware level. iROG greatly increases fun during overclocking for PC enthusiasts and it offers system maintenance and management with more control and efficiency.
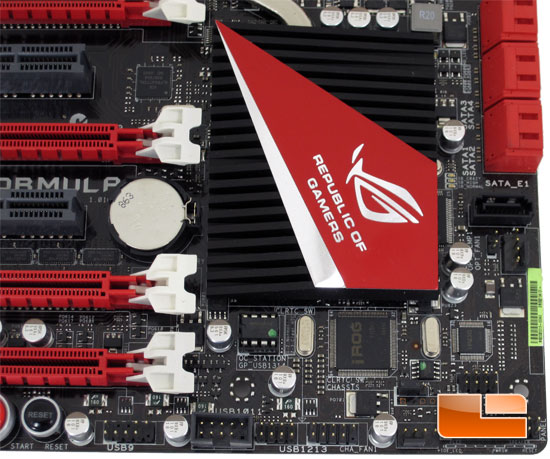
On the lower right hand corner of the above image is the pin out for the front panel. Next to the front panel pin out is a fan header with the clear CMOS just above that. Just past the fan header is a USB header followed by the OC Station connector. Moving past the OC station we can see another pair of USB headers.
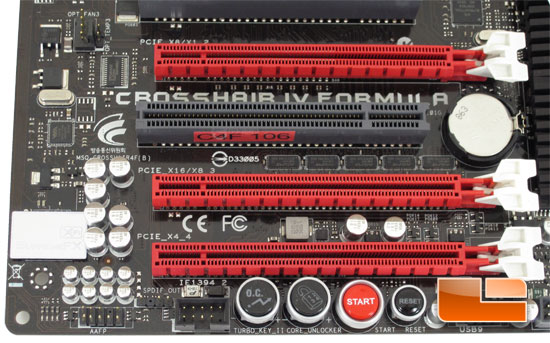
Sliding down this edge of the ASUS Crosshair IV Formula we have a series of onboard switches. The two obvious ones are the system reset and system power, followed by a button that will assist in unlocking “extra” cores if there are any present. The final on-board switch is the Turbo Key II. The Turbo Key II will auto tune your CPU to squeeze some extra performance out of your CPU. We will give this a go when we start to overclock with the ASUS Crosshair IV Formula. Past the on-board switches we have an IEEE 1394 header and SPDIF audio connector, as well as the front panel audio pin out.
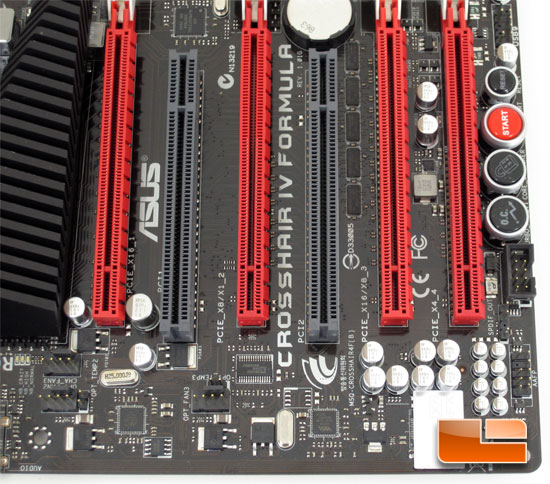
Rounding the corner we can see the expansion slots. There is a total of 32 PCI express lanes which can be automatically configured depending on the number of graphics cards you are going to run. There is a pair of PCI slots as well as a PCIex4 slot on the right. There are also 3 additional 4-pin fan headers.
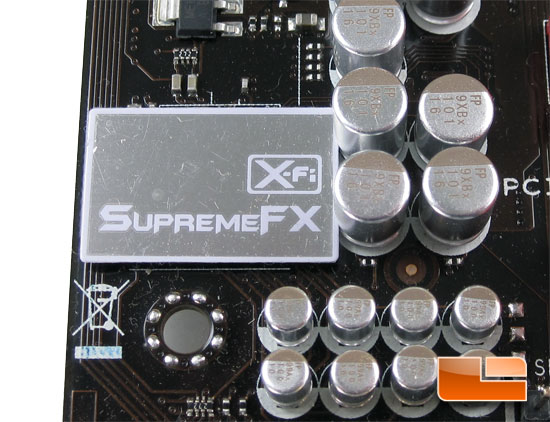
Here is a nice little close of shot of the integrated SupremeFX audio.
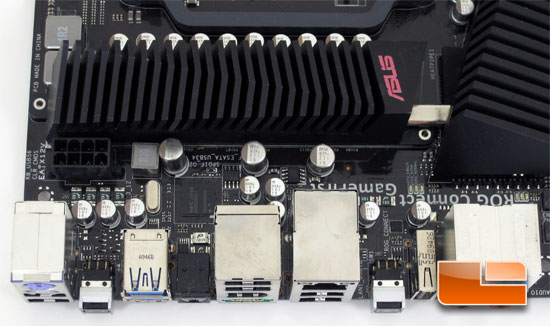
Above we can see that the ASUS Crosshair IV Formula is equipped with an 8-pin CPU power plug. This will be able to supply even the latest 6-core processors enough power for some serious overclocking! Underneath the heatsink is the power circuitry that will supply 8+2 power phases to the CPU.
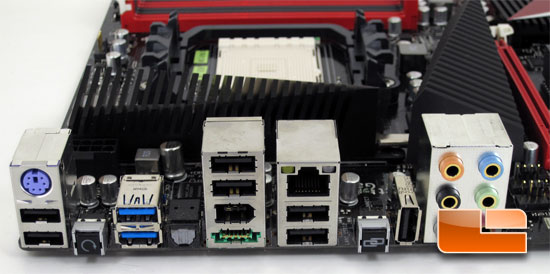
There is no shortage of USB ports on the ASUS Crosshair IV Formula. There is a grand total of nine USB ports, two of which are Super Speed USB3.0 which will provide you with transfer rates up to 5Gb/s! The vertical USB port is designed to use the ROG Connect with the included cable for hardware level adjustments through a laptop. The on-board NIC is controlled by a Marvell 8059 Gigabit LAN controller. The switch on the left side of the I/O panel is a BIOS reset switch and the switch on the left will enable the ROG connect.
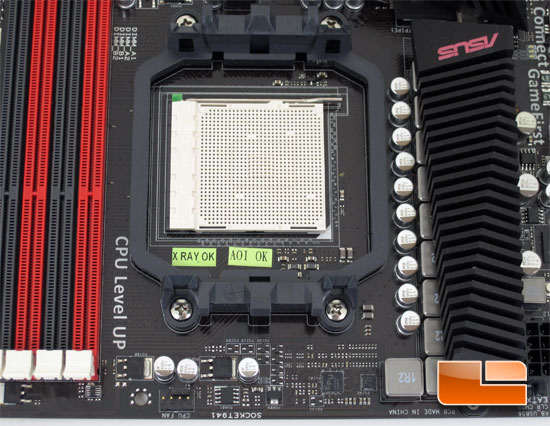
The CPU socket is an AM3 socket that will support all of the latest processors from AMD including the new AMD Phenom II X6 processors with a TDP rating up to 140 Watts. The processor power circuitry uses 8+2 power phases to provide stable power to the processor.
Now that we have taken a look at the ASUS Crosshair IV Formula, let’s throw some parts on it and fire it up. Although, before we start the series of tests let’s stick our heads into the BIOS and see what makes the ASUS Crosshair IV Formula tick!

Comments are closed.