Asrock AM2V890-VSTA & MSI K9A Platinum Motherboards
A Closer Look: The MSI K9A Platinum Layout
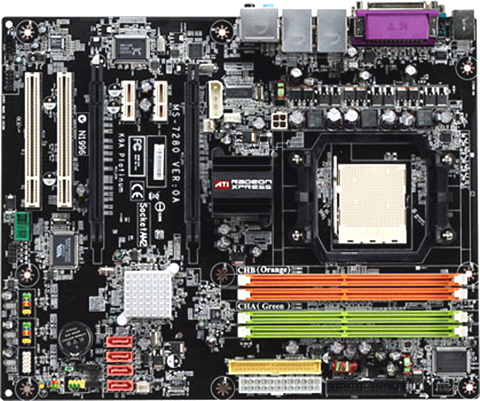
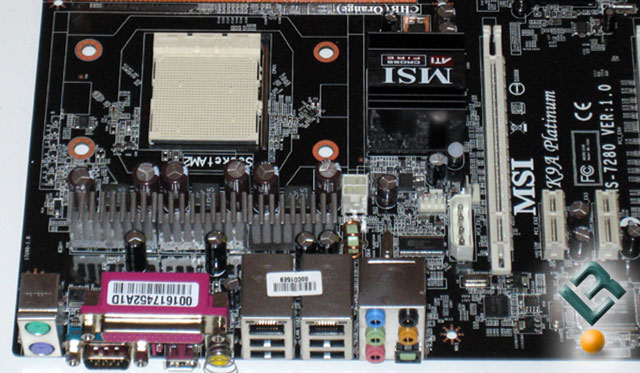
One thing that I have always liked about MSI is that they have consistantly produced good looking boards. I am a little partial to black PCB, so this board is one that stood out to me as soon as I opened it up. One look at this board tells you that it does run a dual-video card setup, specifically Crossfire, as this board sports the ATi Radeon Xpress 3200 chipset. Let’s go ahead and take a little closer look.
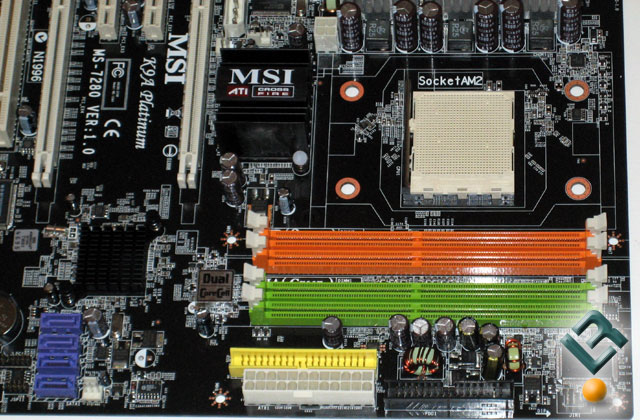
The top right portion of the board sports are DDRII dimm slots. This board supports Dual Channel DDRII 800/667/533 memory modules with a maximum capacity of 8GB, just like the Asrock. Next to the right of the dimm slots we see the lone IDE connector that we have on the board. MSI has decided that only one IDE is necessary, which might be the case for most enthusiasts these days. MSI also decided to completely remove the floppy connector, which is also likely not anything that will bother most enthusiasts. Underneath the IDE is the 24-pin connector. It is wisely placed at the edge of the board which certainly helps with cable management. You can also see here that the CPU bracket is already removed, which reveals the new retention design for the AM2 socket. AMD has not moved from a 2-screw design to a 4 screw, which gives added support for heavy ai rcoolers and other more extreme cooling measures. You may not be able to use your current cooler, be it air, water or something else. With the new design comes a new bracket, which was rather difficult to get our Corsair Nautilas water cooler to work with.
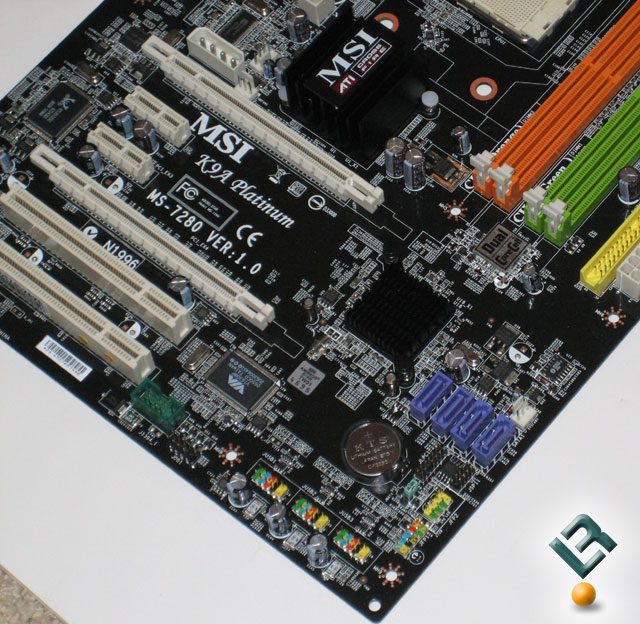
The bottom right of the board is where we find the four SATA II compliant connectors that are on the board. These SATA connectors are powered by the SB600 southbridge, and as mentioned, are SATA II compliant and also feature RAID ability (Raid 0, 1 and 0+1). To the left of the SATA ports is the SB600, which is passively cooled by a small heatsink, which seems to be sufficient even for our overclocking. All of the front panal connections are also located here, and are color coded for ease of use. The clear cmos jumper is also here, located next to the battery. Also, we see the IEEE 1394 chip here, which happens to be the VIA VT6308P, which provides transfer rates up to 400Mbps.
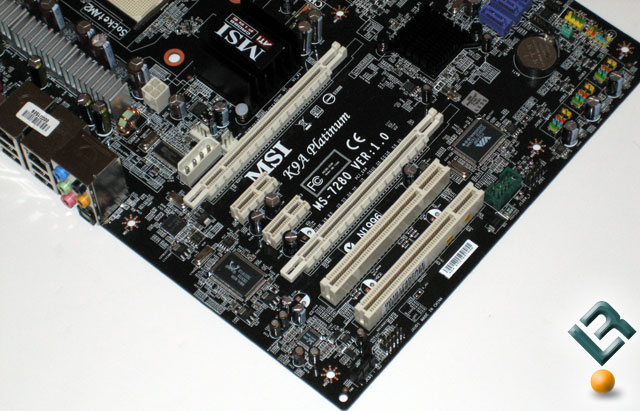
The bottom left of the board holds allof our pci and PCIe slots. The MSI K9A Platinum sports two x16, two x1 and two legacy pci slots. To the left of the PCIE x1 slots we see the ALC883 sound chipset by Realtek. This chipset provides 8 channel sound (7.1) with auto jack sensing. Just above the top PCIe x16 slot is a 4 pin molex power connector that is used for stability when running the board in Crossfire mode.
The top left of the board is where we find the 4-pin power connector. It is not in the best of positions here, a better position is at the very top edge of the board. We also see the northbridge heatsink, which happens to be a little beefier than the one on the southbridge. This heatsink did get a little warm during our testing, but it was never too hot to touch. Though not a requirement, a simple removing of the heatsink and applying some thermal compund would be the best if you are planning on overclocking with this board. Right behind the I/O connections we see a nice heatsink that MSI has added to keep the power componants of the board cool.
The I/O connections include the typical legacy ps/2, serial and parallel ports, as well as four USB ports, two lan ports, a firewire connection, and your assortment of audio jacks and connections.
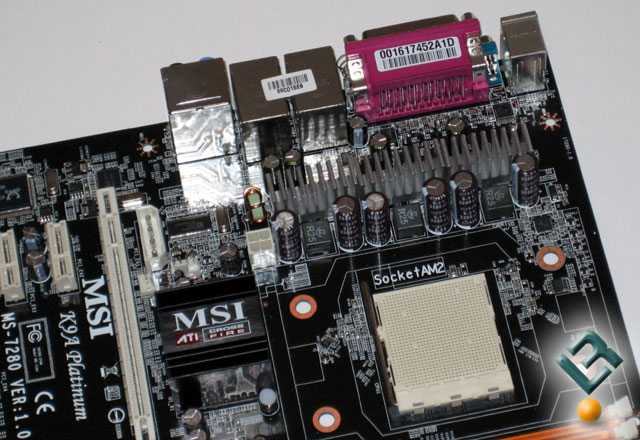
Once again, here is a picture of the heatsink that MSI puts on power area of the board. You can also see how crowded the 4 pin power connector is.
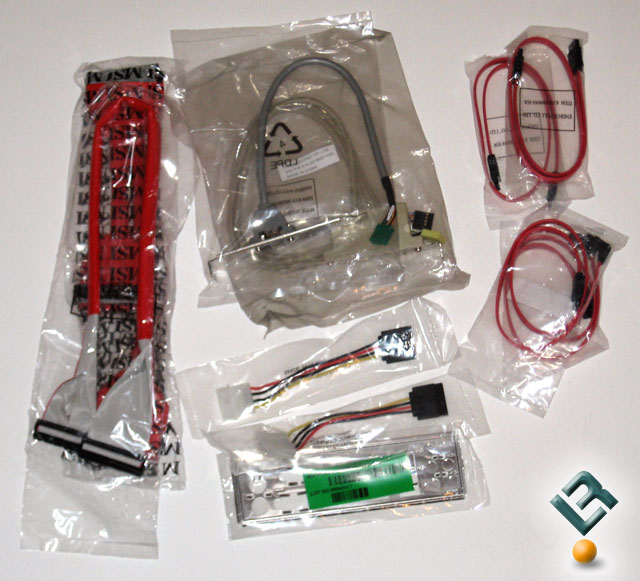
Again, we see a bundle that gives us what we need to get up and running and nothing really more. So, nothing to see here, move it along!
Ok, that is enough of the board, let’s look at its bios.
Comments are closed.